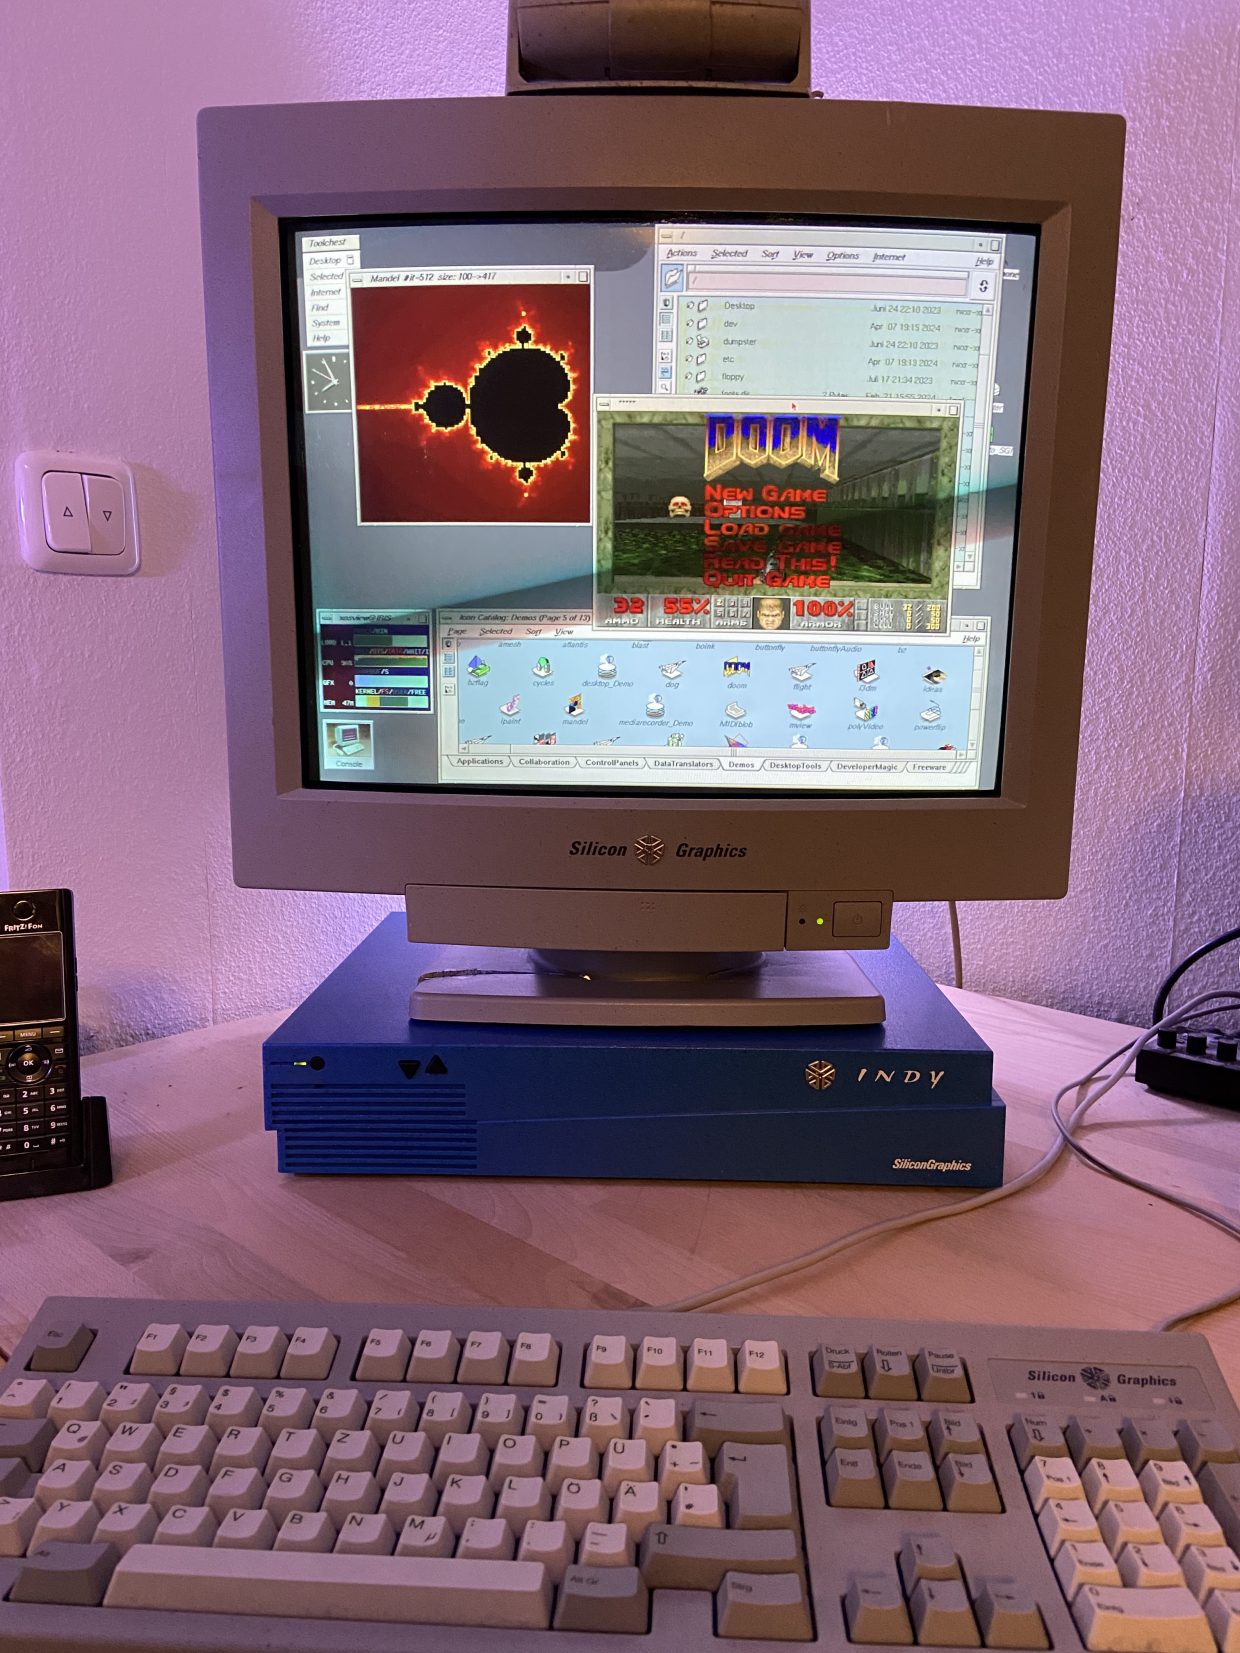
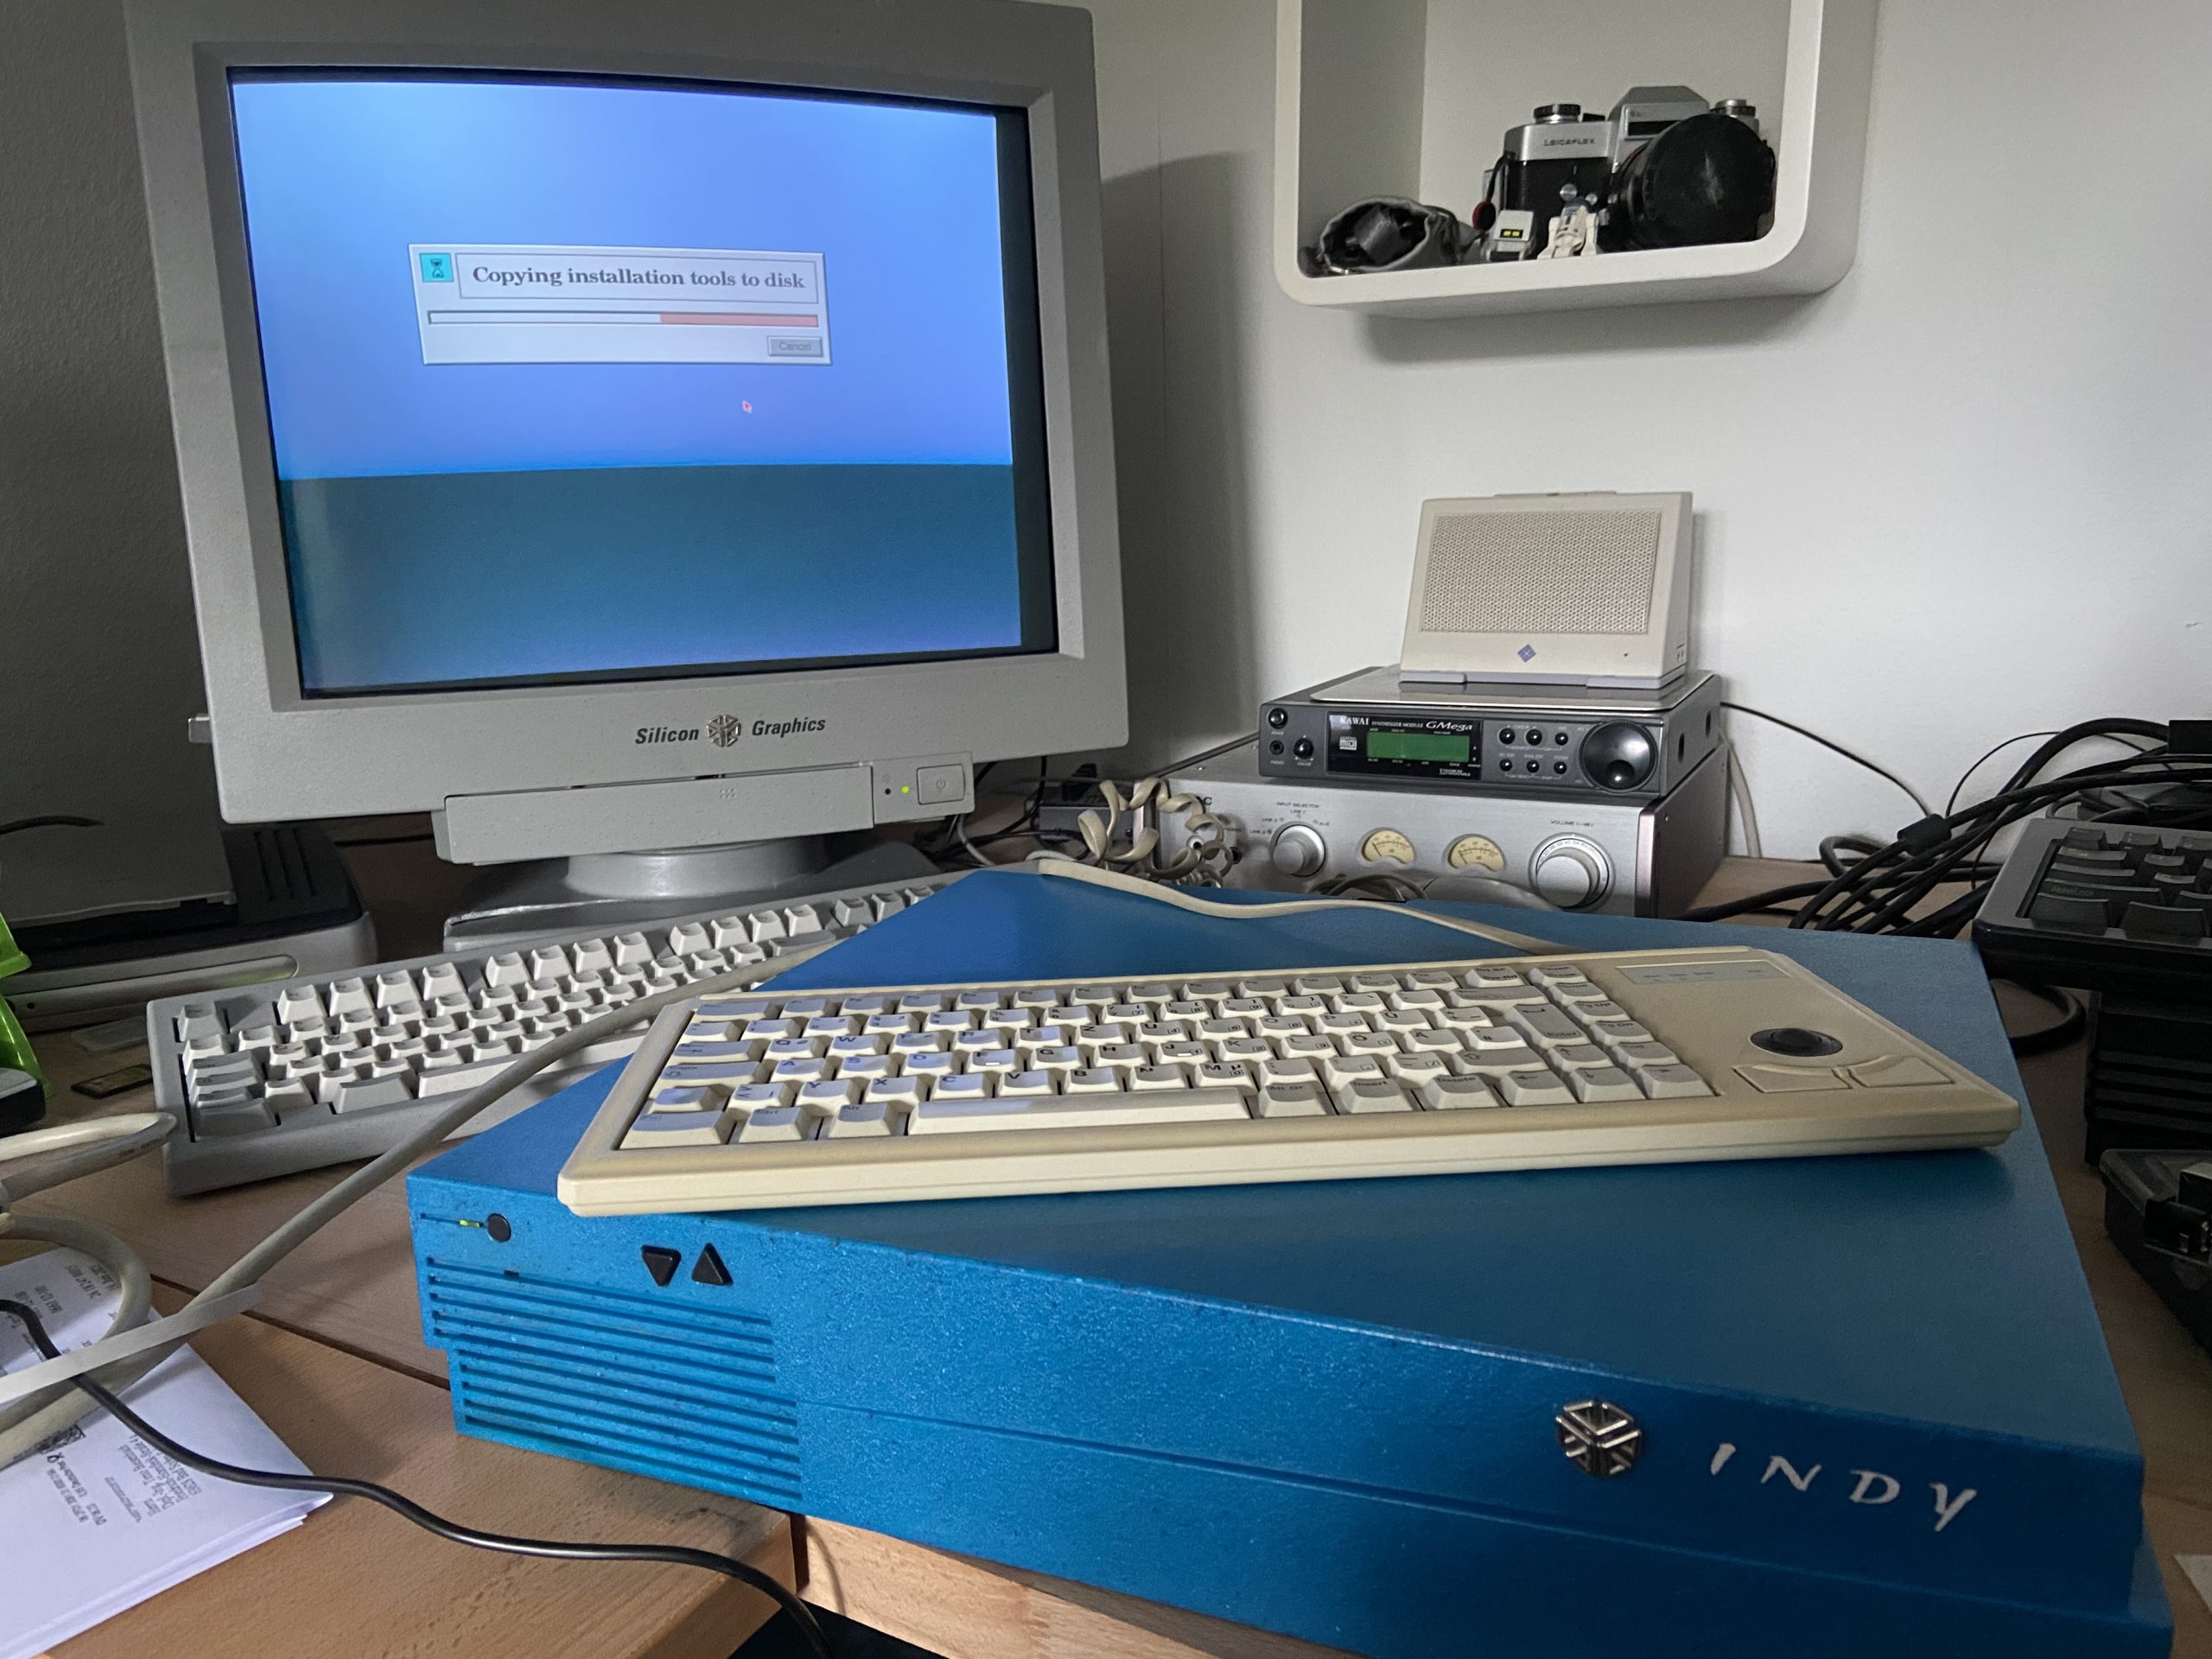
A nice, little Unix workstation in the pizzabox format that was so popular in the 1990s. Sun SparcStations probably are most known for this form-factor, but other manufacturers used it as well such as NEXT with the famous NextStation and HP with the hp 9000 700 series workstations.
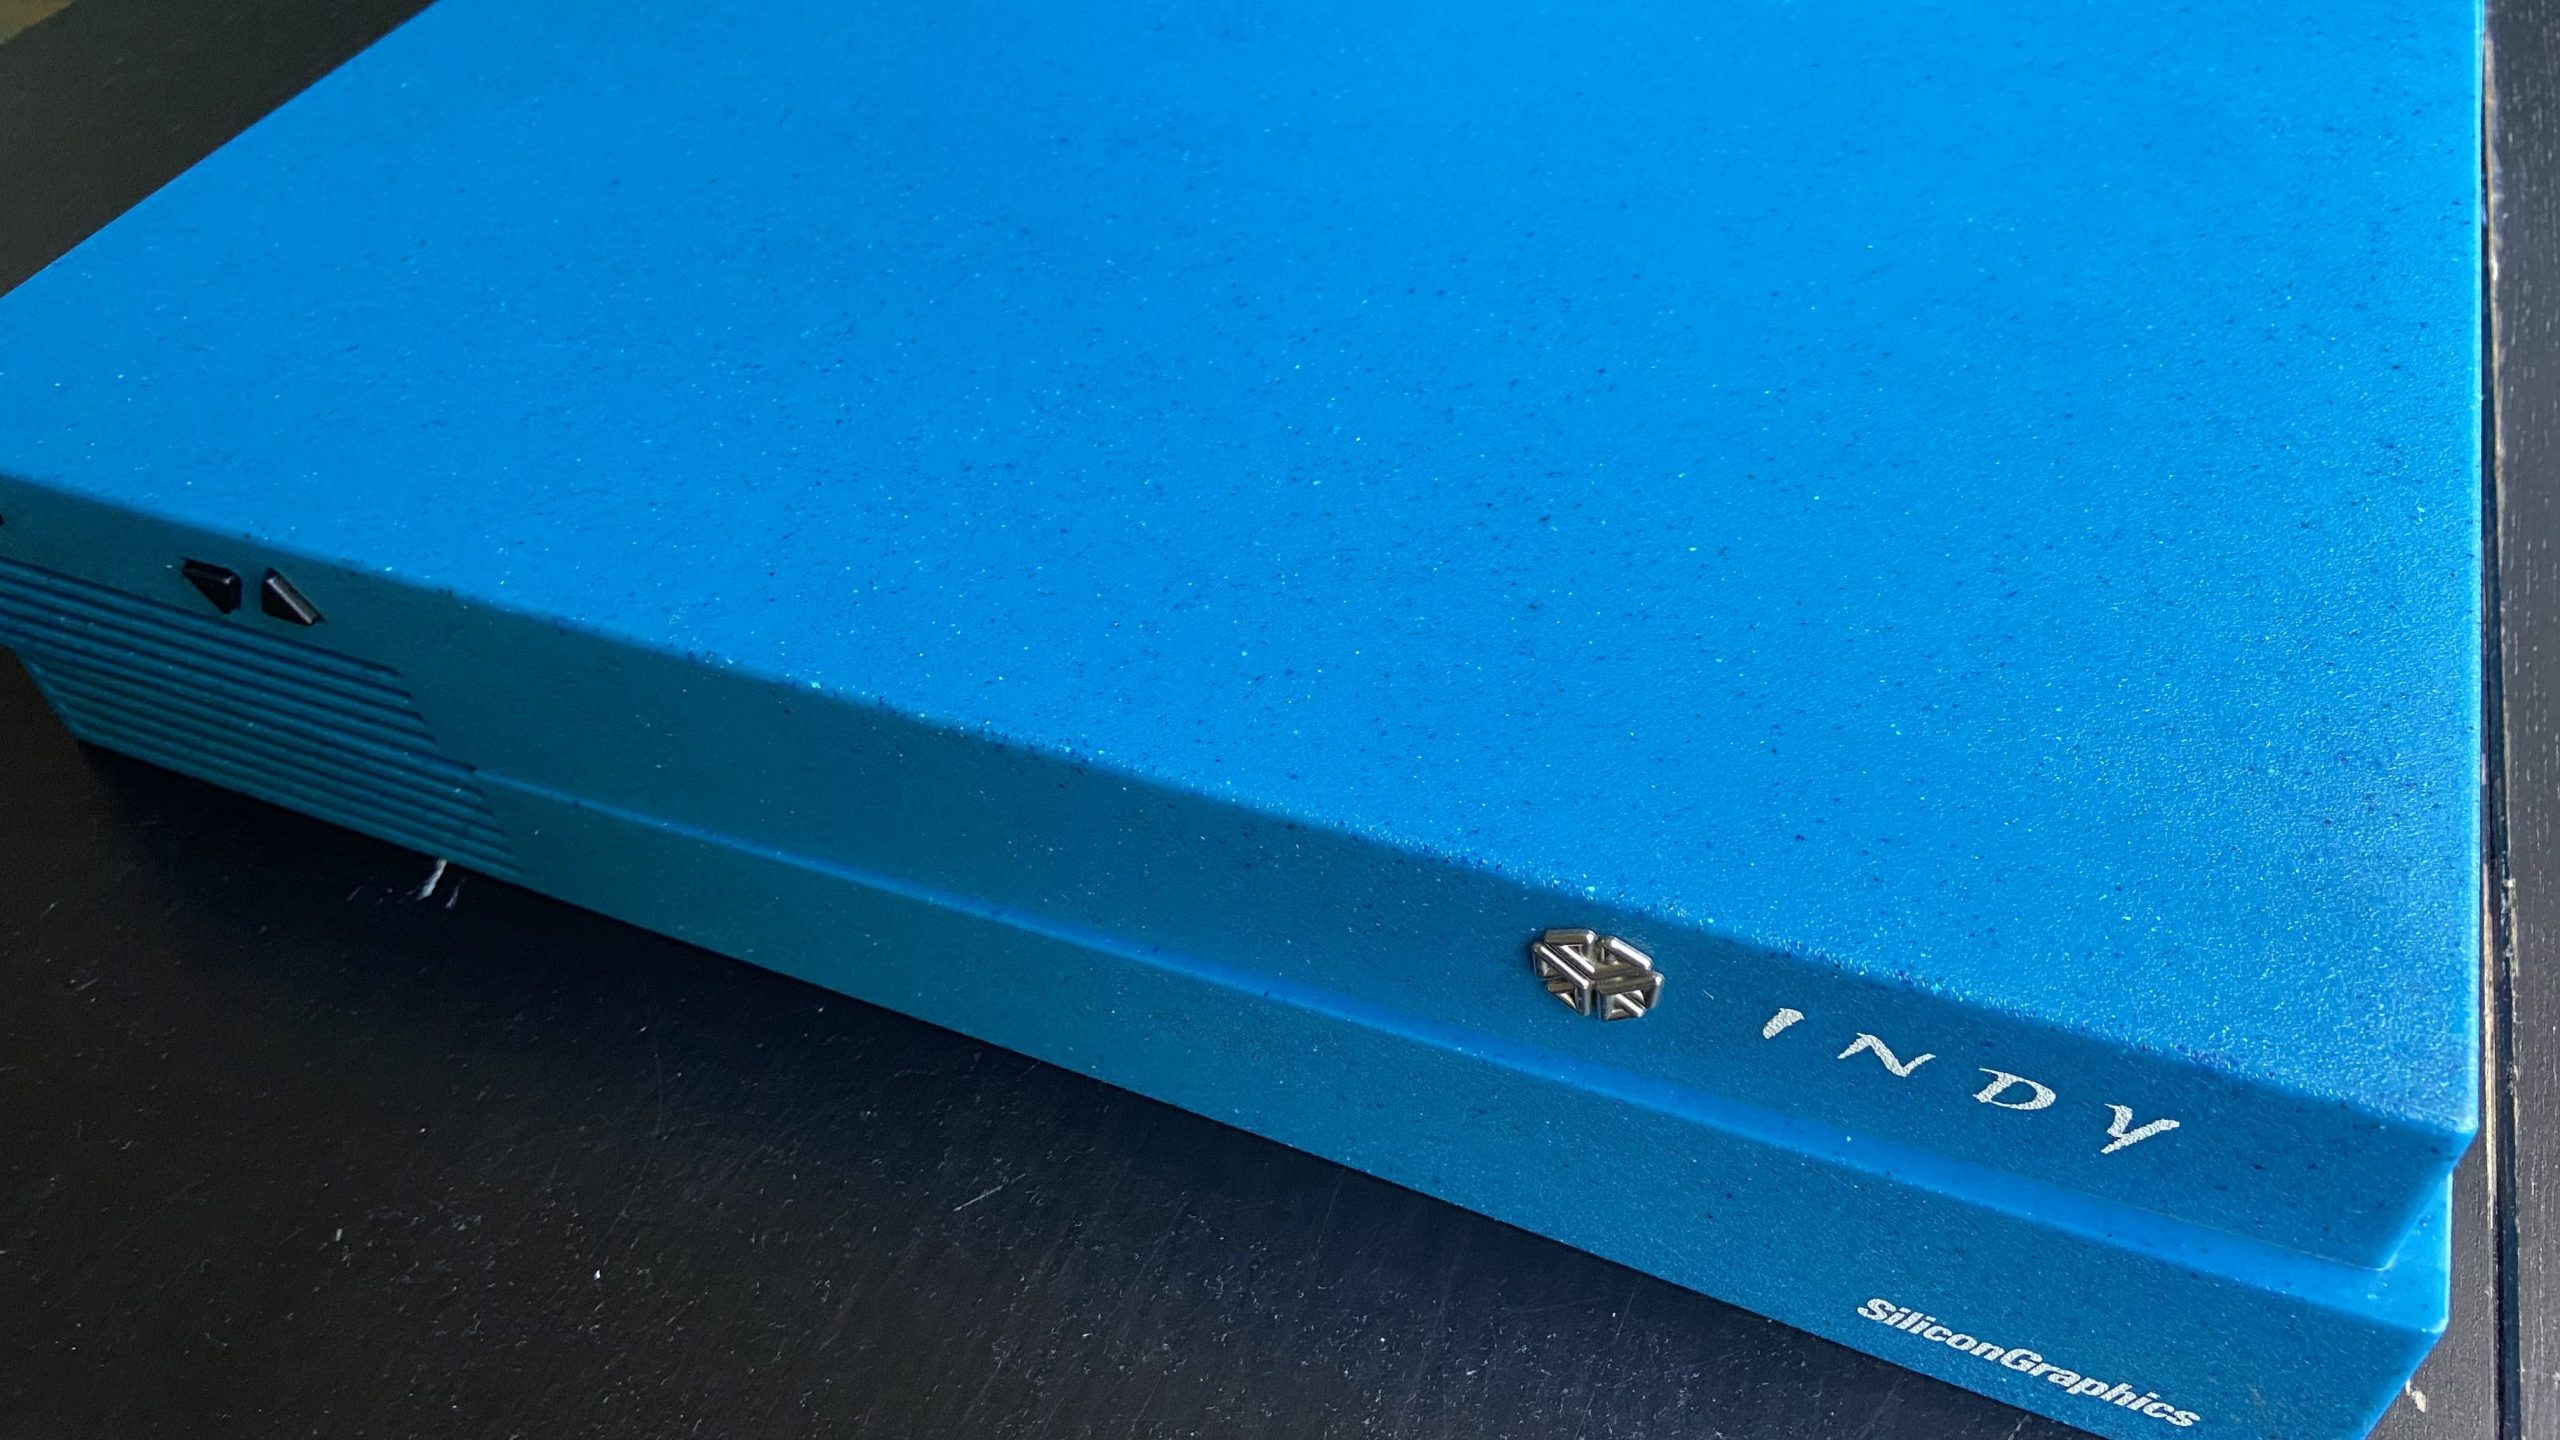
The Indy stands out due to its case design – two halves slightly shifted and the case color, an intense blue with some darker grains in it. Allegedly, the latter is because SGI made the case out of recycled plastics. Whatever it is, it looks great and even after all these years it hasn‘t yellowed or bleached out.
The machine itself is on the low end of SGIs workstation spectrum. Released in 1993, it was meant to compete with high end Apple Mac computers, featuring high resolution, high color graphics but no 3d acceleration unlike more powerful offerings from SGI. The target market was multimedia production for which it came with a vast array of digital and analog media connectors. It even features a video capturing solution as standard on the mainboard as well as a connector for the IndyCam which came as a standard accessory to allow an early form of teleconferencing.
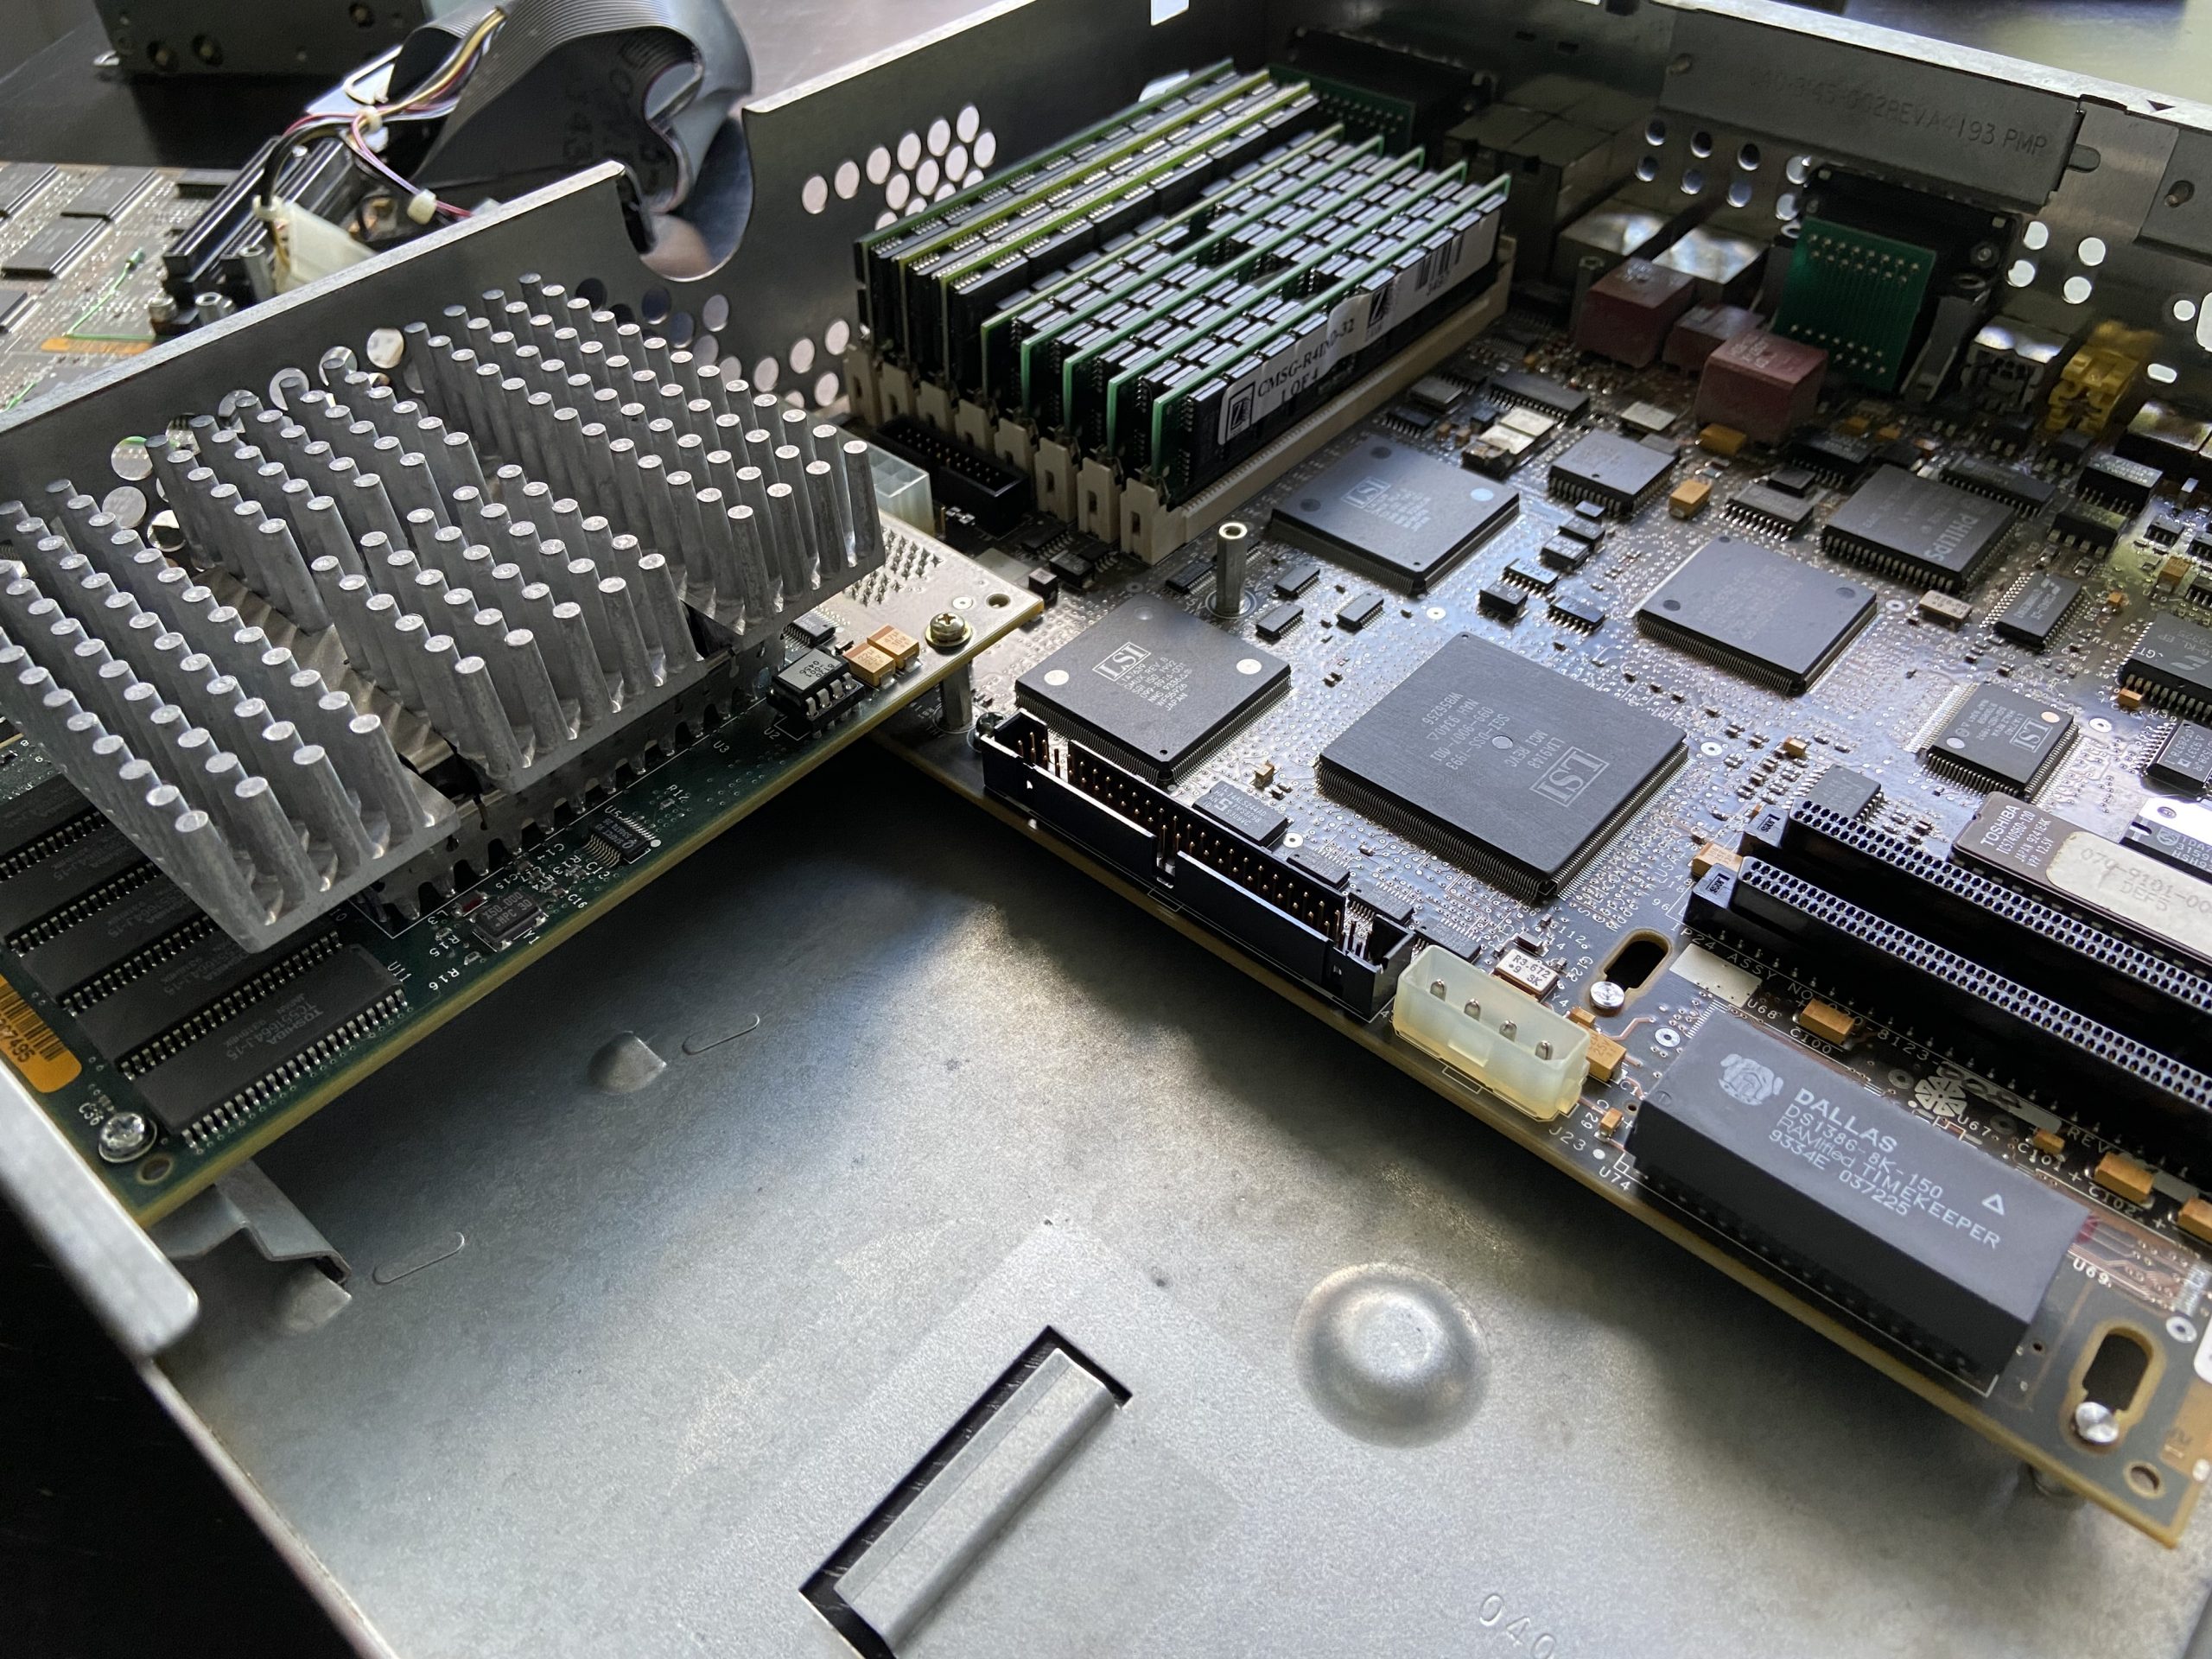
The base configuration featured a MIPS R4000 processor, 16MB RAM, 8 plane graphics and no harddrive – it was meant to be run as a network client. The configuration in this case has the more powerful MIPS R4000 SC with 1 MB of secondary cache, 64MB RAM, 24 plane graphics and a 1GB IBM SCSI hard drive for mass storage.
Restoration
This machine came to me in good condition, it only was very dusty and had a defective hard-drive and a crackling system speaker.
The cleaning part is easy, the machine opens without tools and removing the plugin cards and the mainboard as well as the drive bays is straight forward. So I took it all apart, blew the dust out, vacuumed out remaining dust bunnies and wiped down all non-electronic components with a moist microfibre cloth.
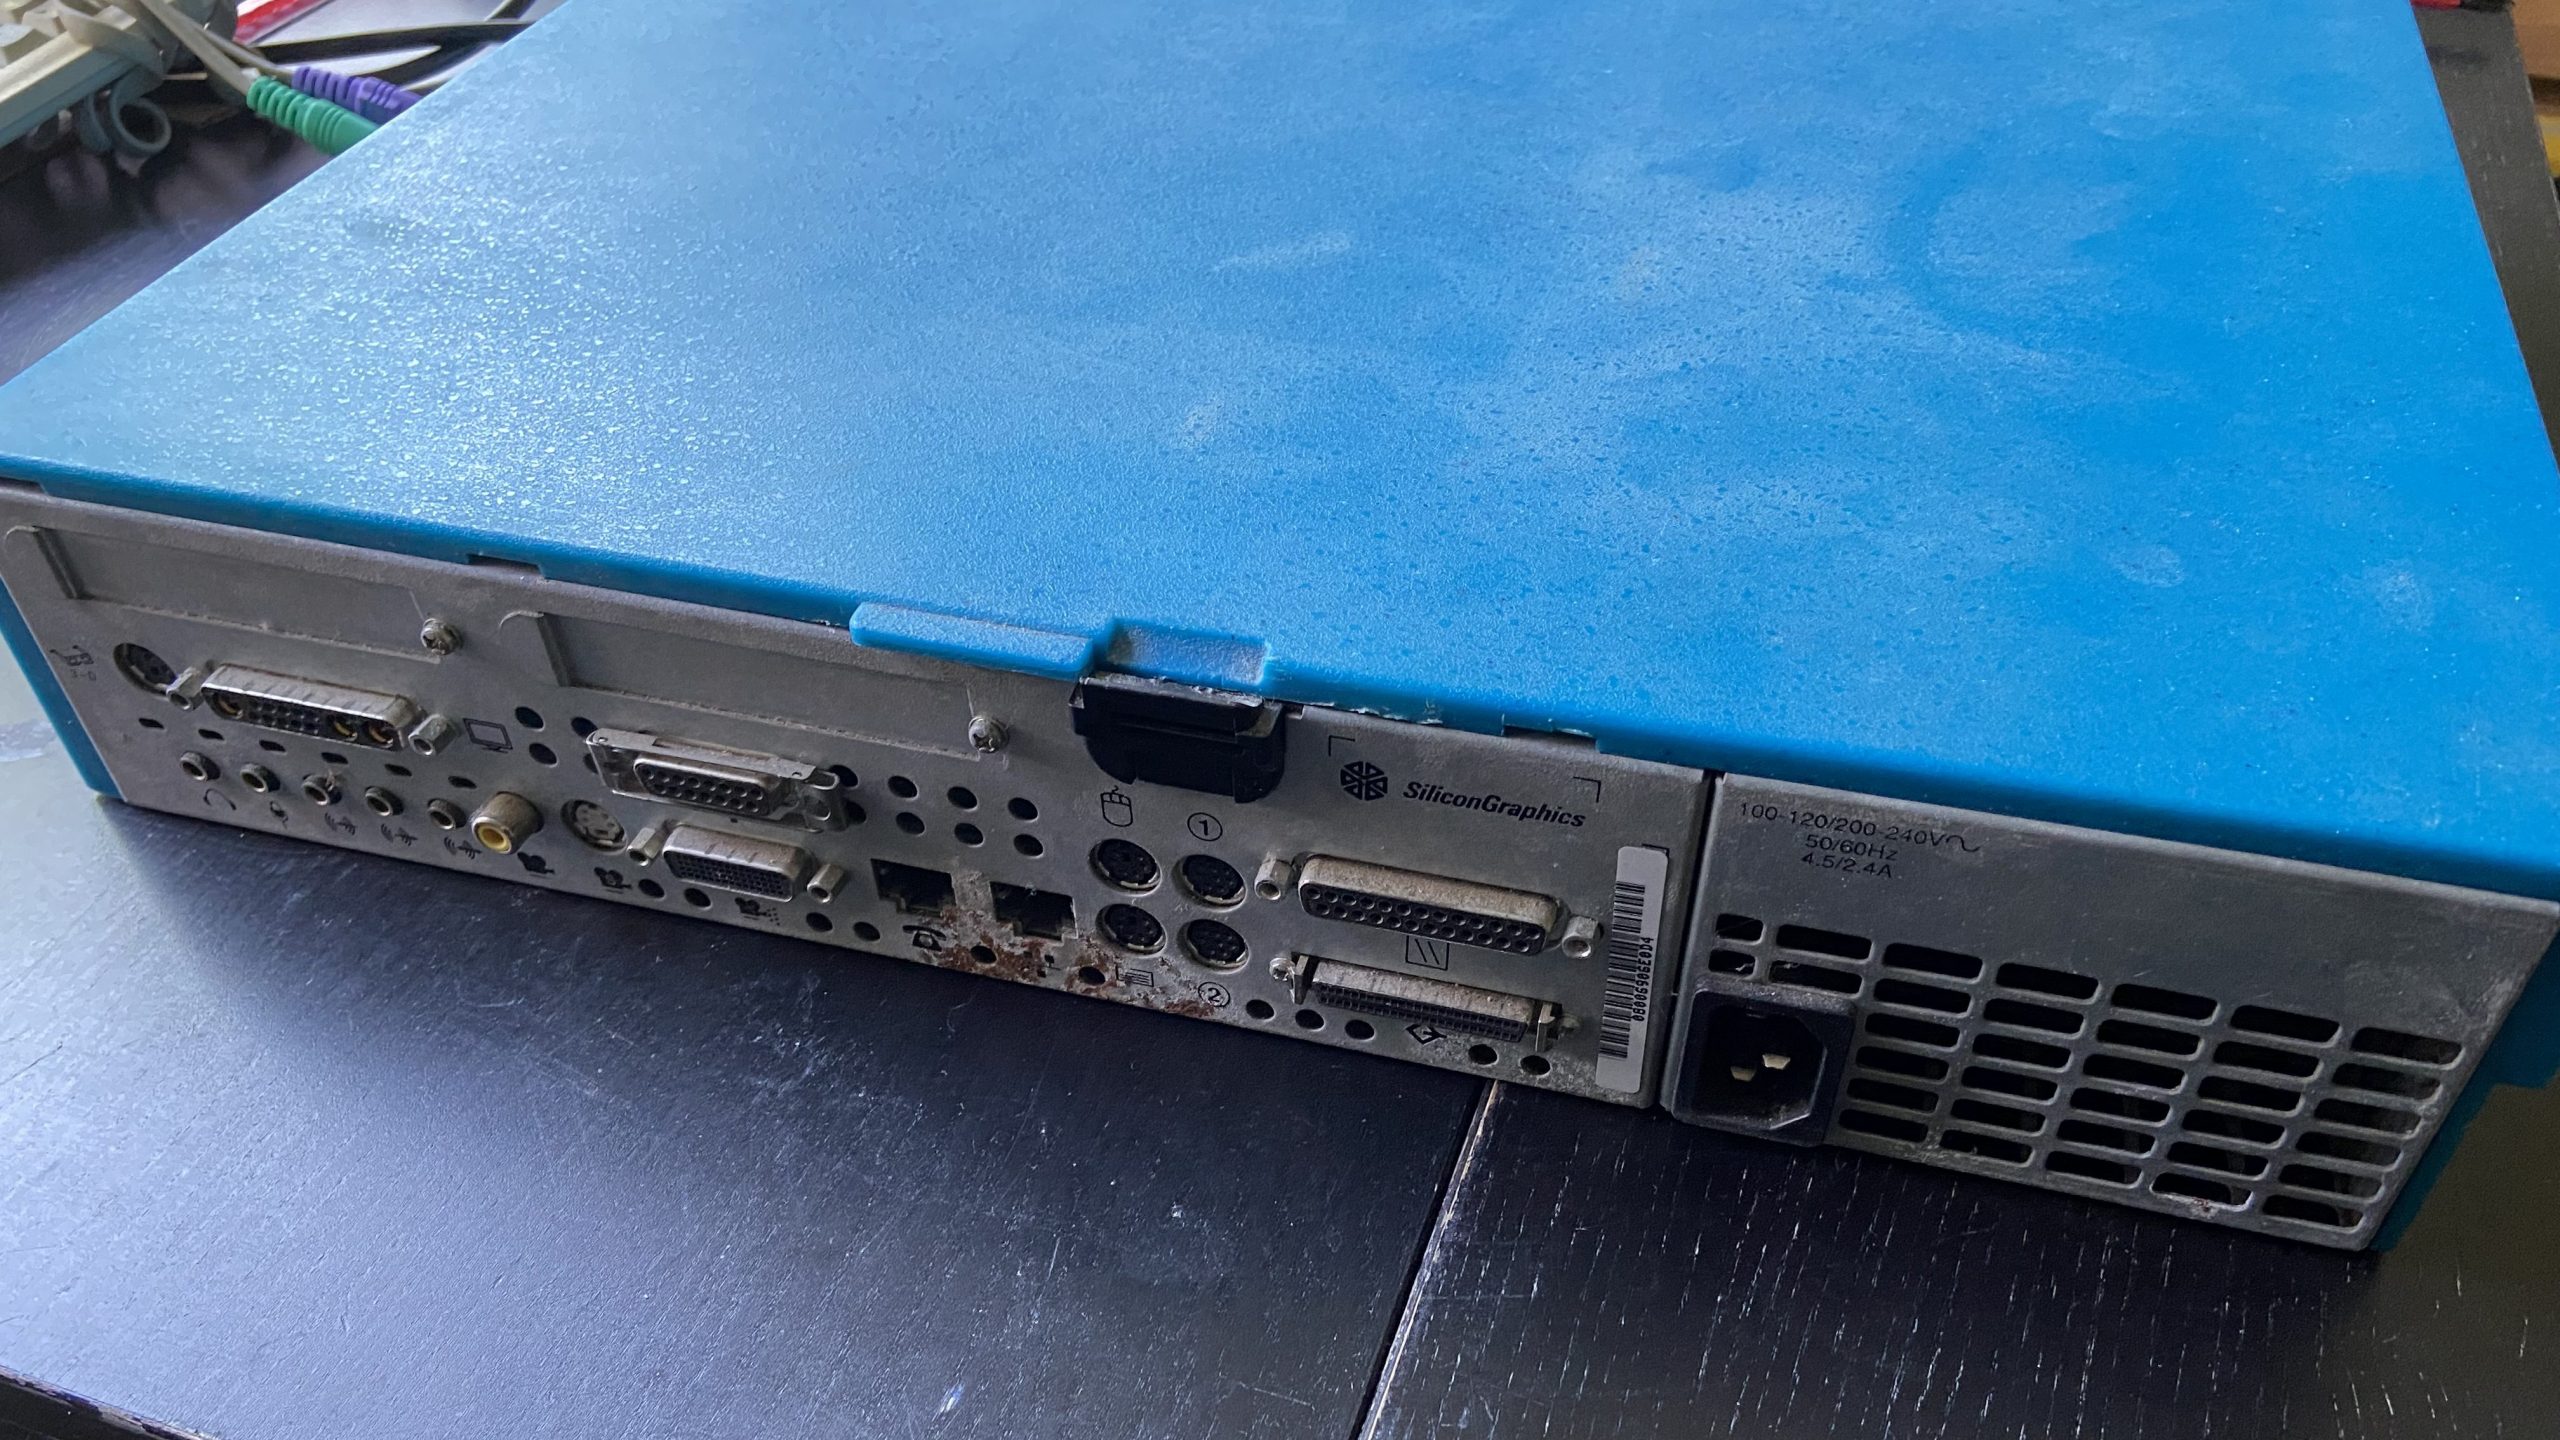
The surprising part when taking apart the Indy is that the PSU is not inside the chassis but it is a part of it.
Since the backside had gathered some surface rust, I treated that with a piece of sandpaper that removed the rust but unfortunately the labels in the area as well. Will need to pay attention when hooking up ethernet because the other RJ45 port is ISDN.
The SCSI harddisk seemed to be the original one, a 1GB IBM 0662, manufactured in Mainz, Germany. It had died probably quite a time ago and made only clicking noises when attached. Apparently the spindle is stuck and resistant to moving. Doesn‘t matter, this drive type is extremely noisy, so I would have replaced it anyway.

Finally, I sprayed the board connectors with some contact cleaner and put everything together once it dried. On power-on, the INDY sprang to life immediately and greeted me with a fanfare sound out of the speaker that was crackling only before.
Installation
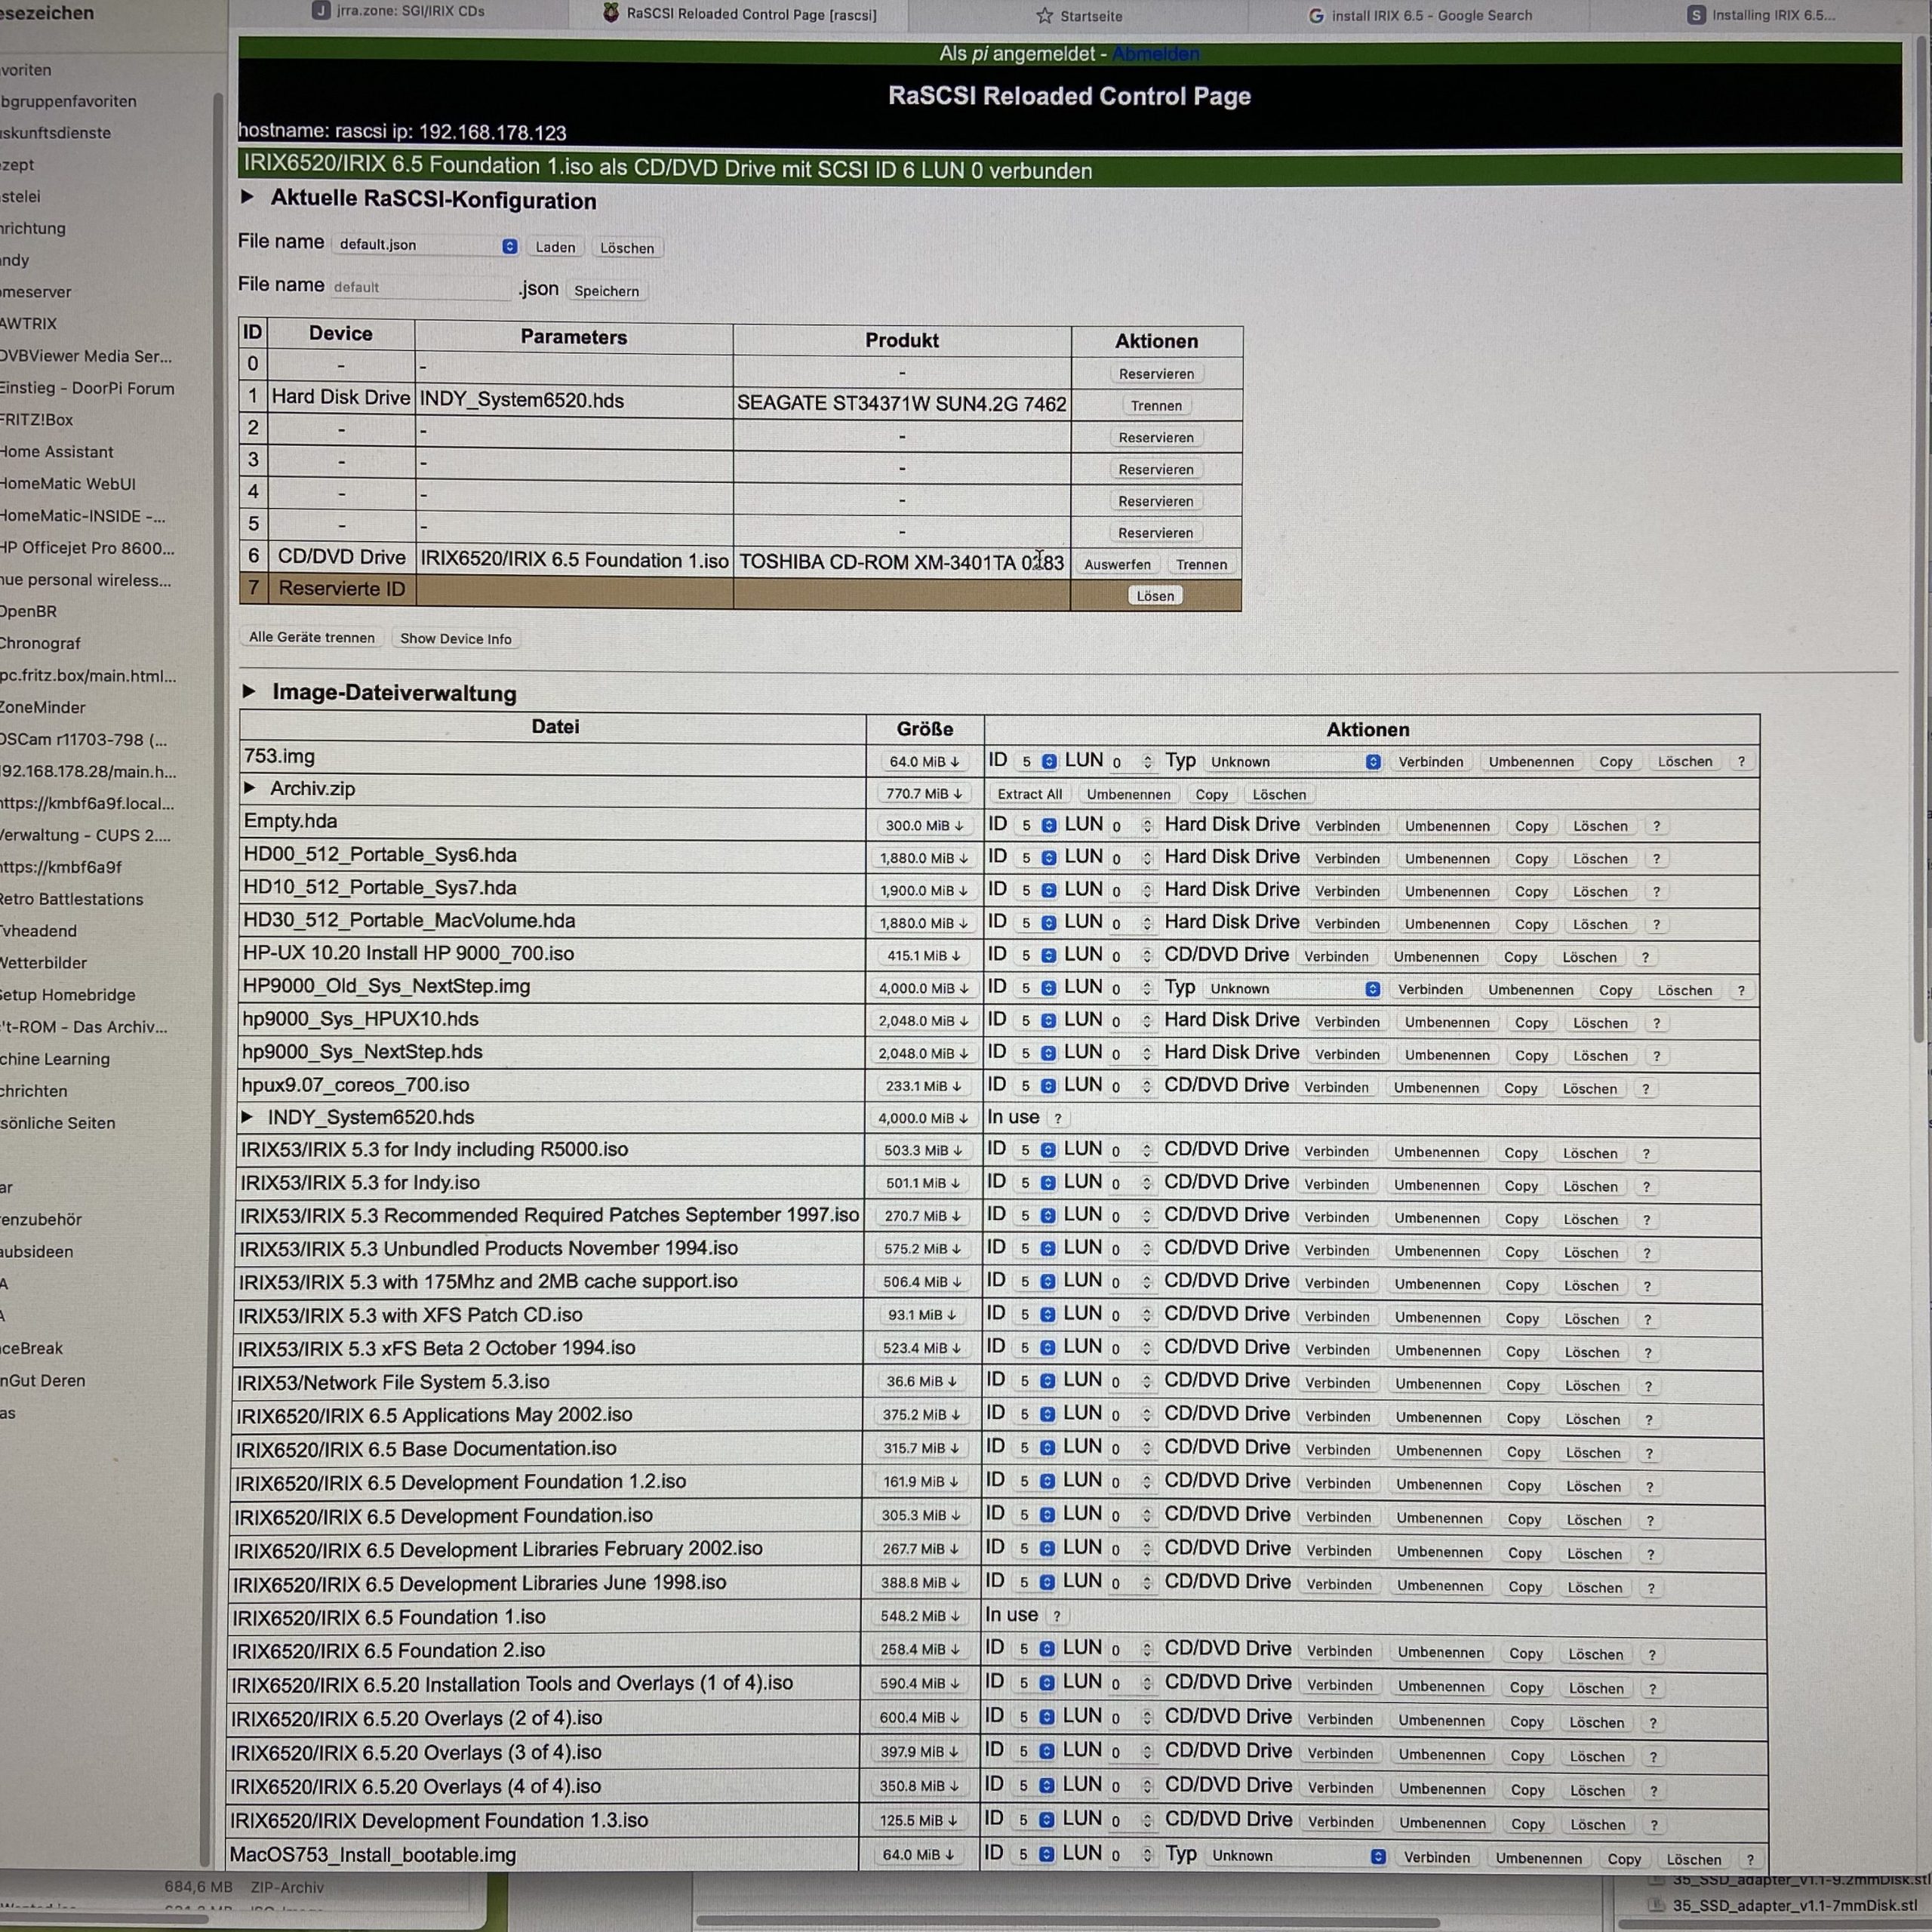
I decided to try IRIX 6.5.20 on this box and to install it semi-oldschool way from installation CDs, however using ISO images via a RASCSI (now piscsi) instead of physical disks, sparing the hassle of burning a set of CDs and messing with an optical drive.
The RASCSI is brilliant for this kind of task as it allows to store as many images as fit on the SD card and it has a web interface that allows to swap ISO images in the virtual CD-drive.
Due to the lack of a useable SCSI harddisk – I have several SCA drives around which each refusing to work in the INDY via a 80-50 adapter – I decided to make an empty HDD image on the RASCSI and to install IRIX there. This worked out without a hitch, the machine boots fine from the emulated 4GB SCSI disk.
The only drawback of the RASCSI is its speed since all the SCSI emulation in addition to the Linux OS has to go through the Raspberry PI. It‘s perfect for CD Rom emulation, HDD emulation however leaves a bit to be desired. Another downside of the RASCSI is that it needs to boot up before it can be used and it has to be cleanly shutdown when done.
Update: I installed a ZuluSCSI homebrew kit in the Indy. This is a Raspberry 2040 based SCSI emulator solution which presents disk image files from a microSD card as SCSI devices. I just copied the image I made earlier on the RASCSI over to the memory card, popped it into the ZuluSCSI and power on – the Indy booted just fine from it.
The IRIX install is not as straight forward as installing Linux or Windows today. The first hurdle is to gather the right CD images together, in this case the 6.5 base CD set is required and the 6.5.20 overlay set which replaces / enhances the original one.
The second hurdle is to get the install going on a fresh drive since formatting and partitioning is not handled by the inst program. Instead, you have to boot into the „fx“ program from the PROM monitor by typing in a boot command similar to this:
boot dksc(0,6,8)sashARCS dksc(0,6,7)stand/fx -x
This will bring up a commandline driven partitioning and formatting program which when the suggested defaults are kept, will find the first SCSI harddrive, partition it and format it. Then just „exi“ out of the program when done and use the graphical controls from the firmware menu to „Install system software“
This brings up the „inst“ program which should point to a distribution source „/dist/CDROM“. Use the selection „from“ (press 1) to add each CD out of the installation set to the sources:
- 6.5.20 Installation and Tools
- 6.5 Foundation 1
- 6.5 Foundation 2
- 6.5 Applications
- 6.5.20 Overlays 1 – 3
Insert each CD into the drive, let inst scan it and continue with the next one. Once all done, complete the menu with pressing „2“ to get back to the main menu.
Then, instruct inst to install everything:
keep *
install standard
install prereqs
go
„inst“ will now copy the CD contents to the hard-drive, it will prompt you to insert CDs as needed. The whole procedure takes about 1.5 hours and you should in the end be presented with a login screen after a reboot. The „root“ selection will get you to a fresh IRIX desktop.
Using the INDY
It is far from being a speed demon and feels quite sluggish under IRIX 6.5.20, especially in its current configuration. A higher spec R5000 processor and maxing out the RAM to 256MB probably would help. Another option might be to downgrade to IRIX 5.3 to address the speed issue.
Update 2024: I replaced the fan with a nice, quiet Noctua which makes using this box much more enjoyable. Hooked up to an audio amp, XMMS gives a fine music player capable of receiving internet radio stations.
I also found out that IRIX supports multimedia programming quite well, there is an extensive API for working with audio and video files.
Finally, the most important question can be answered: Does it run DOOM? Yes it does 🙂
Due to the high end audio section, this machine can be useful as some kind of music player.
SGI INDY Technical Data
| This INDY | Original Spec | |
| CPU | MIPS R4000@100MHz w/1M Cache | MIPS R4000@100MHz |
| FPU | built in | built in |
| Memory | 64MB | 16MB |
| Harddisk | 1.05GB IBM 0662 (replaced with ZuluSCSI) | None |
| Removable Media | None | None |
| Video | Indy-24bit, Video In | Indy-8bit, Video In, IndyCam |
| Audio | 16bit PCM, analog+digital, MIDI | 16bit PCM, MIDI |
| Other | ISDN | ISDN |
| Manufactured | 1993 | 1993 – 1997 |
| Release Price | 16,495 USD ~ 34,829 USD in 2023 | 5,000 USD ~10,557 USD in 2023 |
Page Visits: 57763