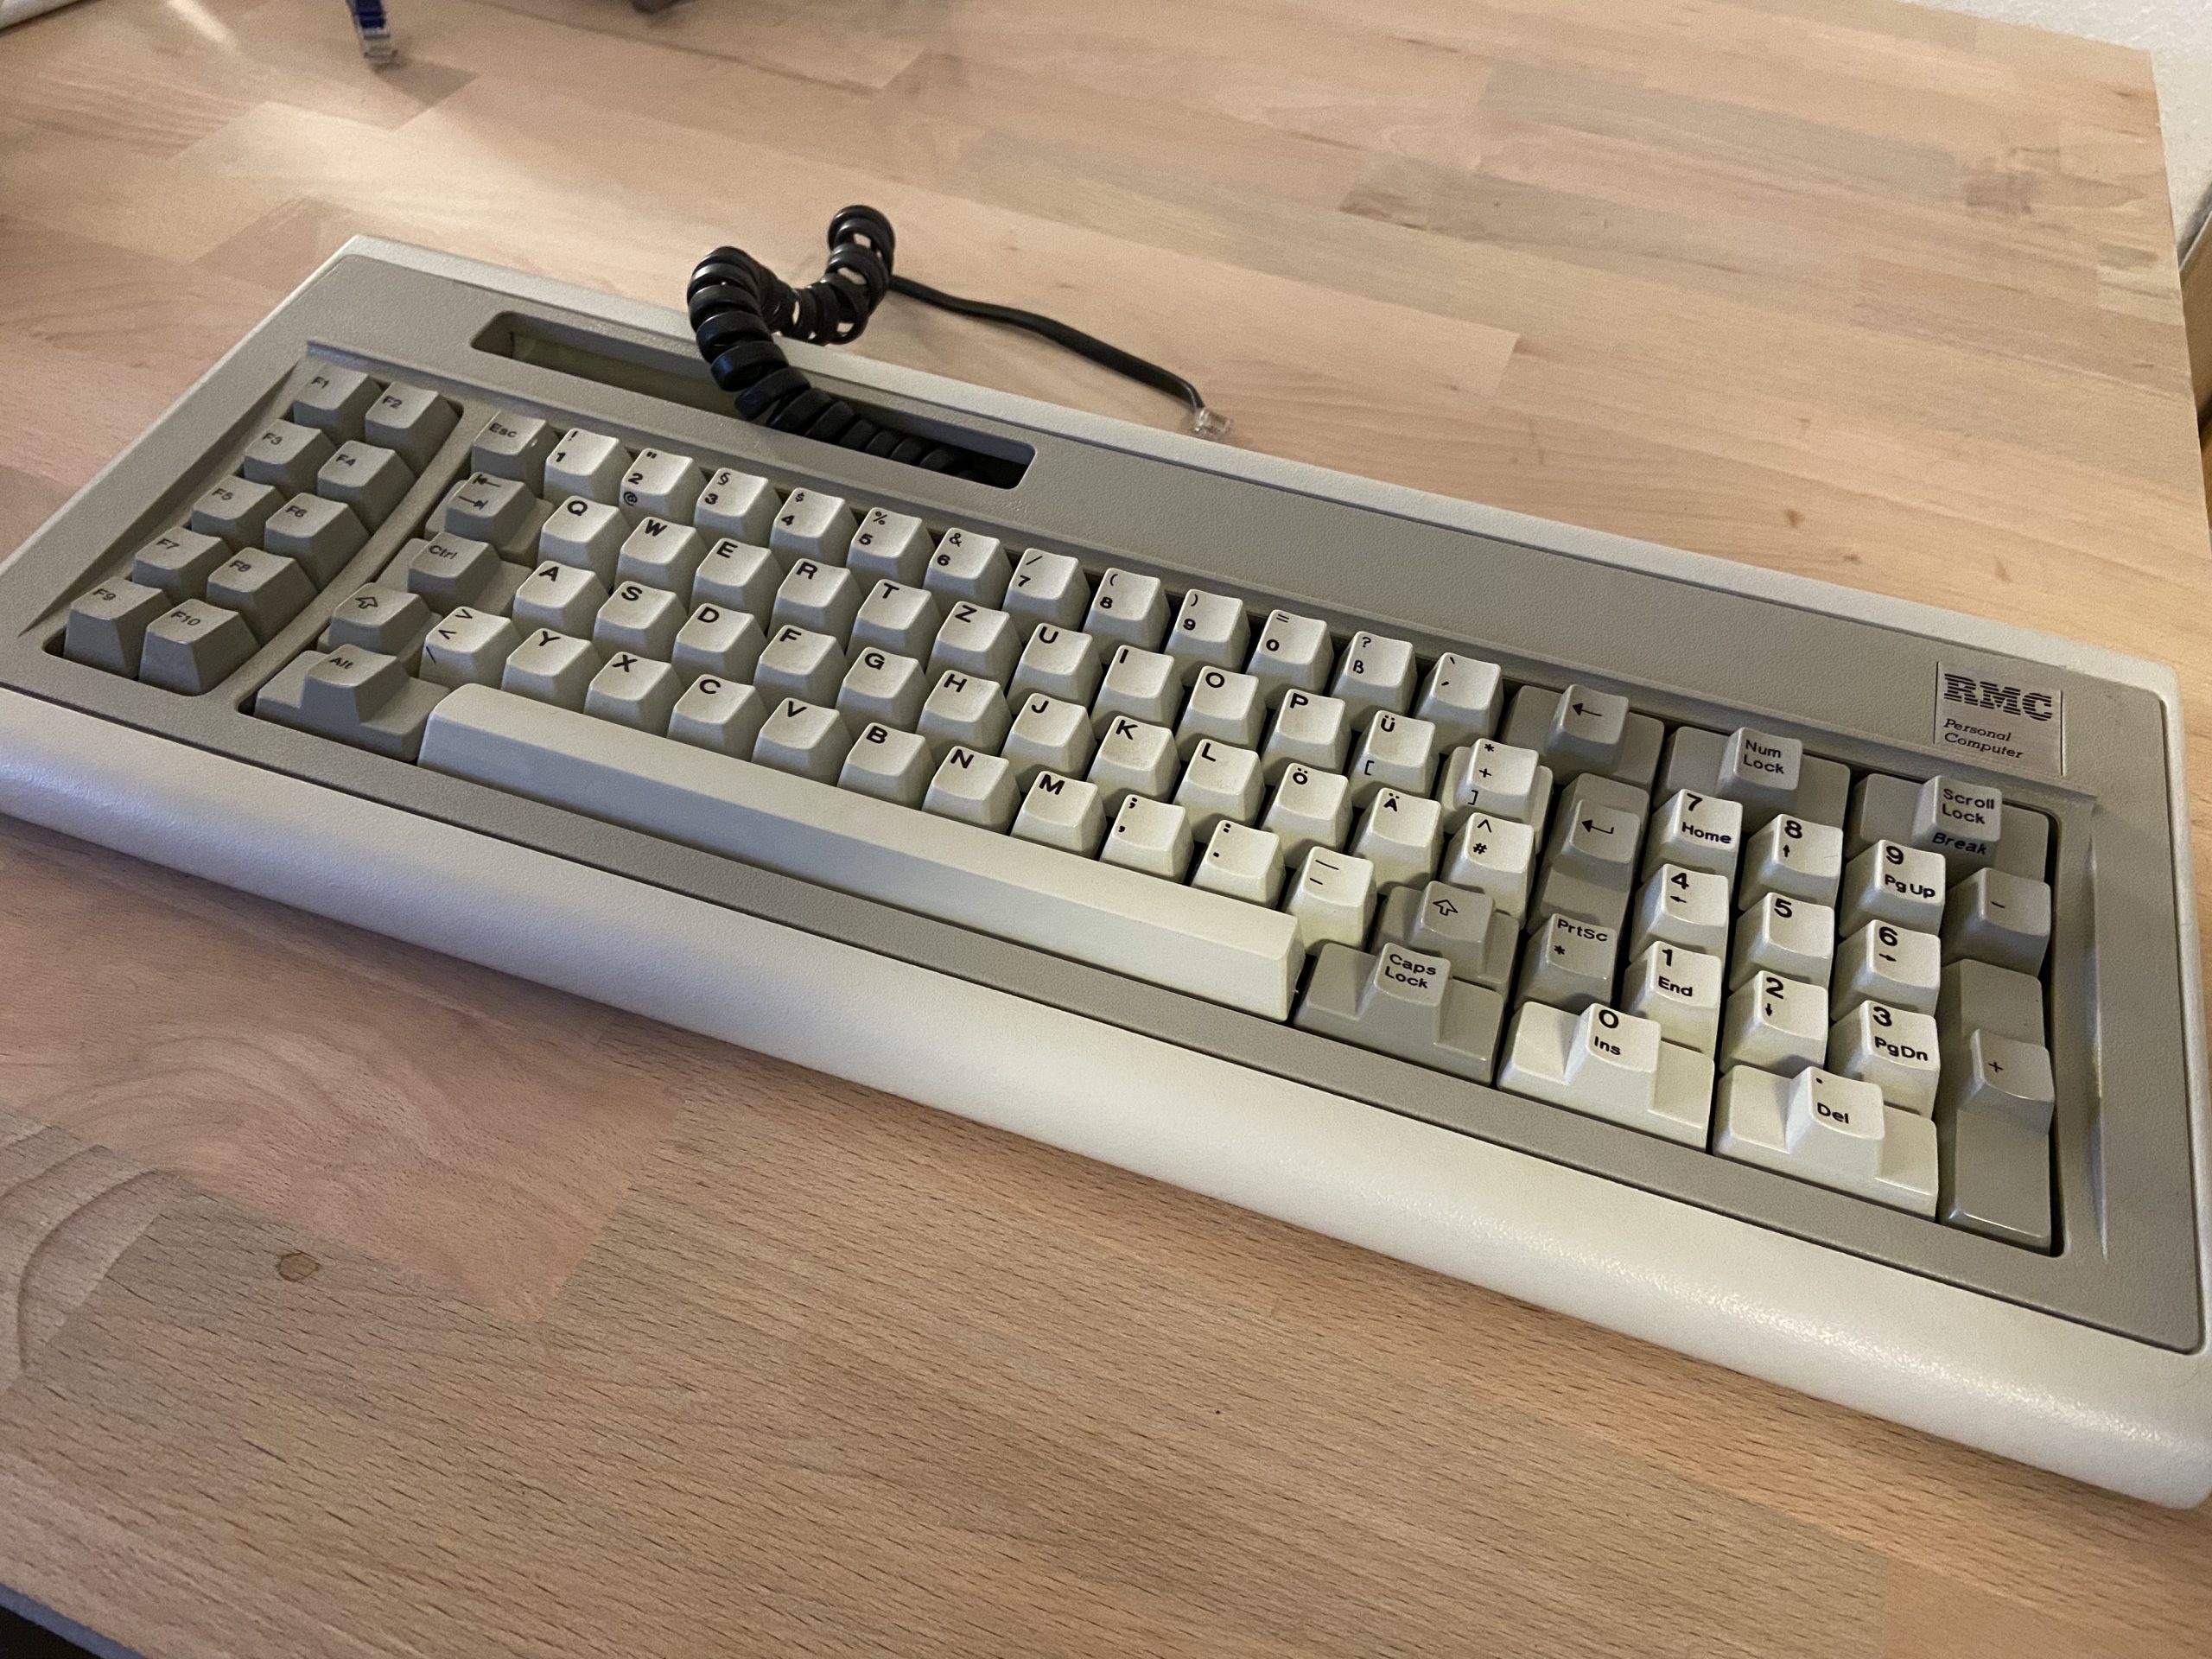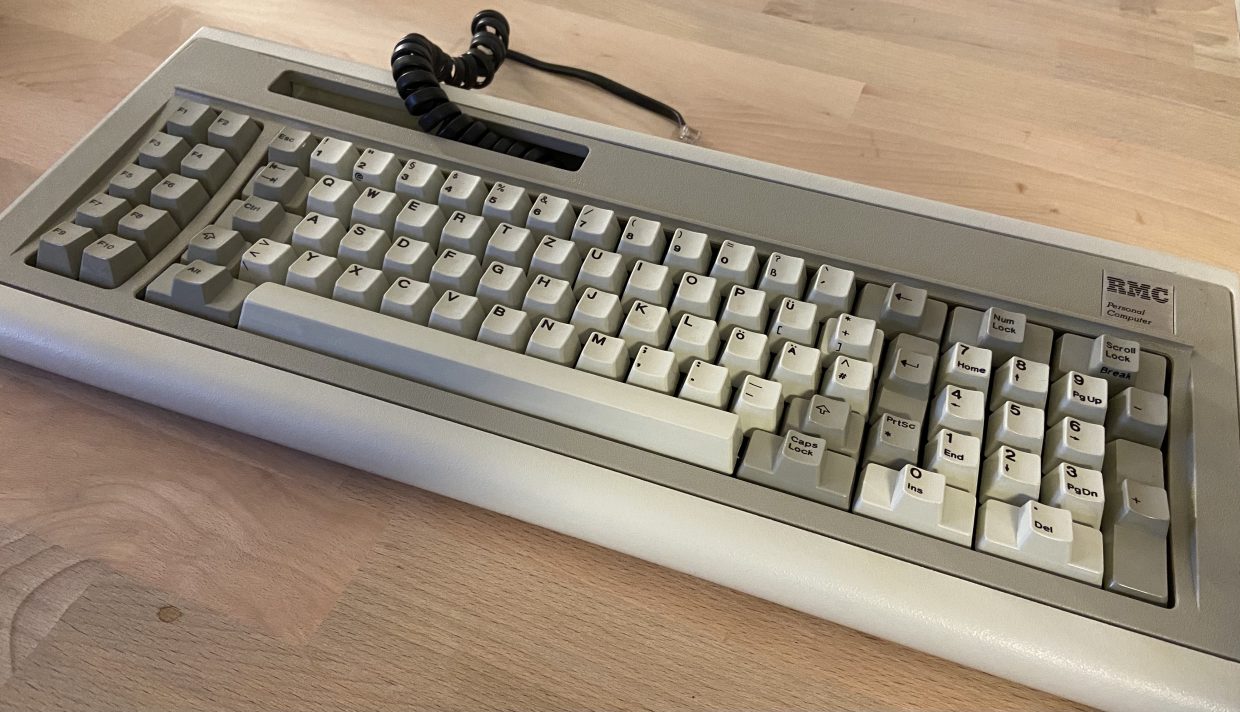
As part of the IBM(RMC) 5155 I got the model F keyboard in its portable flavor, noteable differences to the non-portable version are that the cable is stowed in a compartement on the top and ending in a phone jack connector that plugs into the front of the computer and the portable keyboard has a brown bezel around the keys area instead of a beige one.
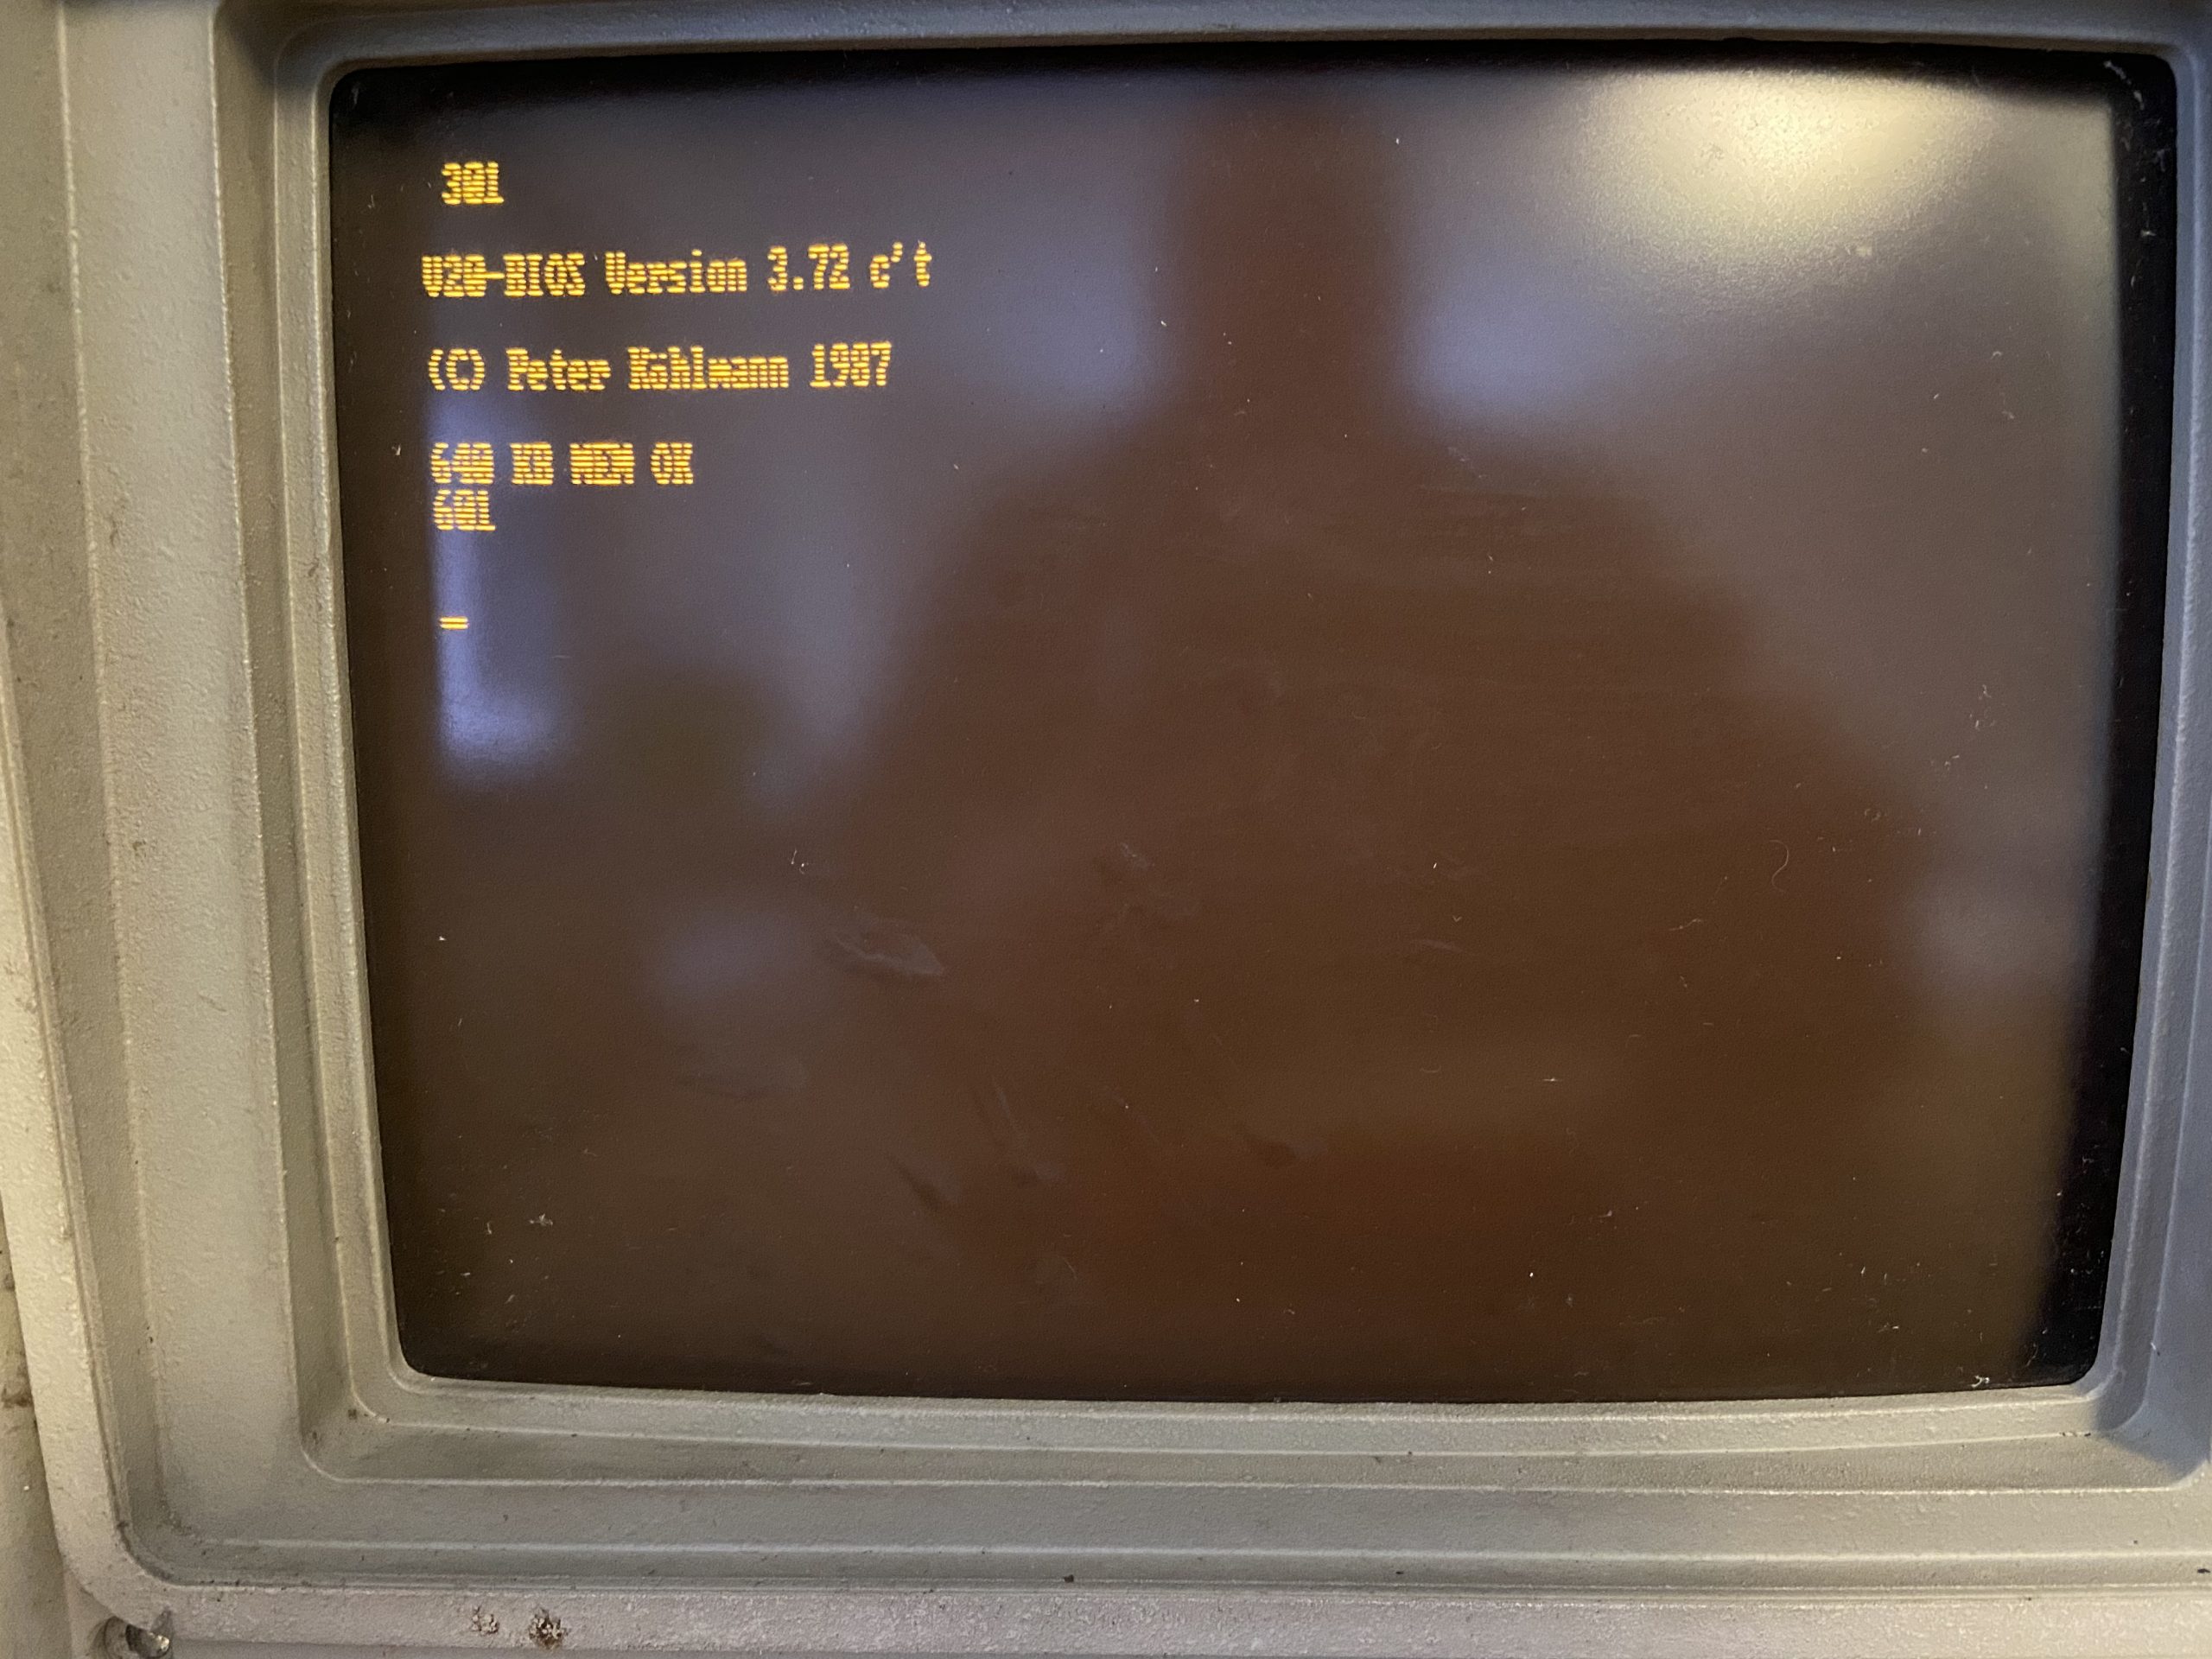
When plugged in, it caused a 301 error code and several of the keys were not working, one of them being the enter key thus making any interaction with the machine very difficult.
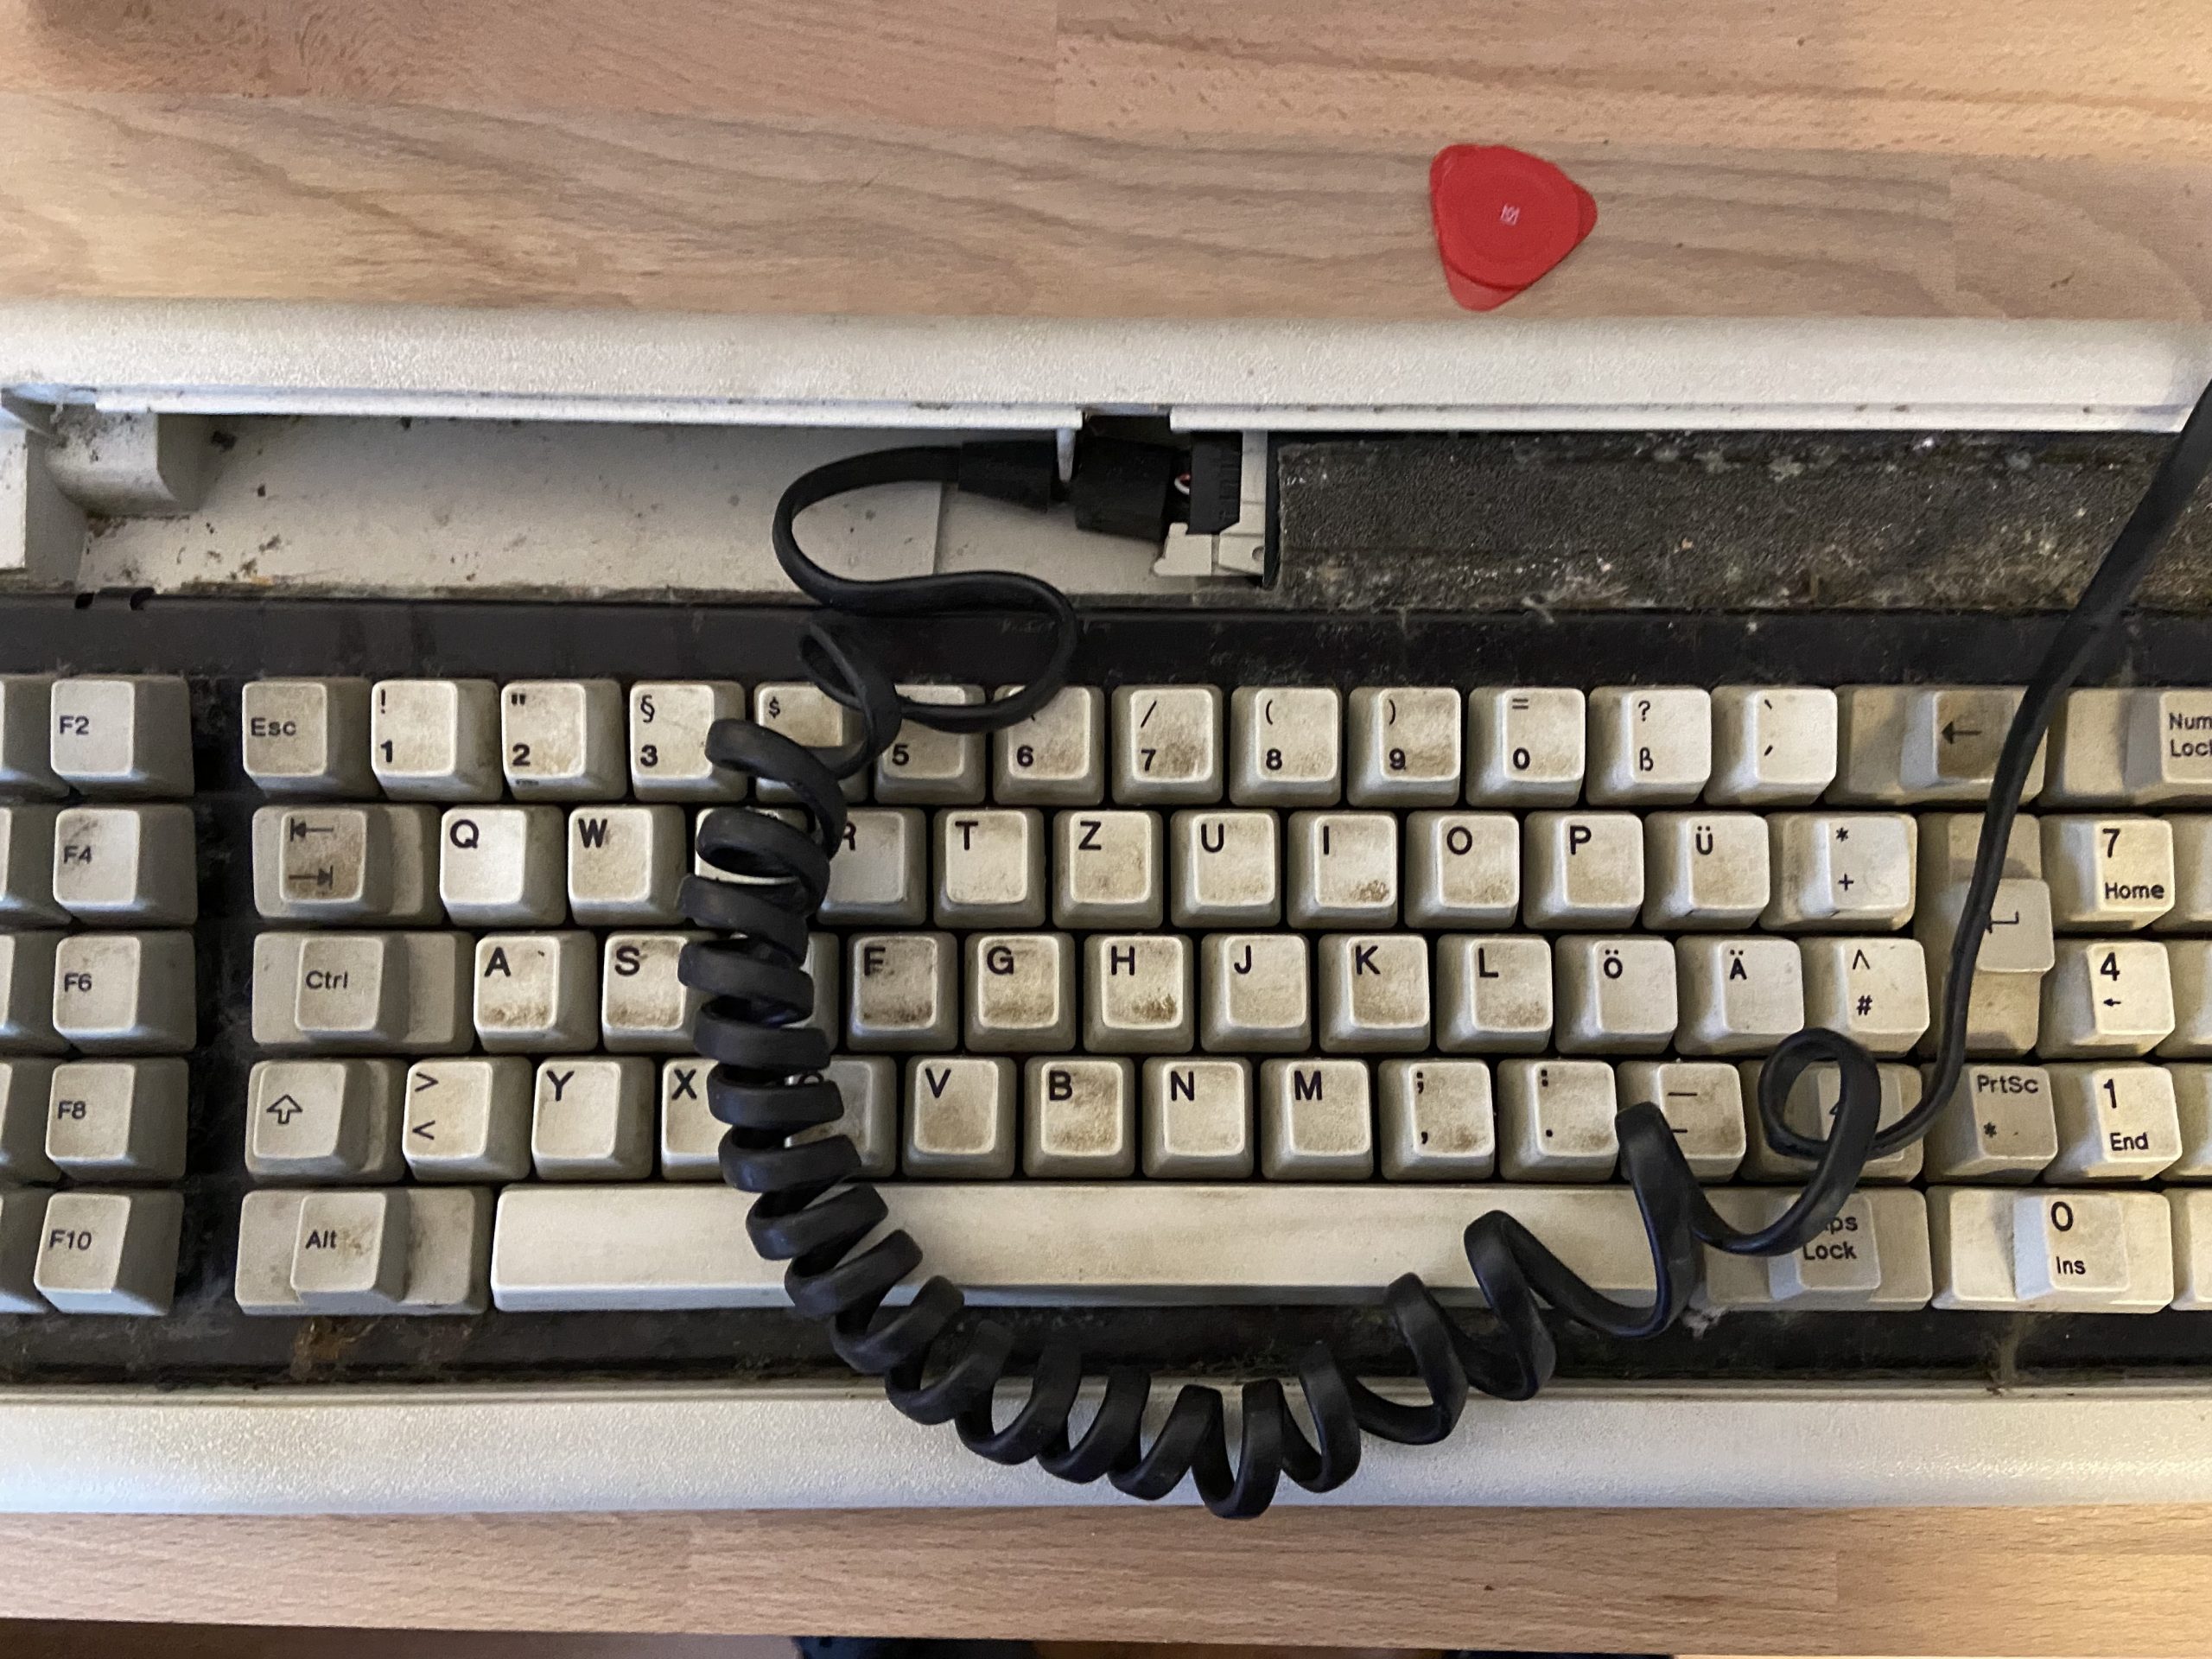
And then this keyboard was hyper-dirty, so time for a serious cleanup! Also it looked (and smelled) as if had been exposed to water which caused several keys to stick and the foam to rot. The cool thing about the model F however is that it was built to be serviceable so everything can be taken apart non-destructively to be cleaned. So let’s get going!

The keyboard opens from the top by squeezing in three latches between the brown bezel and the beige case. A guitar pick style tool will get this done and prevent scratching the plastics. The material will however be somewhat brittle, so be careful not to apply too much force.
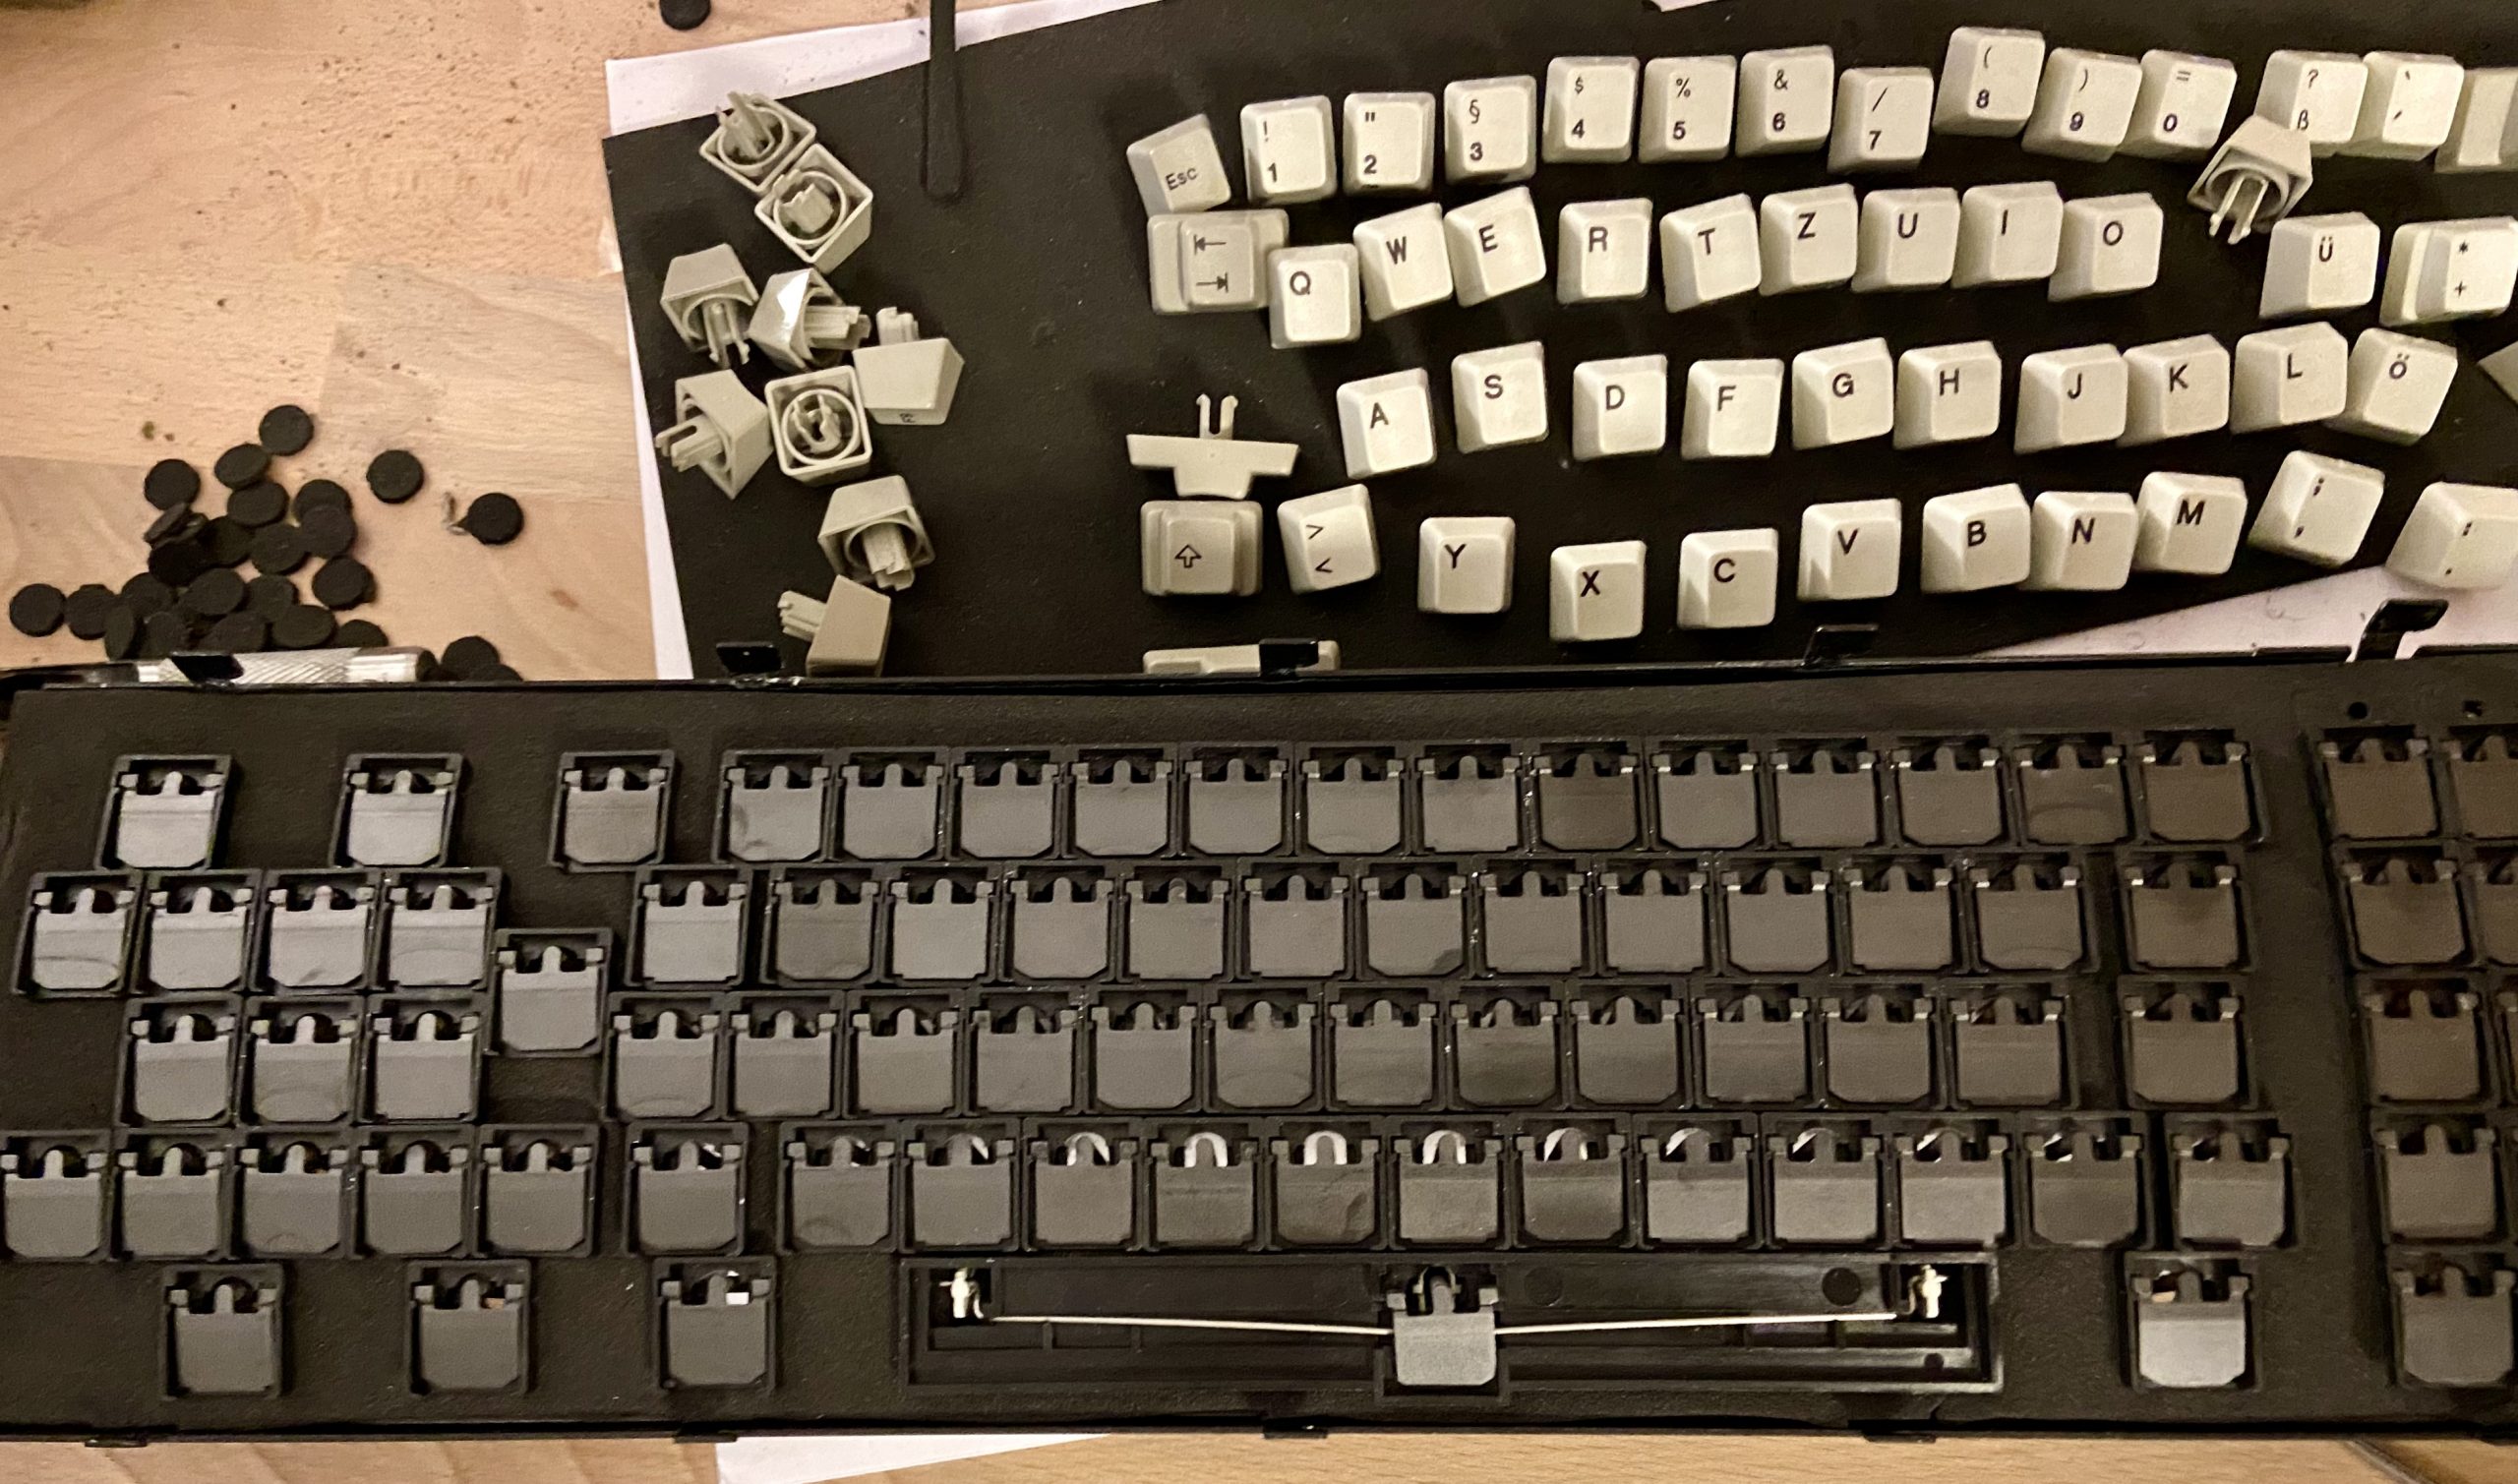
At this stage I removed all the keycaps (except for space) and soaked them in water and detergents, then cleaned them in a ultrasonic bath. The space bar cannot be removed from the front due to the stabilizer that’s only accessible from behind after removing the backplate.
Once the keyboard is open, the rest is straight forward – unscrew the bolt under the mat near the cable connector and two more left and right of the keyboard. Then lift the unit out. So far theory. In practice, IBM opted for imperial sized hex screws to bolt things down in here. Space is too limited to use pliers and no fitting hex bit available. 5.5mm is too small, 6mm will slip.
Finally, the way to open those screws involved engineering an adapter to narrow down 6mm to whatever-this-imperial-crap is – 5/32″ ?? The adapter was quickly made out of a cleverly bent paperclip that was jammed between bit and hex nut and so provided enough friction to loosen those bolts. I then immediately took the bolts to the workshop and cut slits into the screw heads so that reassembly could be done with a regular screwdriver.
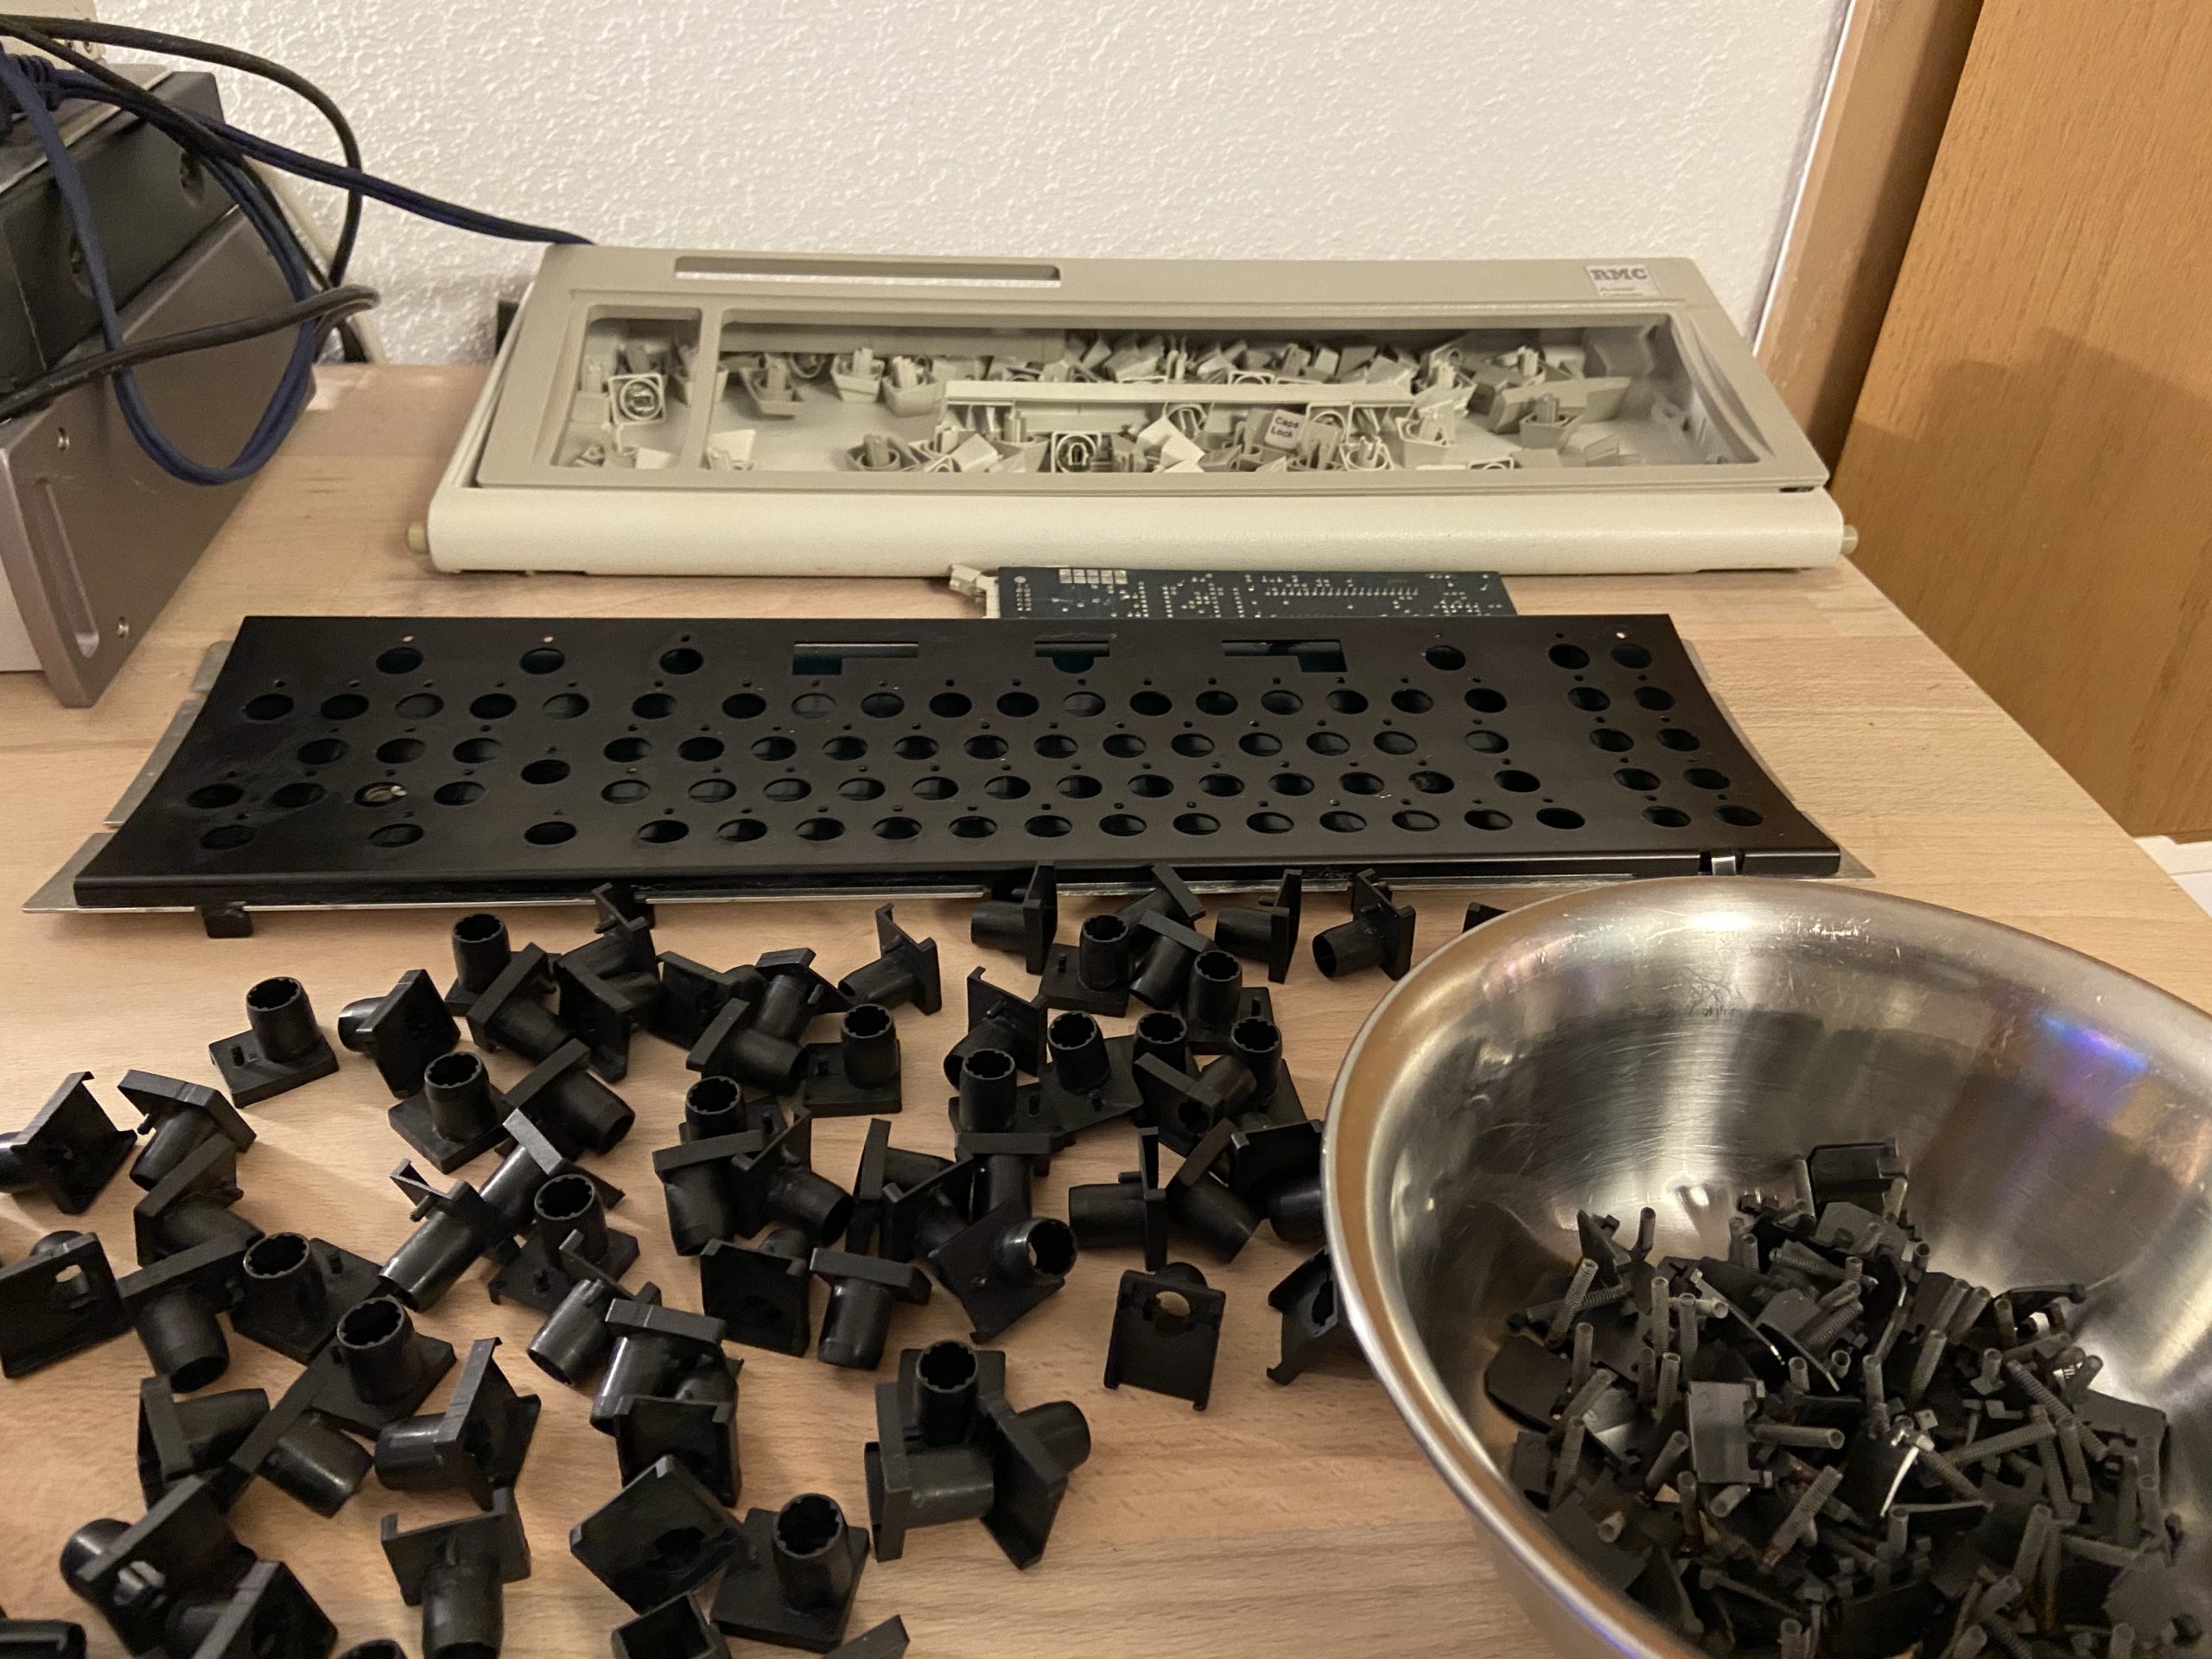
Once the keyboard assembly is out, you will discover it is a sandwich of:
- a metal frontplate
- a foam mat
- 83 plastic barrels, one for each key
- 83 spring / 83 flapper parts, one per each key which plug in from the back through the barrels
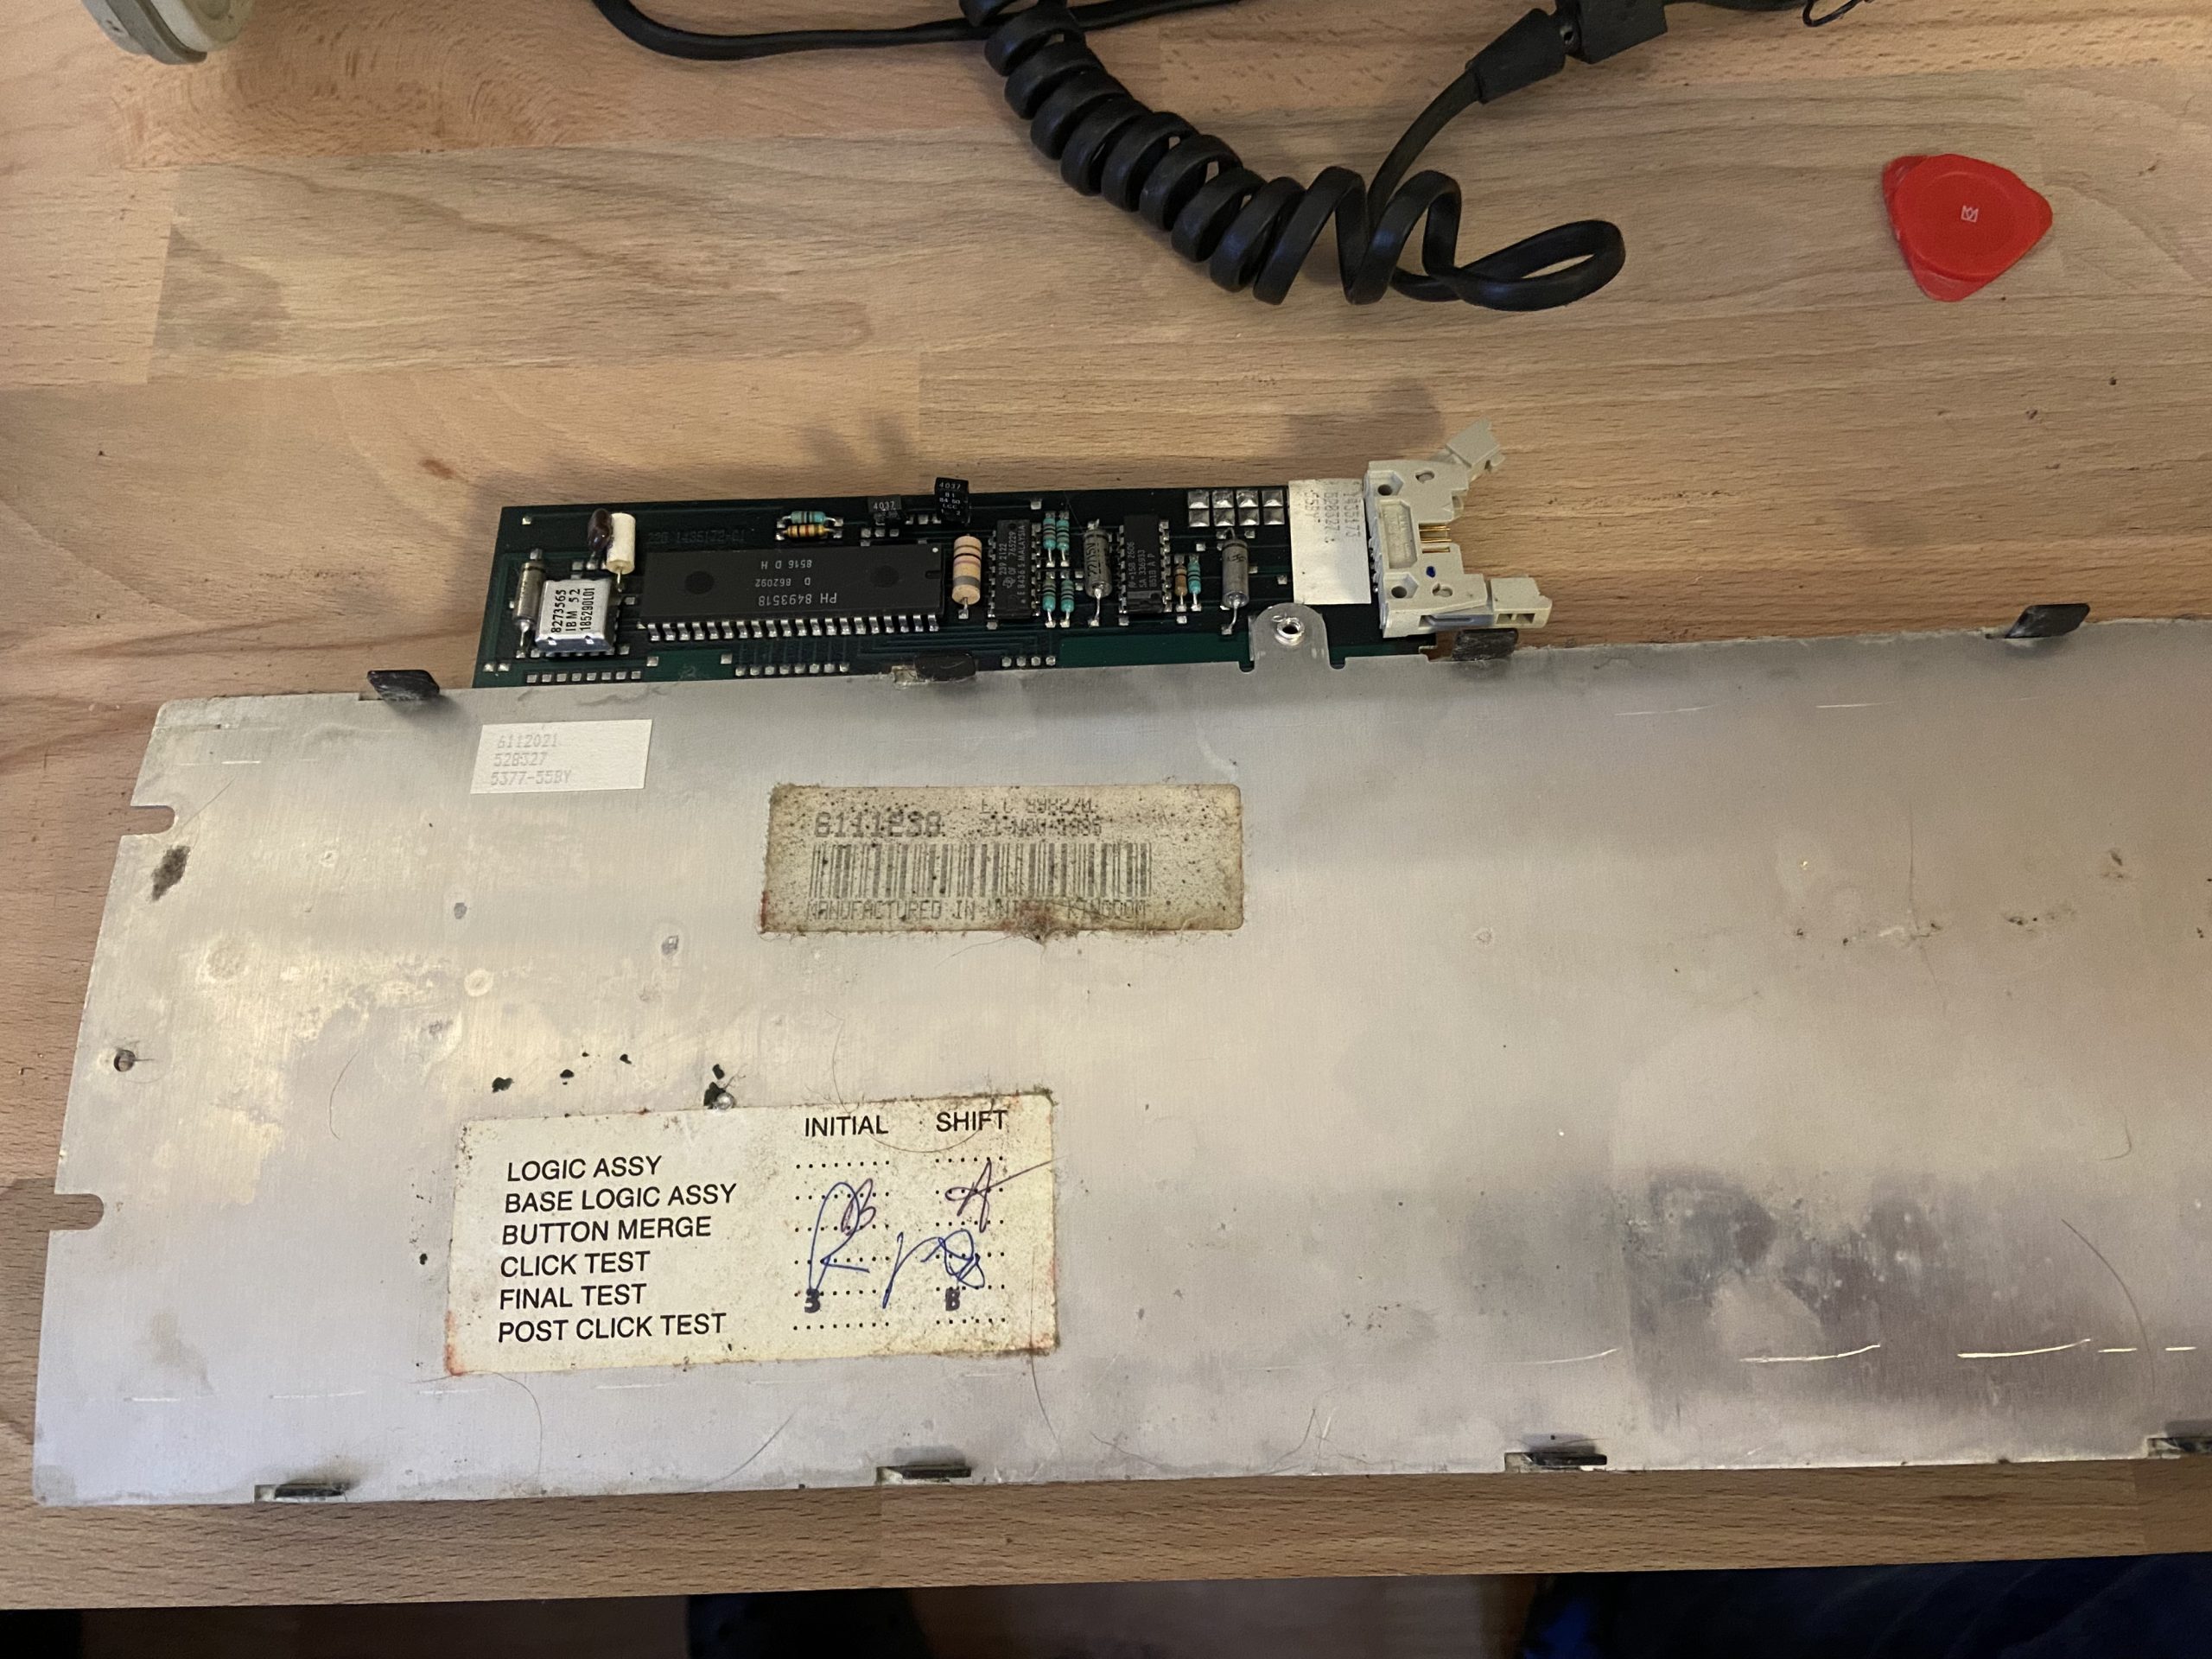
- a printed circuit board
- and a metal backplate
So the model F keyboard consists of:
263 parts (keyboard assy) + 83 keycaps + 1 stabilizer + 1 cable + case top and bottom (2) + 4 feet (made of 3 parts each) = 362 parts in total
The keyboard case needed a thorough cleaning as well and it turned out that there must have been water in the keyboard at some point since there were stains from dried fluid on the keyboard PCB, the felt mat inside the keyboard assembly had rotten away and several of the springs were rusty.
Since the keyboard can be taken apart down to each individual part, cleaning is easy – the plastics can be soaked in water and scrubbed down, the flappers clean up with IPA and the springs can be lubed with WD40.
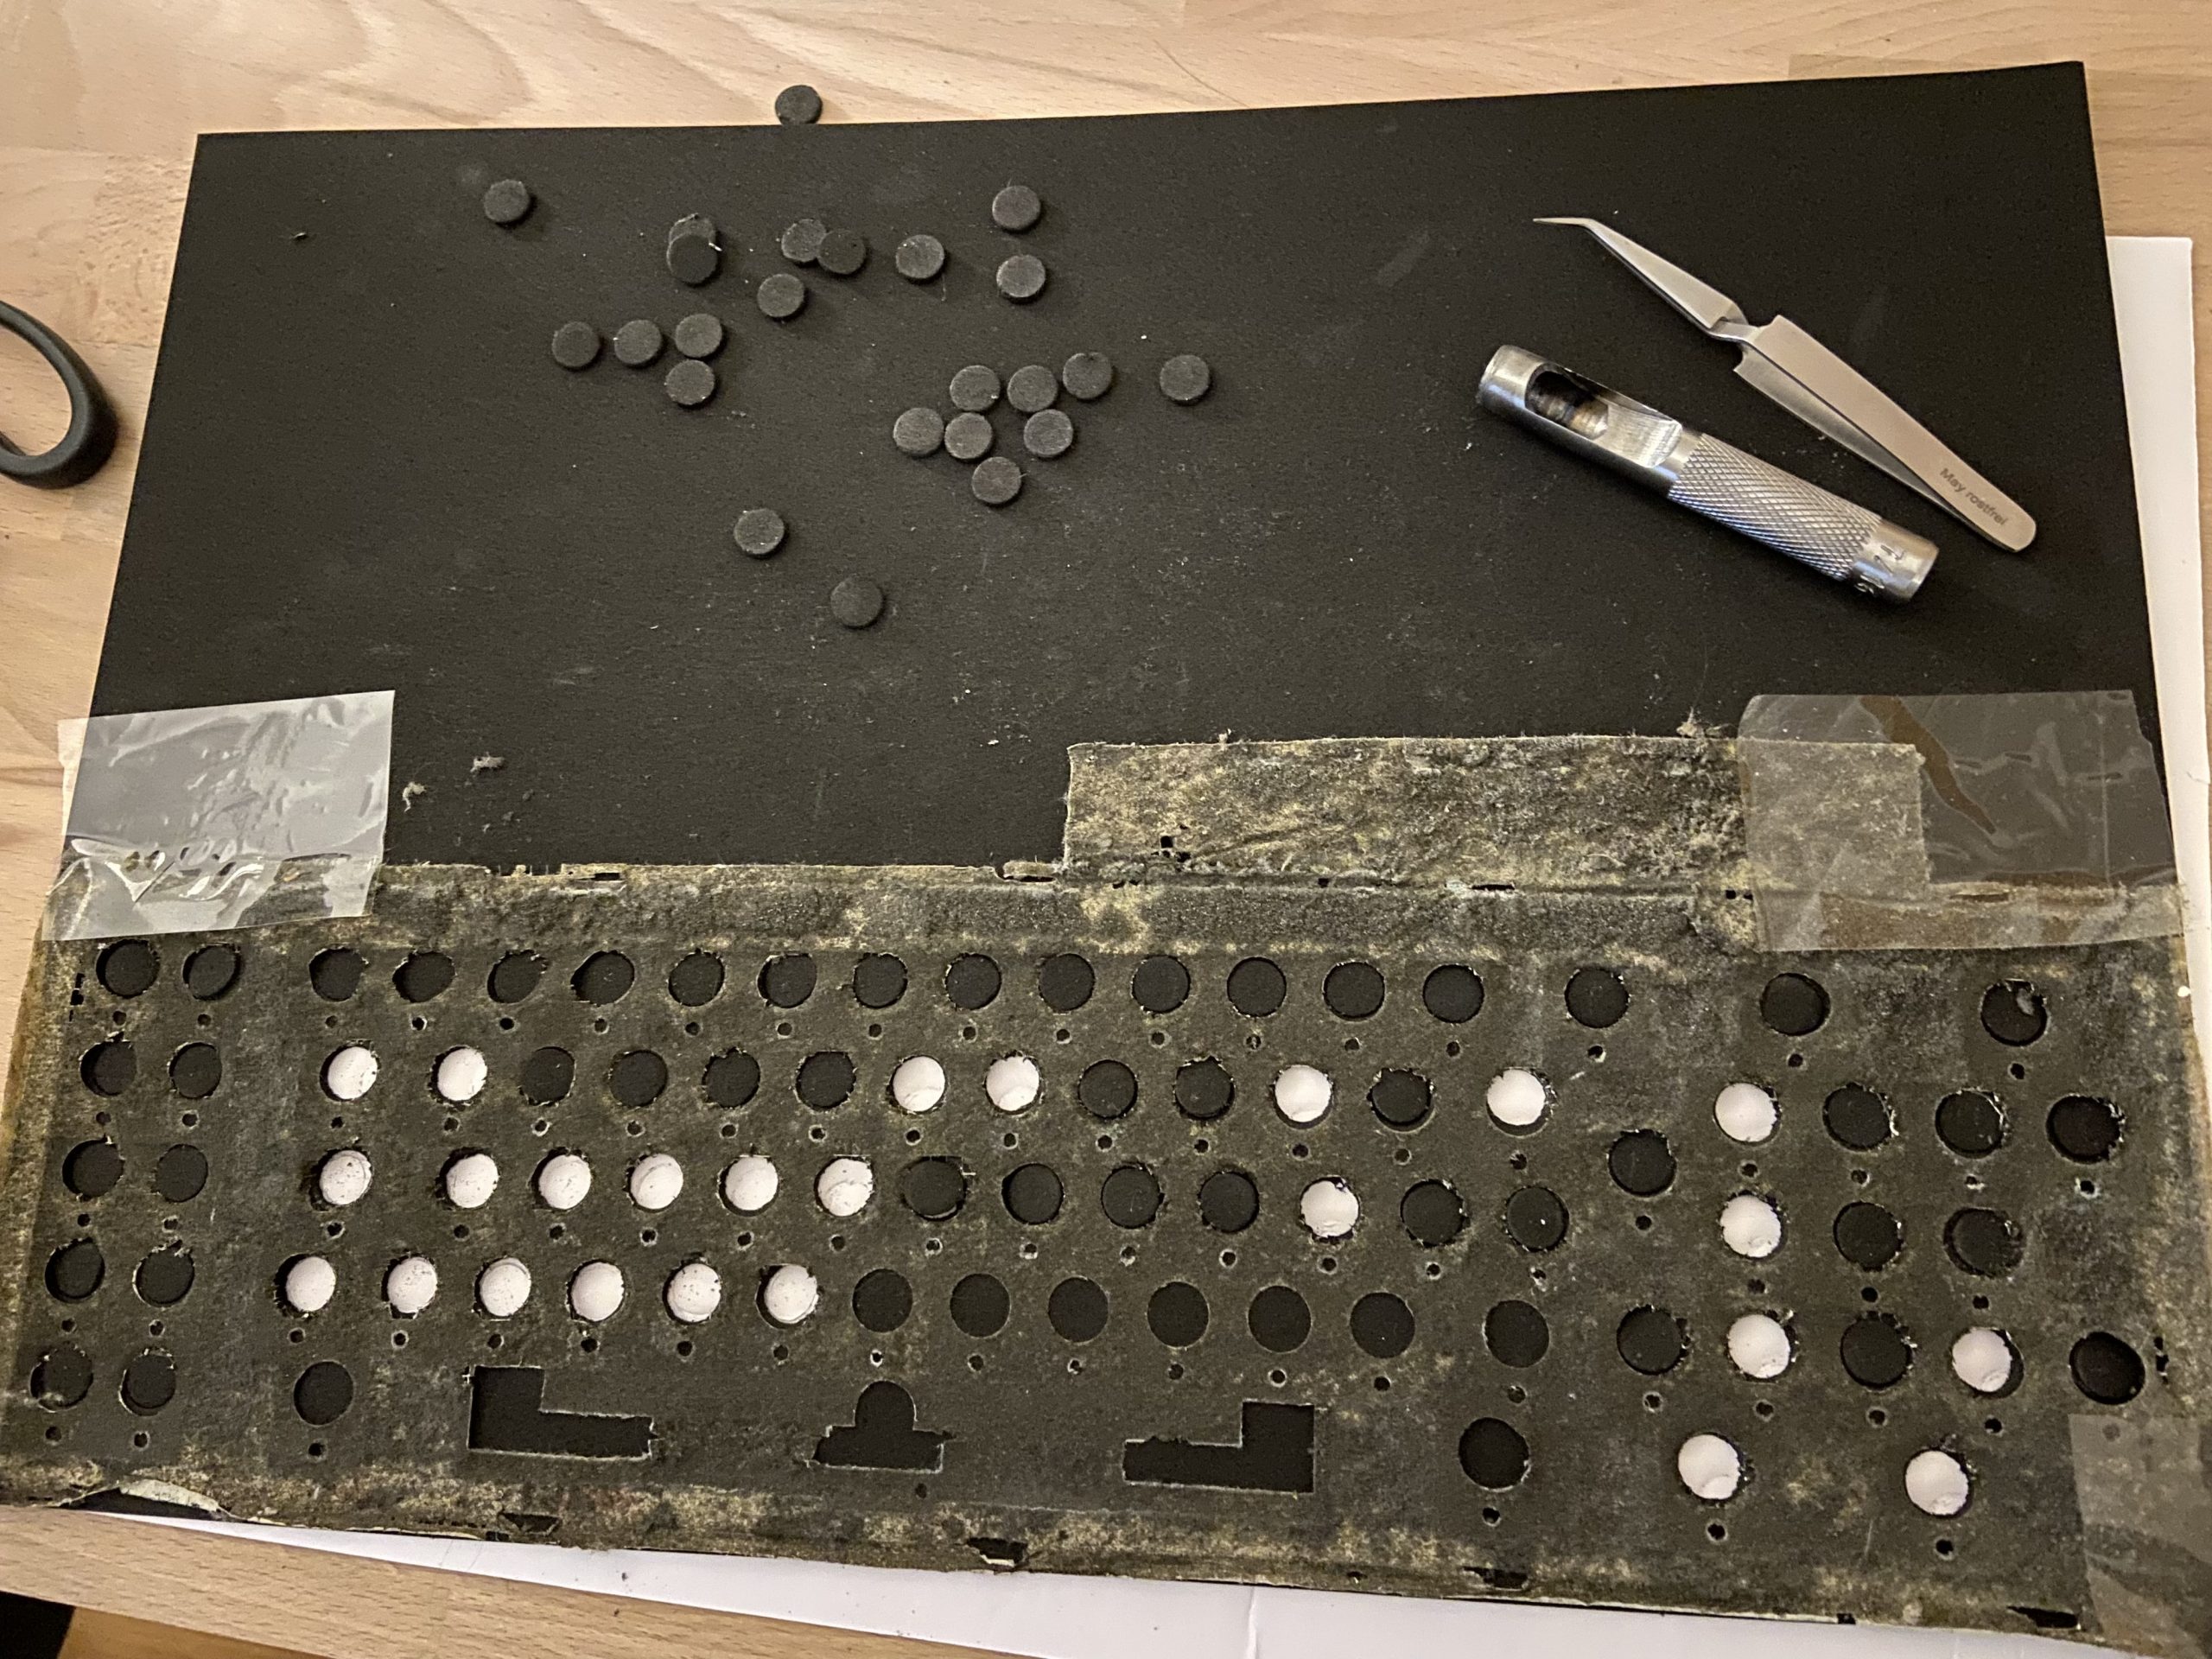
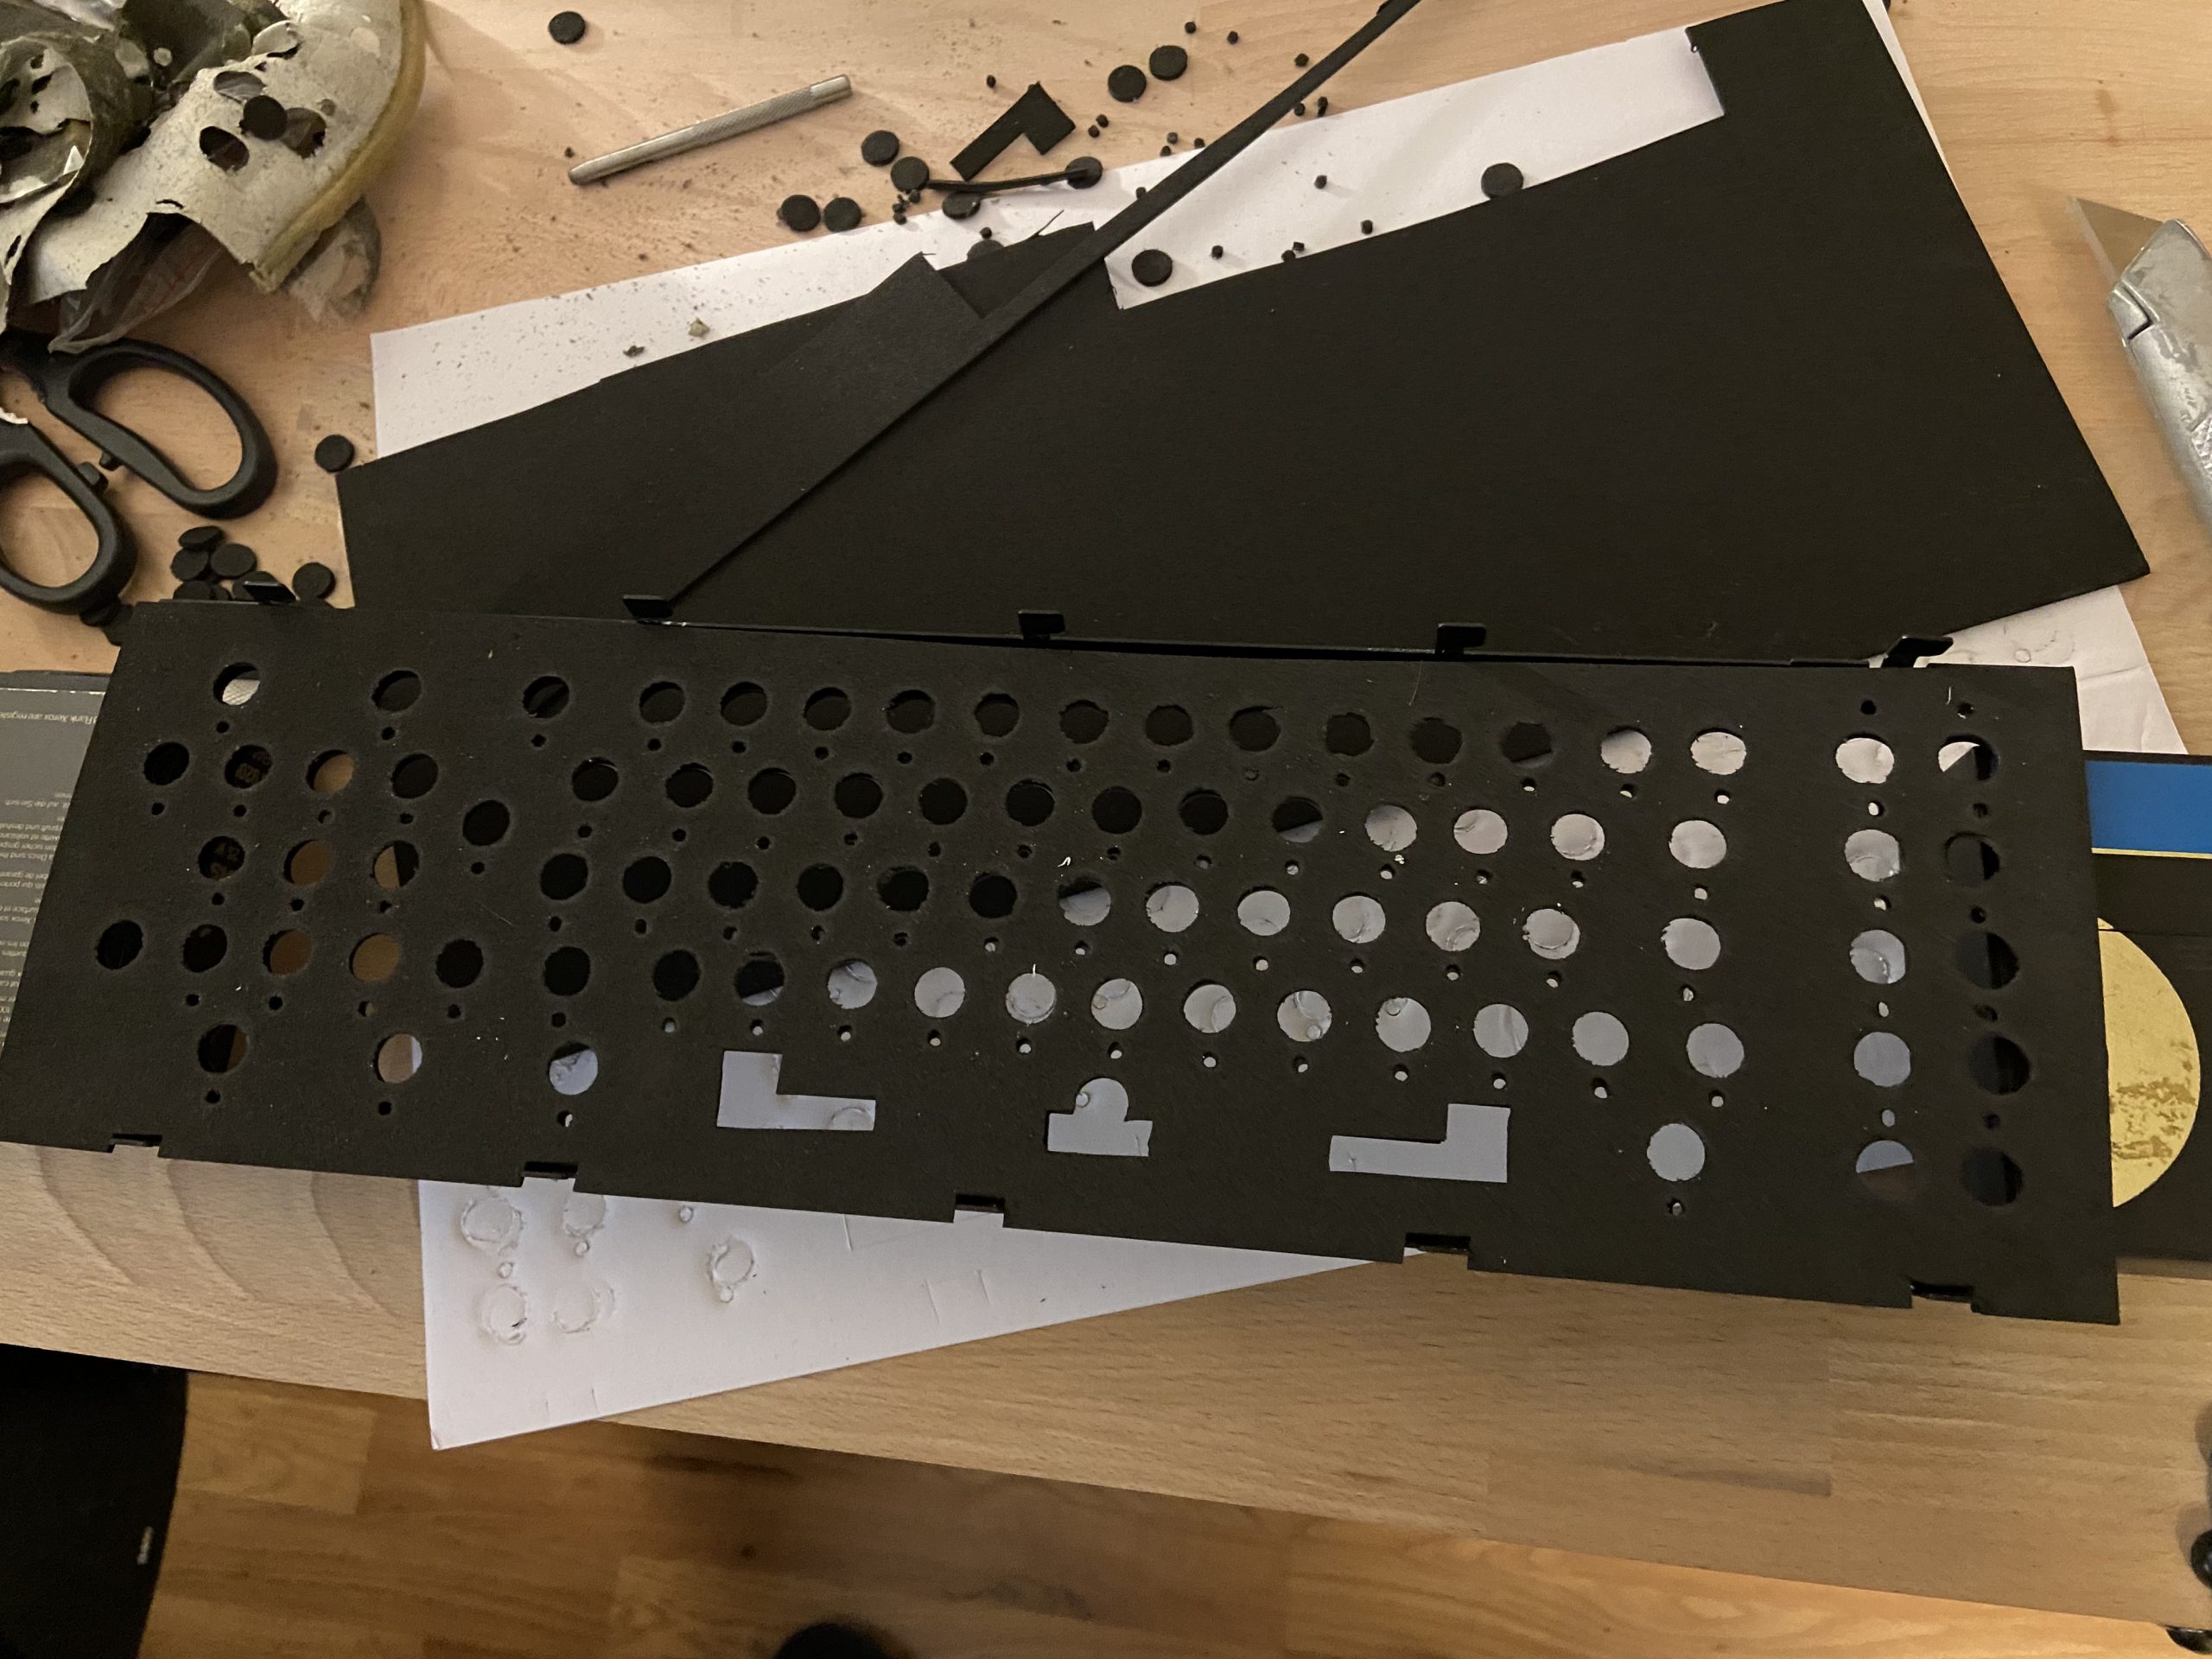
The rotten foam mat however was beyond recovery so I had to recreate one from a new sheet of 2mm foam. I used the old mat as a template for punching holes into the new material.
Time for reassembly and testing 🙂
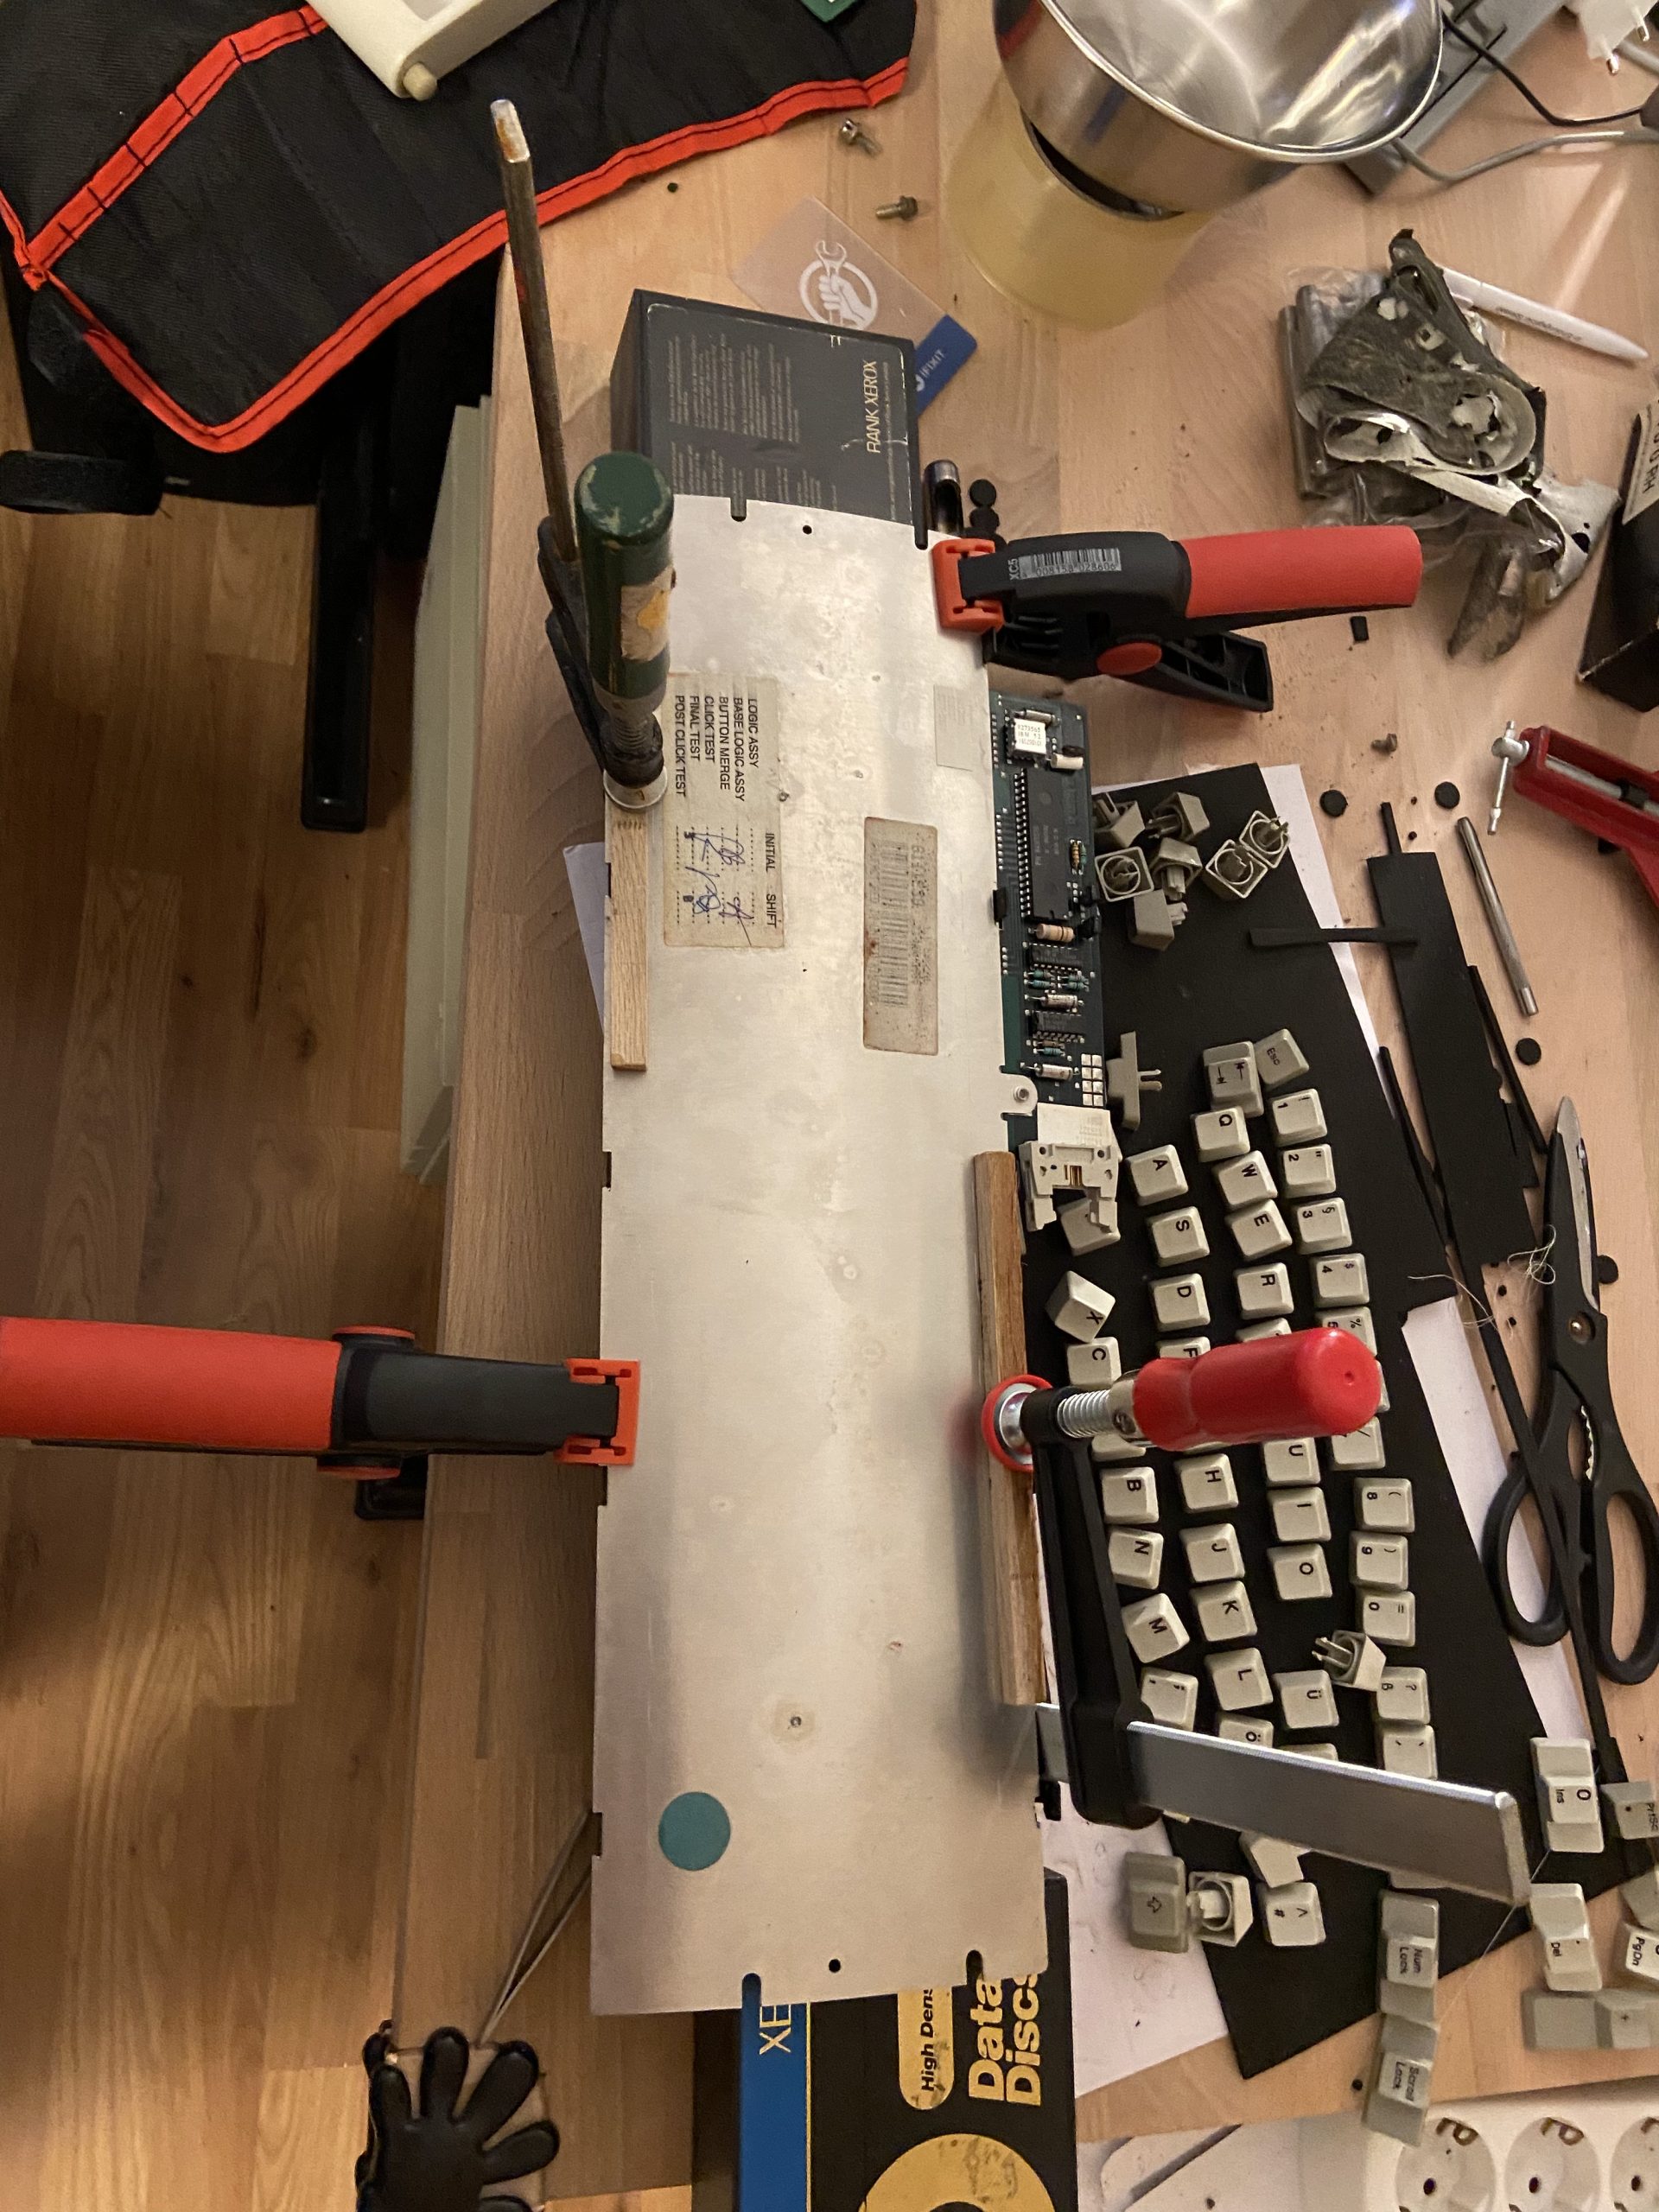
The hardest part of this restoration was re-assembling the keyboard again since that involved pressing the two halves of the assembly together, holding down the spacebar to keep its switcher in place and sliding the two halves together at the same time. I worked with several clamps and other tools to get it back together.
Having solved that problem, I found that I somehow managed to plug in the barrels and switchers of the F-keys wrong way, resulting in 180 degree rotated key caps. Clearly, this was not acceptable, so opened the keyboard again, corrected the mistake and forced it back together while swearing at it.
On the positive side, the keyboard is like new now and it’s nice to type on it. The keys feel a bit lighter to press than the model M ones (except for the space bar) and with the buckling spring mechanics they provide an excellent tactile and audible feedback.
The only complaint I have about this keyboard is its weird layout compared to the MF-II 101 key style which is standard nowadays: Some keys are in quite inconvenient locations, such as the backspace key and the backslash. Also, there’s no Alt-Gr key either so getting to some symbols involves holding ctrl-alt and the symbol key, resulting in a somewhat cramped posture.