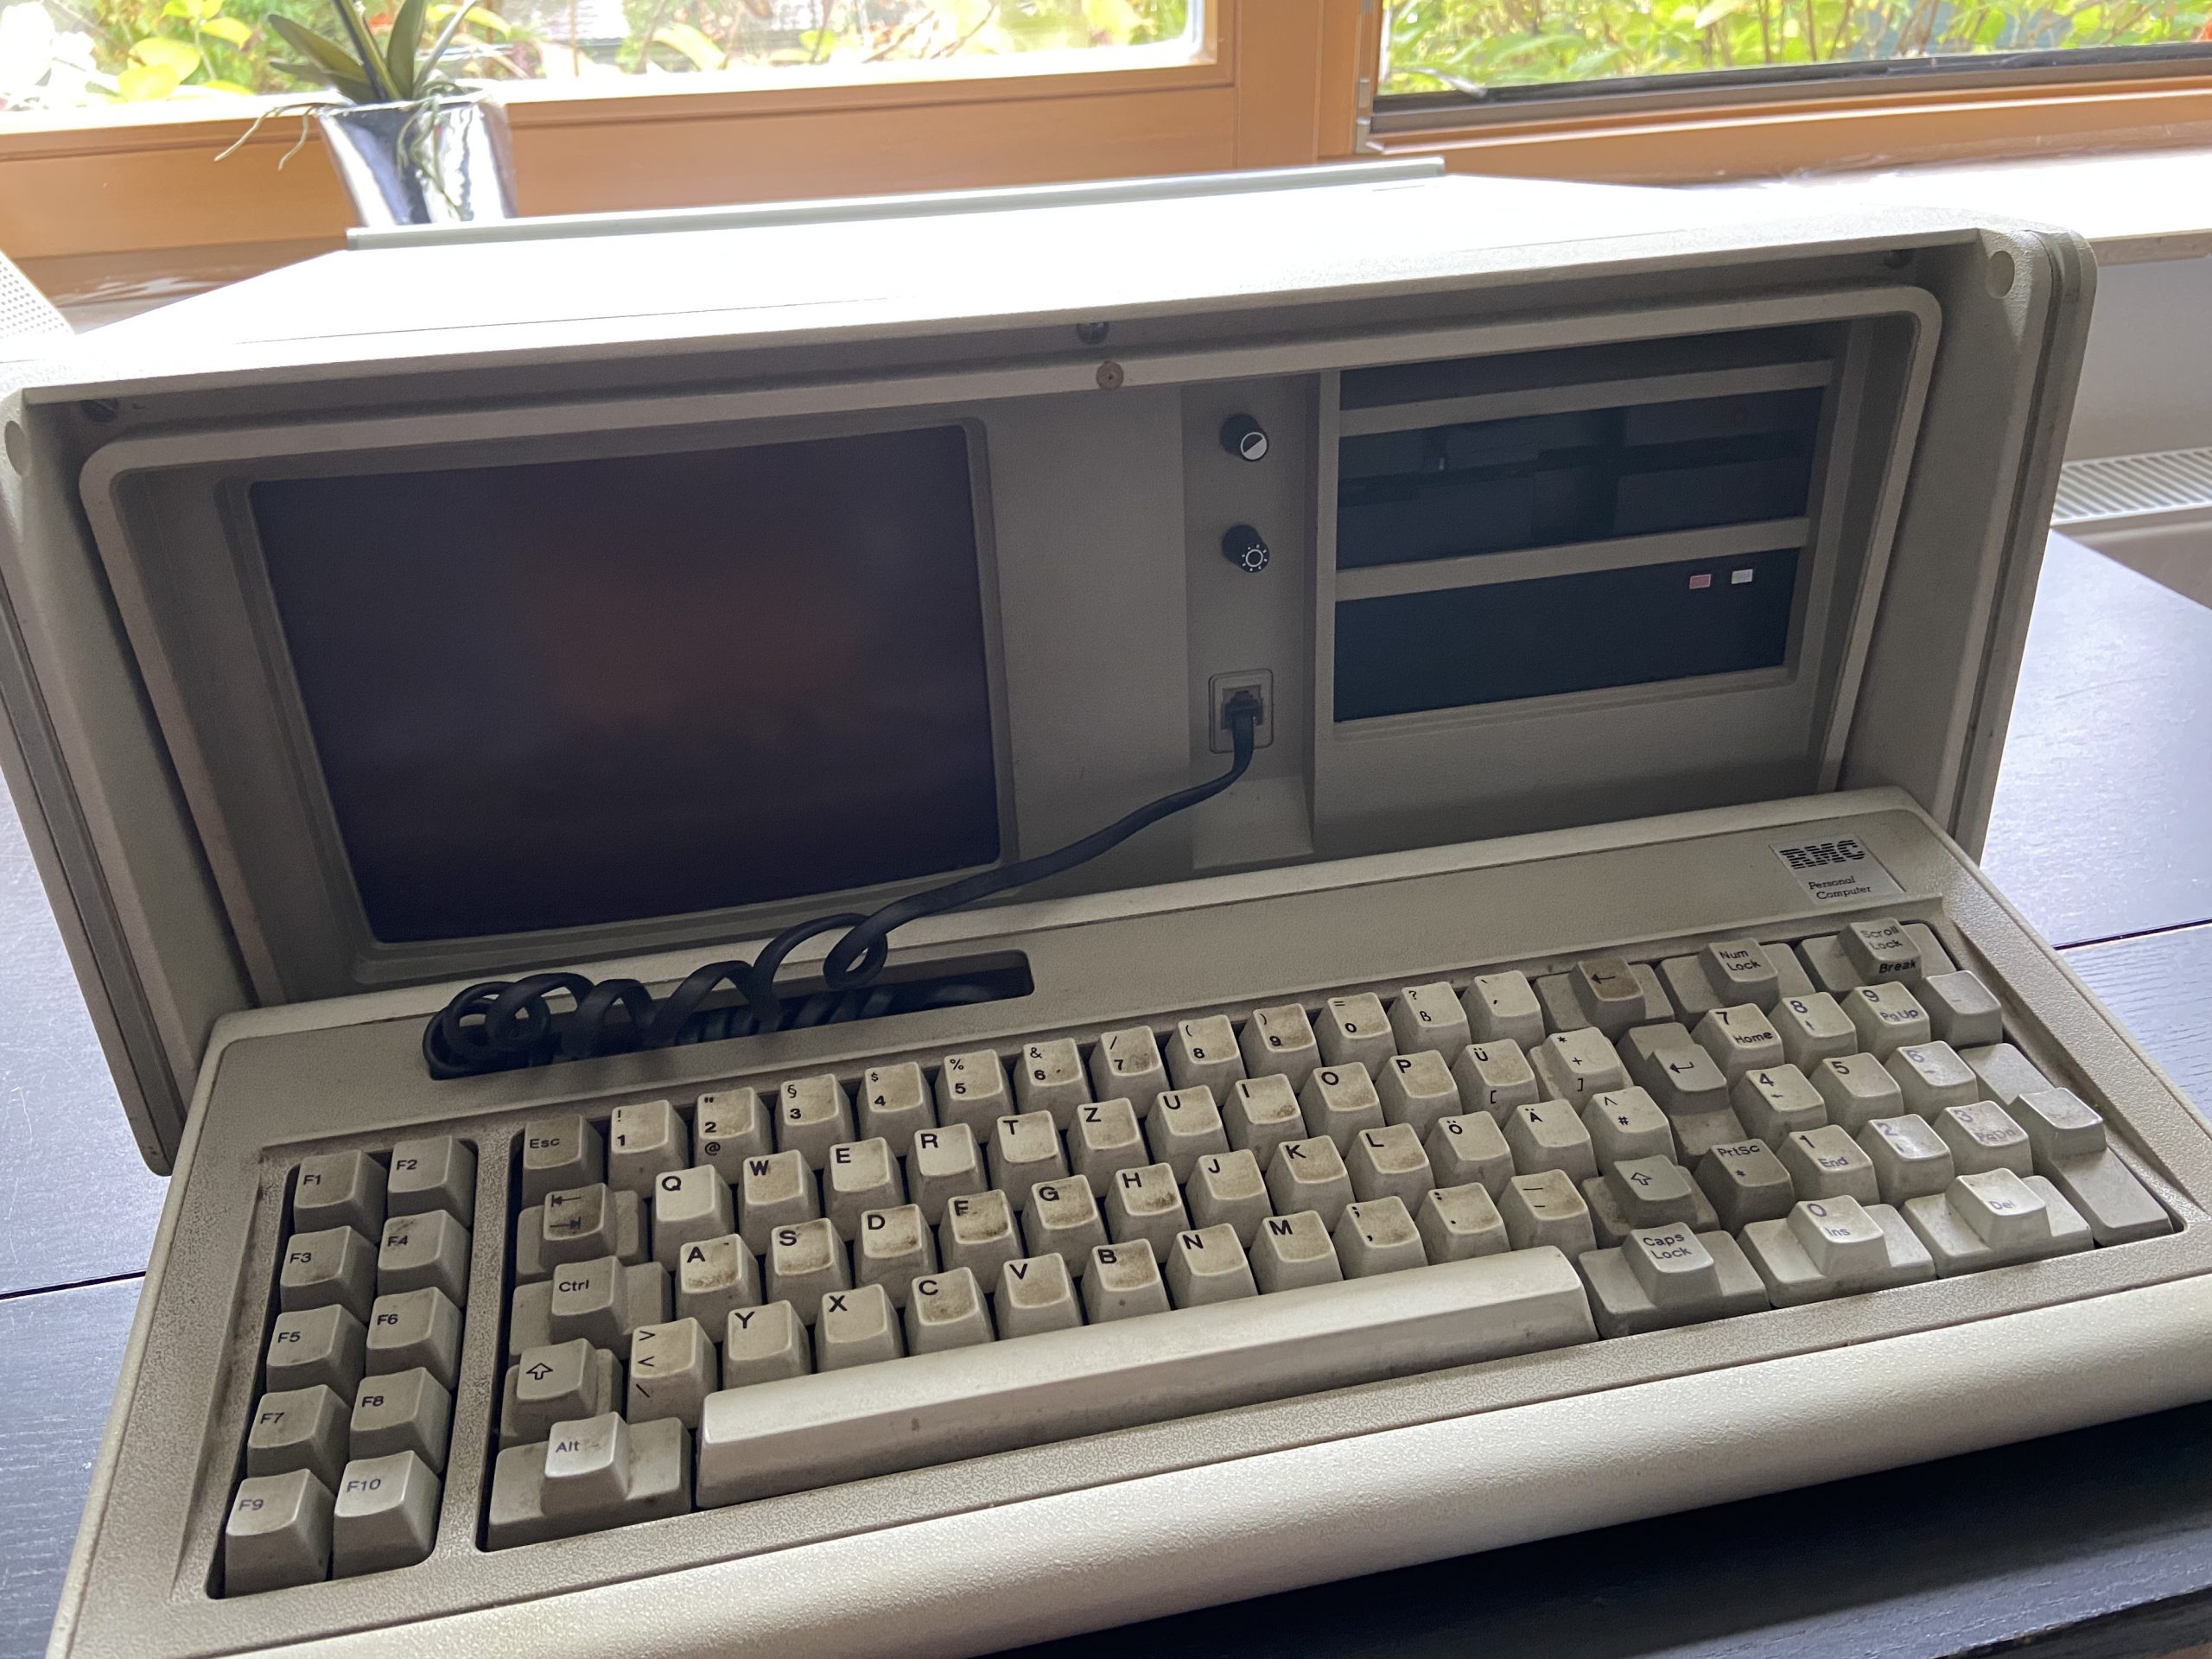
I recently aquired a RMC portable computer which is a rebranded IBM portable PC. In fact, the model information on the back identifies it as IBM model 5155, manufactured in the UK, Greenock.
The machine was sold as non-functional which certainly turned out to be true. It did nothing when flicking the power switch. Apart from that it was extremely dirty and after opening it up, I had the impression that it had been exposed to moisture for a while because of a some rust and a cellar smell from the inside.
Restoration
First order of business was to get the keyboard into a decent shape again by cleaning it up and servicing the stuck keys, one of which was ENTER, making it difficult to operate the machine once it booted. The keyboard part was a surprising amount of work due to the number of parts this thing breaks down to. On the other hand it’s nice to see it being designed to be serviceable, i.e. there are no destructive steps involved.
The main unit restoration involved taking everything apart down to the individual parts of the case so that each one could be cleaned with IPA and some detergents in order to remove the cellar smell.
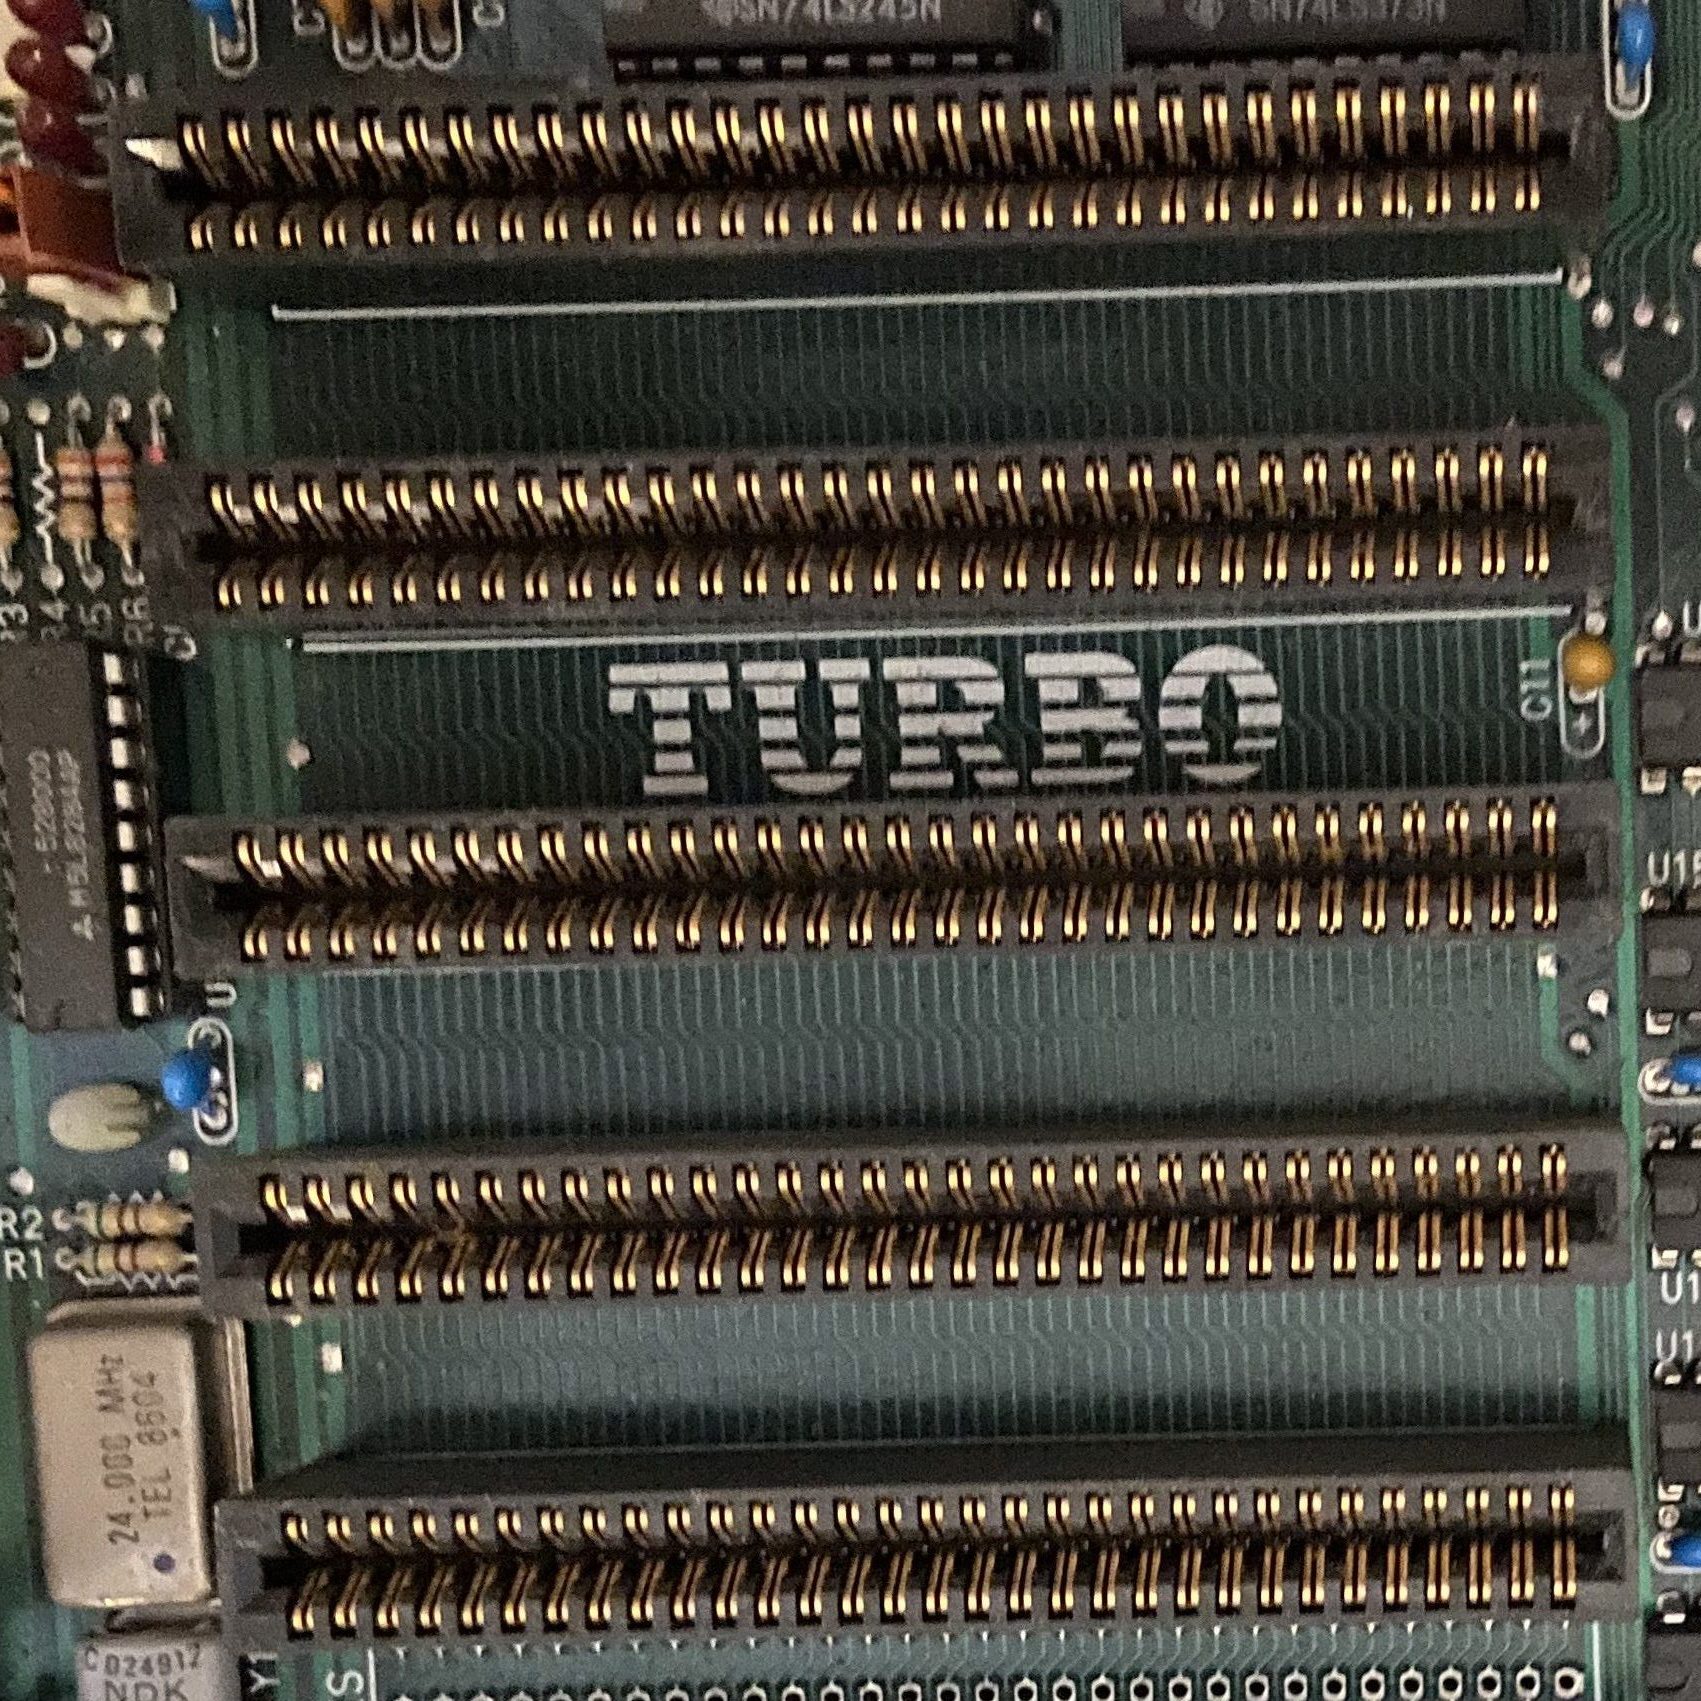
In the course of disassembly I noticed that this machine had been tinkered with before – most visibly, the IBM mainboard had been swapped for a DTK TurboXT board with a NEC V20 cpu and full 640KB of memory – definitely a worthwhile upgrade.
I also found an aftermarket 20MB Microscience 725HH 21MB MFM harddisk fitted in the second drive bay and a Panasonic floppy drive in the first bay that was attached to a multi-function card with parallel and serial ports, a gameport and a real time clock.
The graphics board, built in monitor and the PSU were the original IBM parts as far as I could identify them.
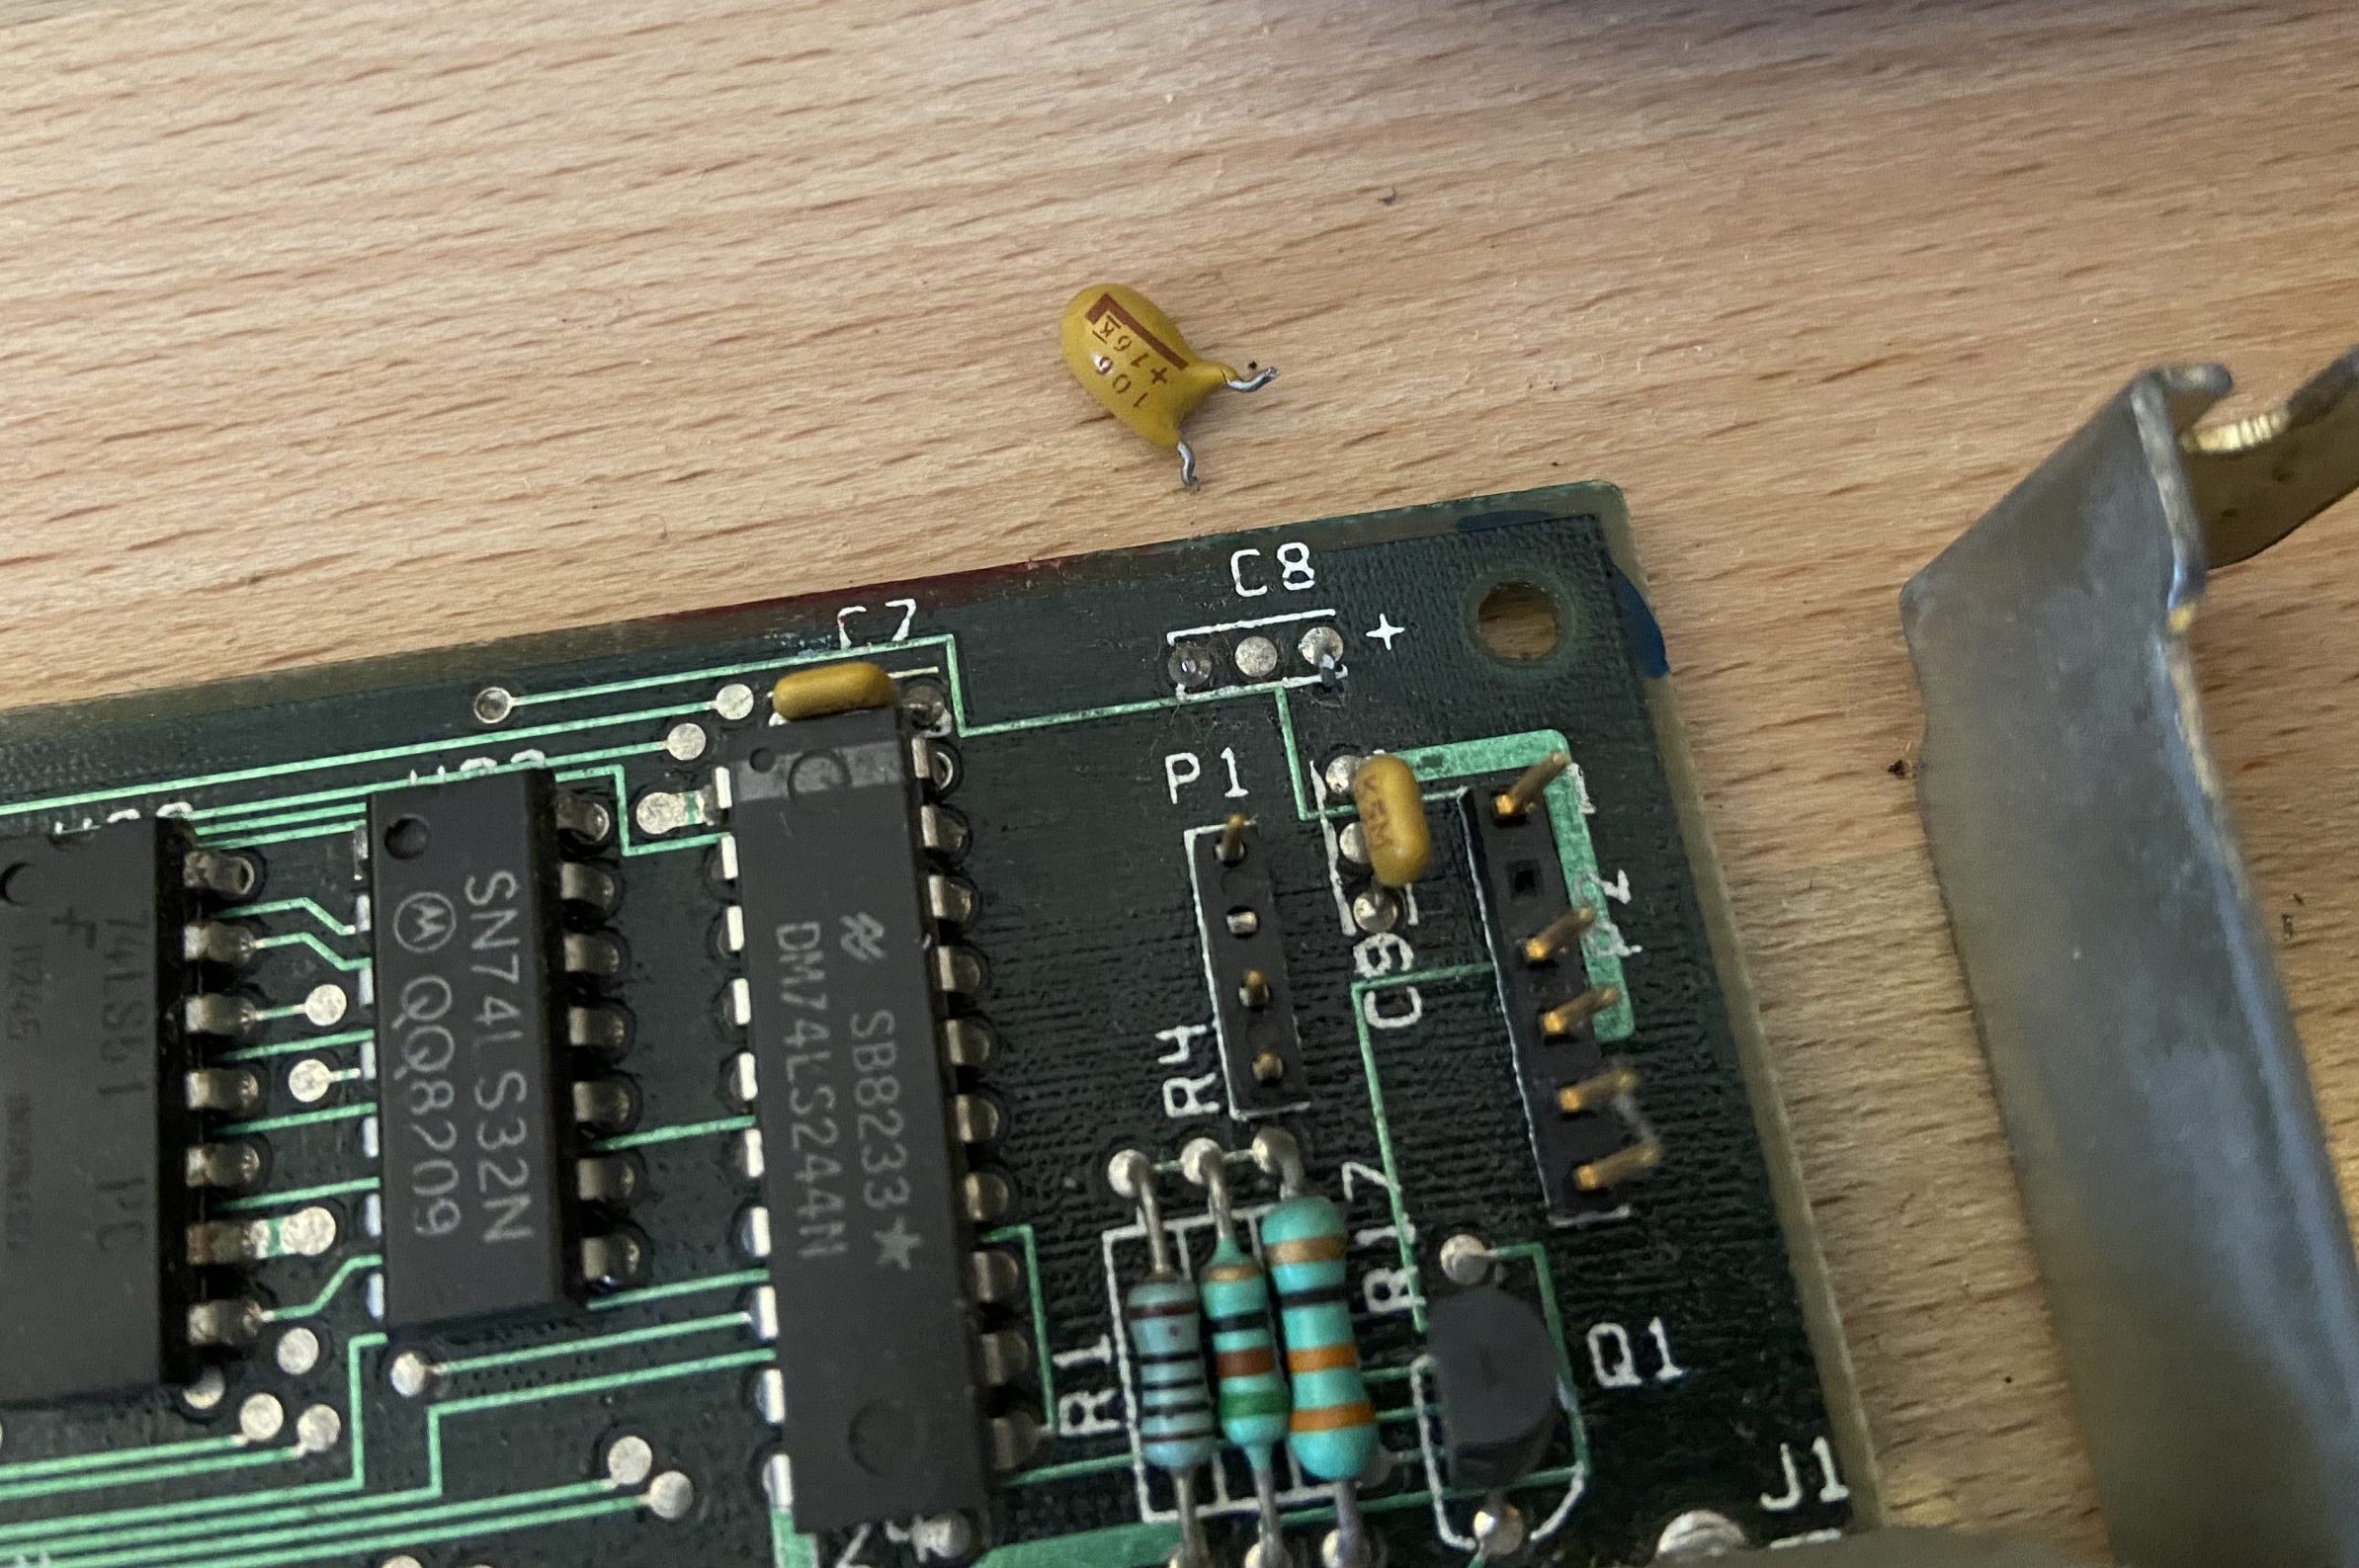
The monitor in the IBM 5155 was manufactured by Zenith Radio, in this case the CRT was made in 1983. It takes a composite NTSC video signal via a two wire cable that is attached to P1 on the IBM CGA card. In the above video, I hooked it up to 12Vdc and the analog video out of a Raspberry Pi to have some fun with it.
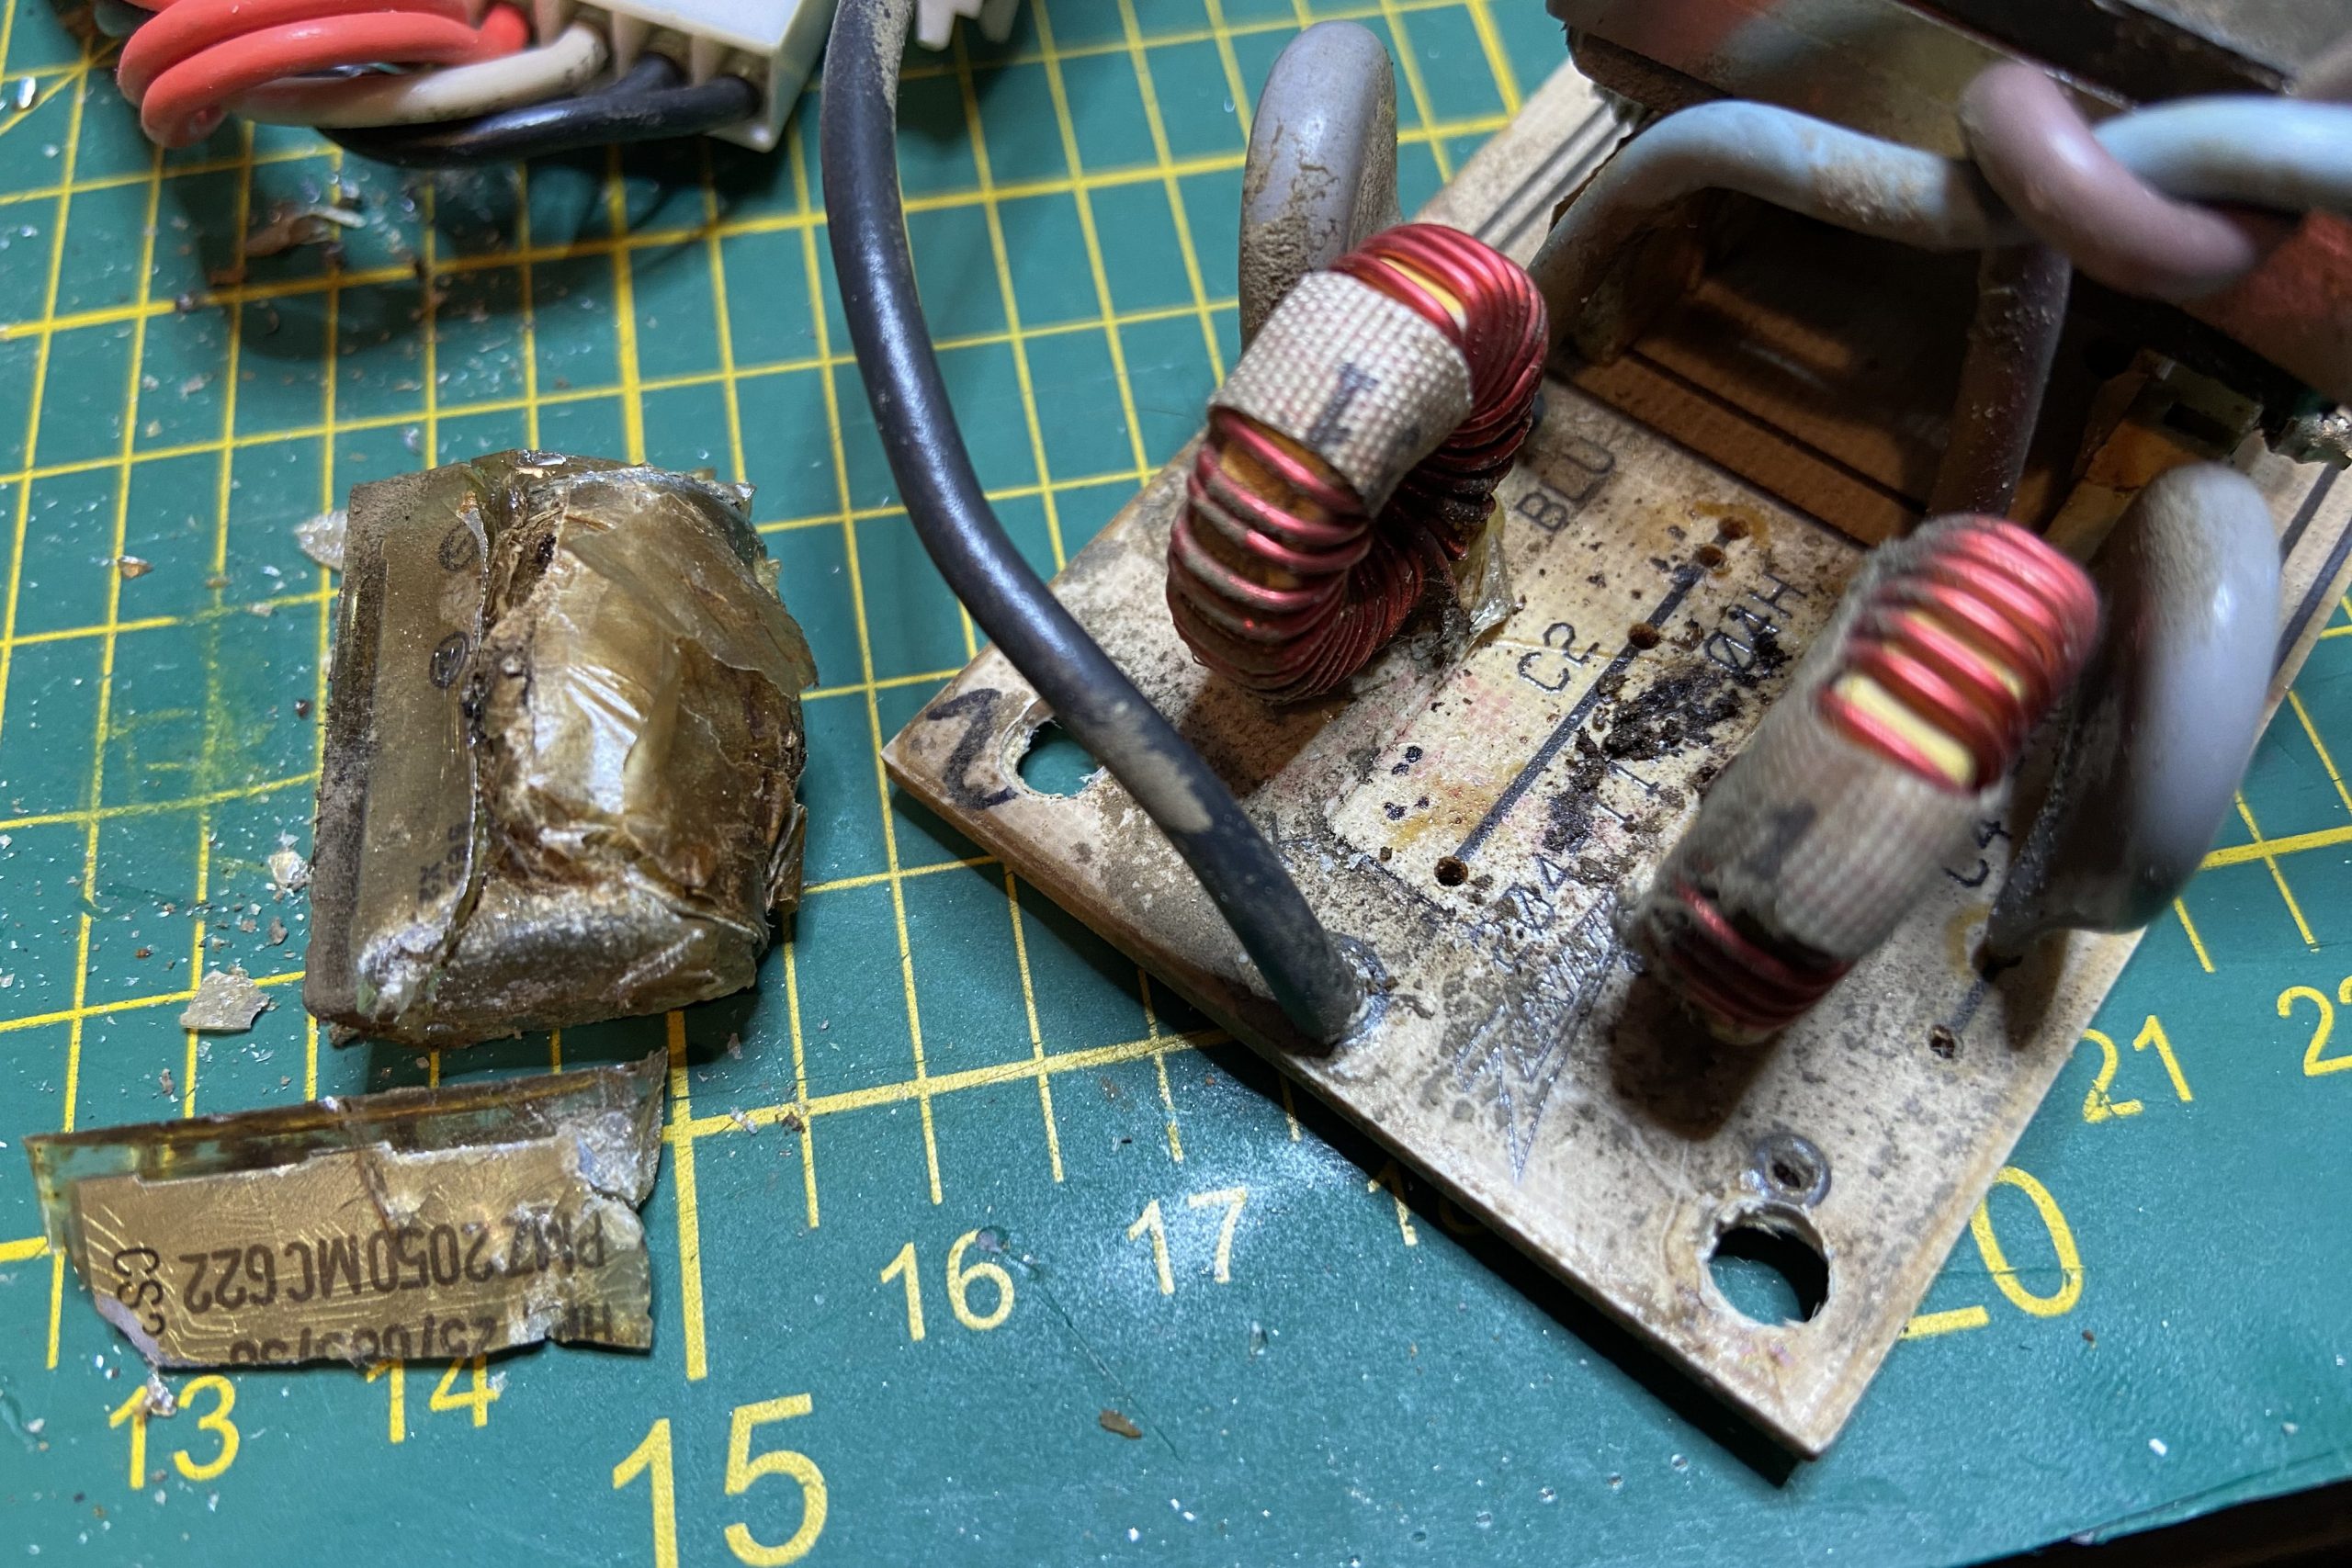
Checking the expansion cards, I found a dead capacitor on the CGA board that shorted the 5V line which is why the machine refused to power on.
Also, the line filter caps in the PSU had blown into pieces, leaving a burnt smell behind. Even though I replaced the caps and cleaned everything up, that smell of melting electronics is still noticeable.
Having fixed that and cleaned and reseated all the plugged contacts, the machine started up straight into IBM Basic. Turned out that the hard-disk was intermittently having issues and booting from floppy was not possible due to misaligned heads.

Startup
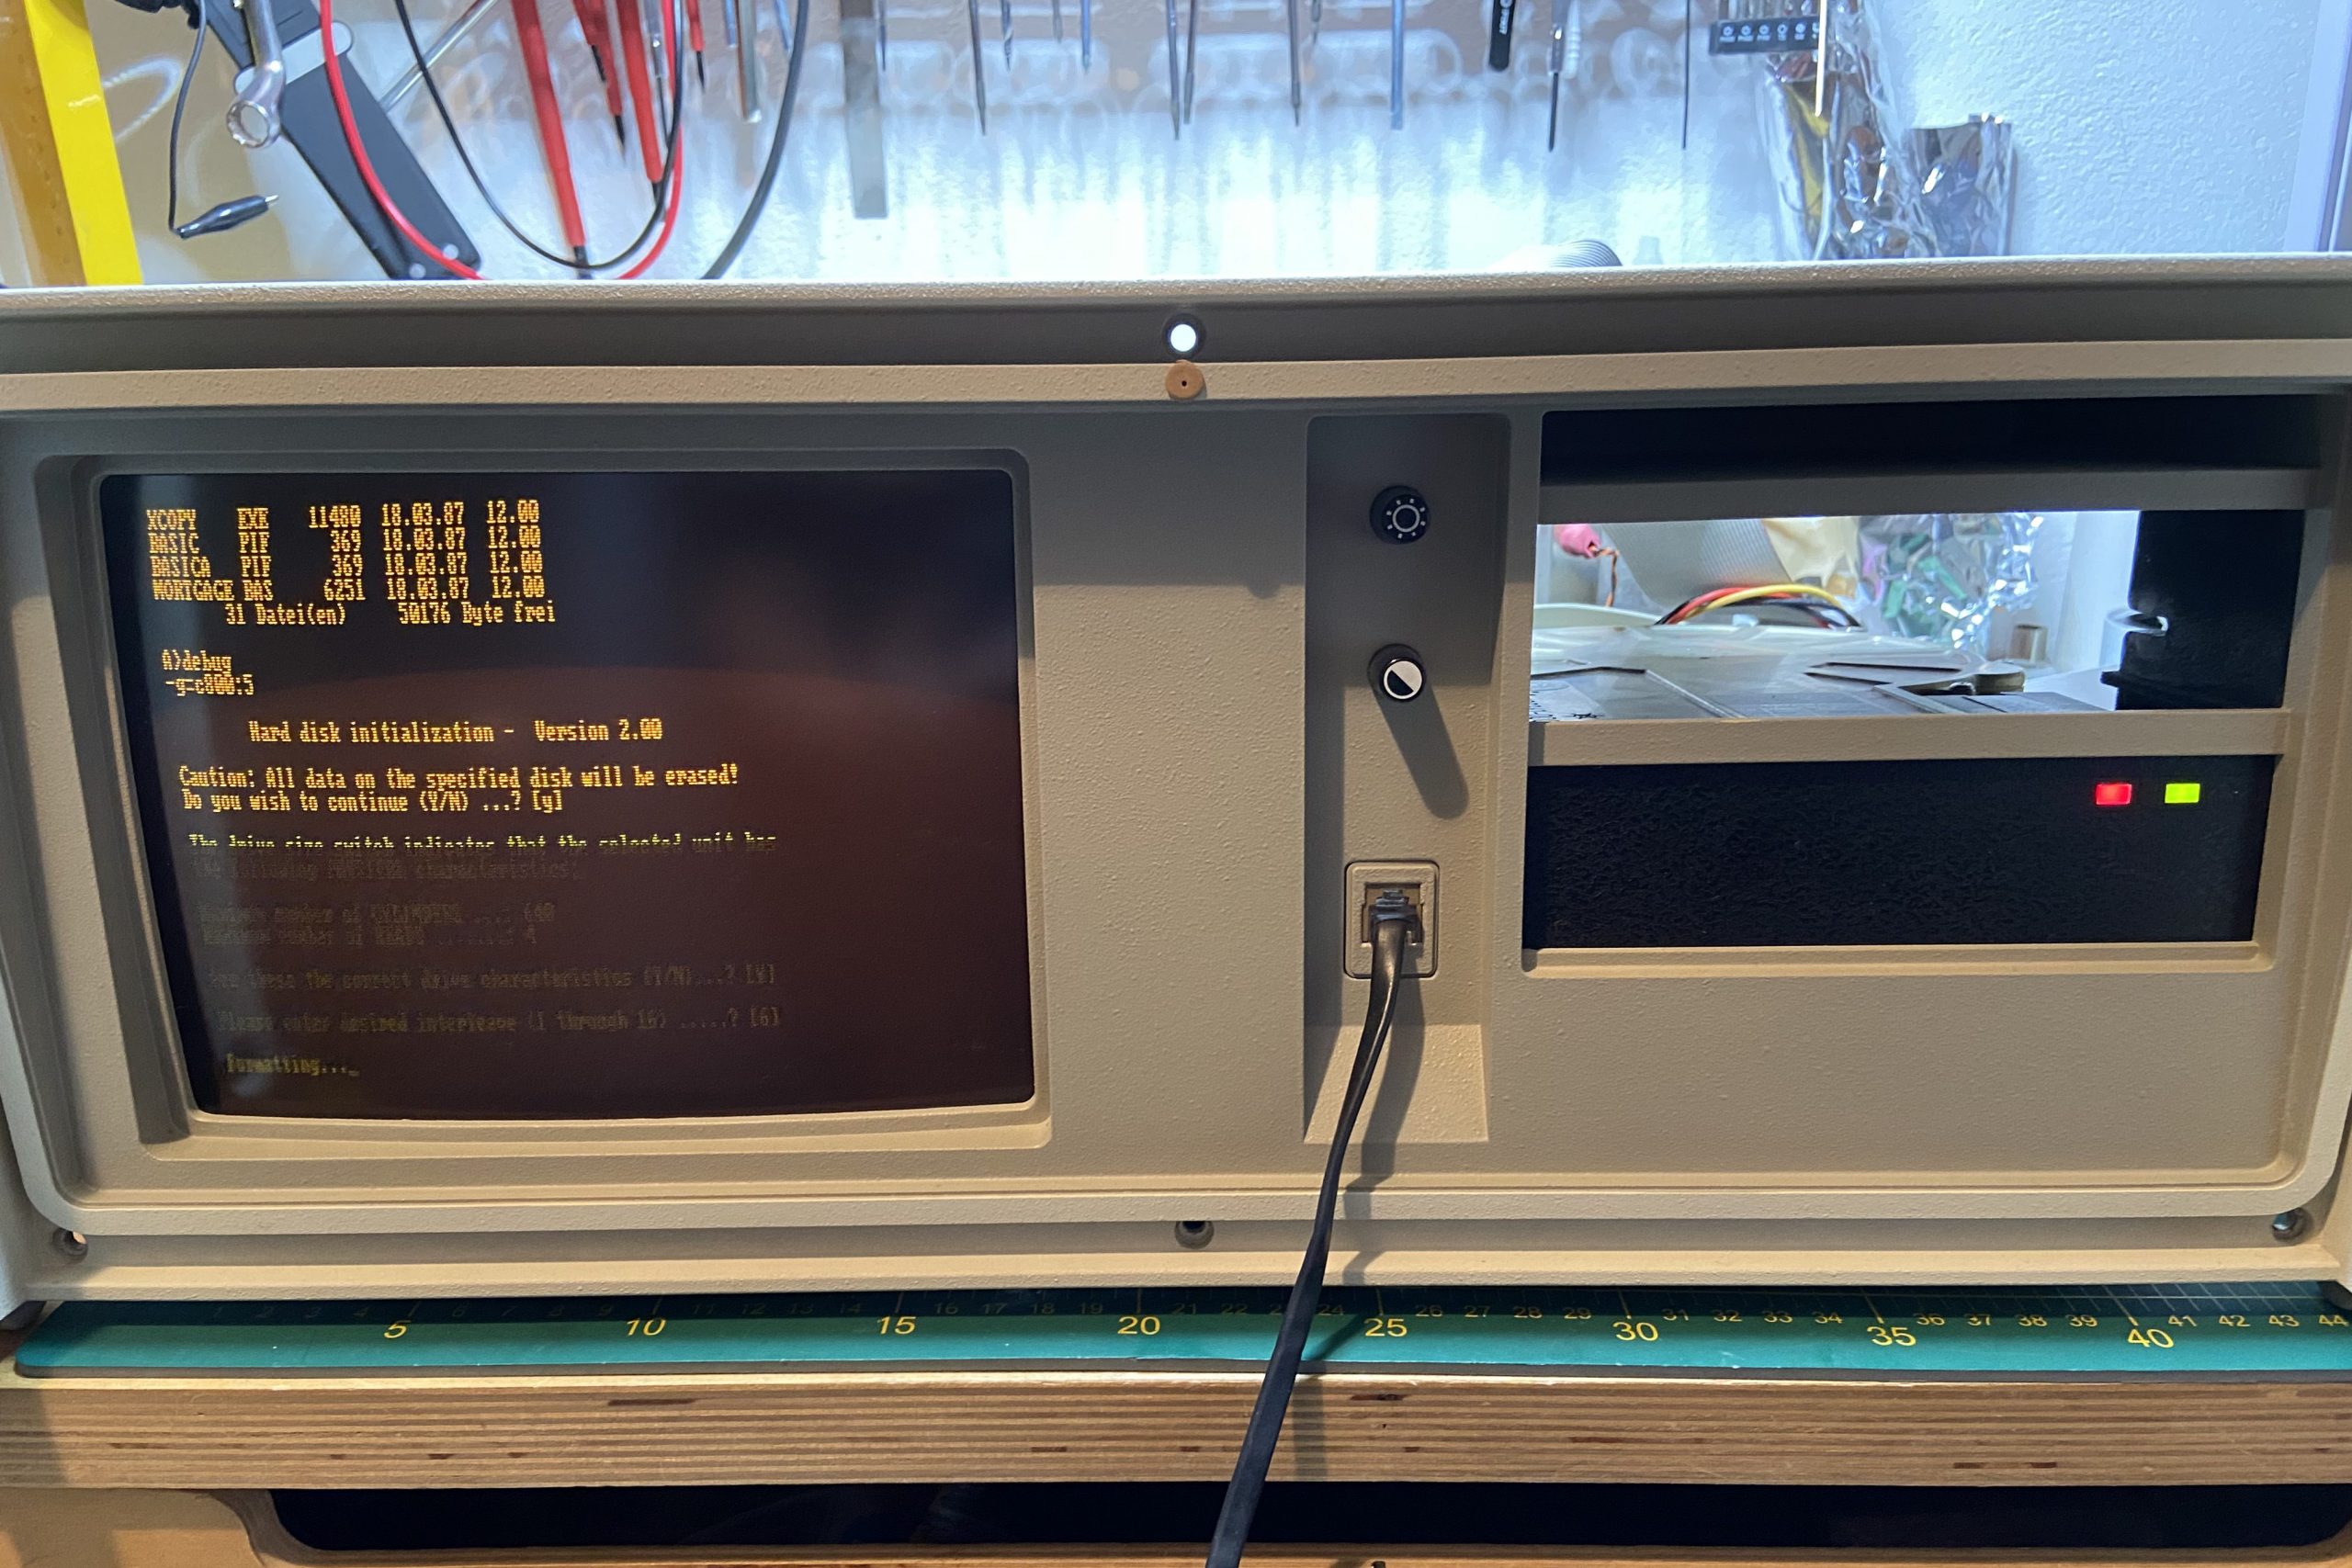
In order to boot the machine, I connected a known good 3.5″ floppy drive, booted MS DOS 5.0 and salvaged as many files I could from the hard-disk. After that, low level formatted the HDD (debug – g=c800:5), FDISKed it and installed DOS 5 to it.
Using the RMC portable

Although it’s a Turbo XT with speed switchable from 4.77MHz to 8MHz (Ctrl-Alt-KPMinus or TURBO.COM), it feels really slow depending on what the task at hand is. It performs best with text based DOS software which also is where the crisp amber monitor shines. I used MS Word 5 for DOS to type this text and that worked really well. The fact that it does not connect to the internet and is generally too underpowered for surfing the web locks out external distractions which makes this machine well suited for writing tasks.
Other UI based software that I tried out on this box:
- GEM 3 Desktop – this runs fine and is a nice tool for file system operations. Adding some apps like GEM Draw and Paint make it a nice Windows alternative but with file formats only compatible to itself
- Windows 2.0 – also runs nicely but is horrible from how it looks and feels, software selection is pretty limited as well
- Windows 3.0 – this is the highest Windows version that can run on this machine – any newer version removed support for the 8086 CPU – and it does relatively well until trying to use Winword or Excel, it then runs into CPU / memory limitations. The low res CGA display limits usefulness in Windows further as some dialogs extend beyond the useable height.

In terms of gaming, I tried some titles I knew from childhood and I loved to see Bruce Lee running surprisingly nicely on this box. Older Sierra titles like Space Quest 1 & 2 as well as some other adventure titles from the era perform well. The mono monitor can be a hinderance though in some cases when different colors are being mapped to the same shade of amber. Some titles like Prince of Persia and Indiana Jones 3 even run with Adlib music, so retro gaming is possible to some extent.
A highlight is Planet X3, a game recently made by the 8bit guy for retro machines. It shows what the hardware really is capable of with smooth scrolling and a superb soundtrack.
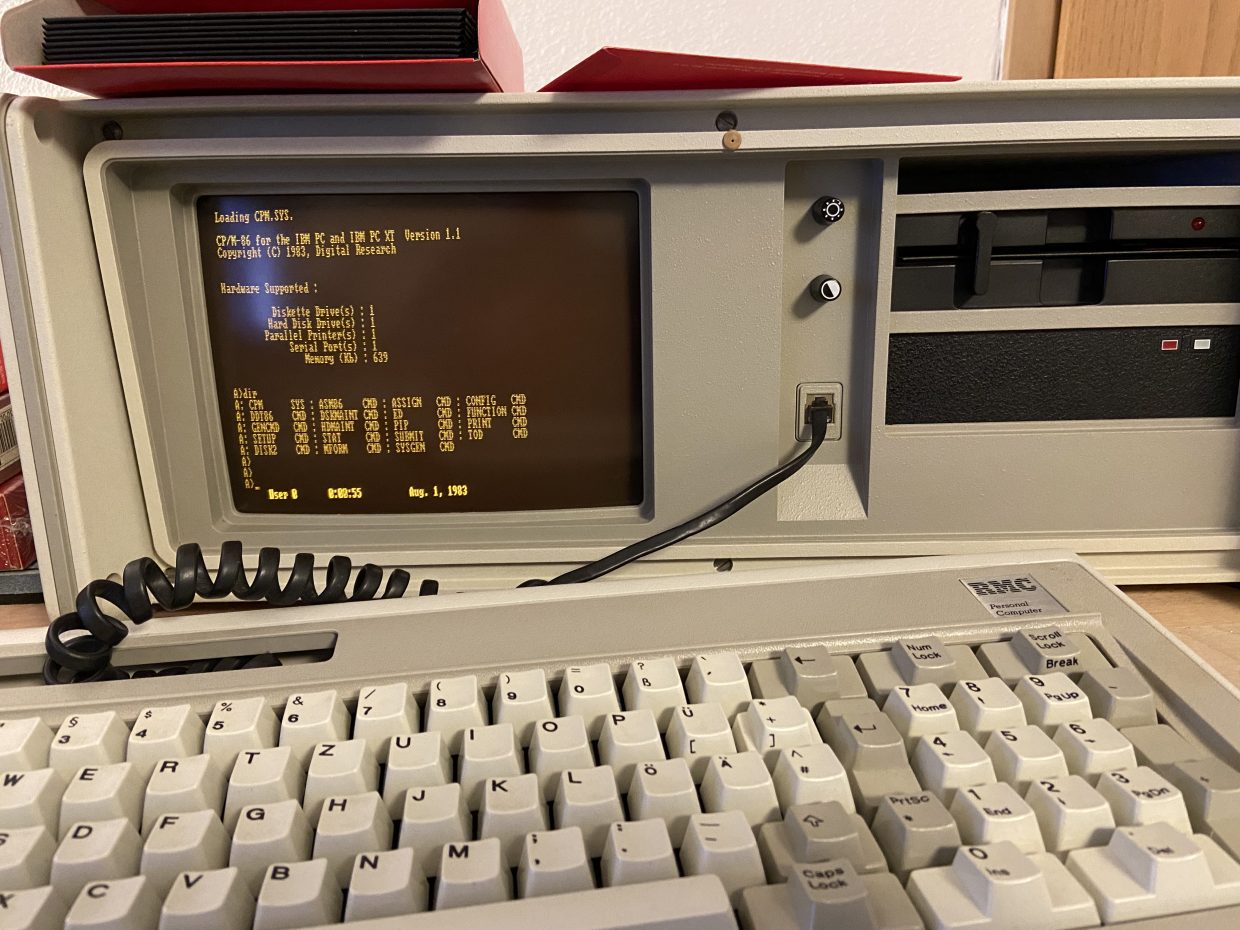
CP/M-86
Another interesting thing to try out on this box is CP/M, the operating system that was famous in the 1970s especially on Z80 based machines. Developed by Digital Research, CP/M-86 was first the OS candidate for the IBM PC line due to the number of applications for that OS, but negotiations between IBM and DR didn’t work out. When IBM was looking for an alternative, Microsoft struck the deal with MS-DOS, a renamed CP/M clone that MS bought from Seattle Computer Products and licensed to Big Blue.
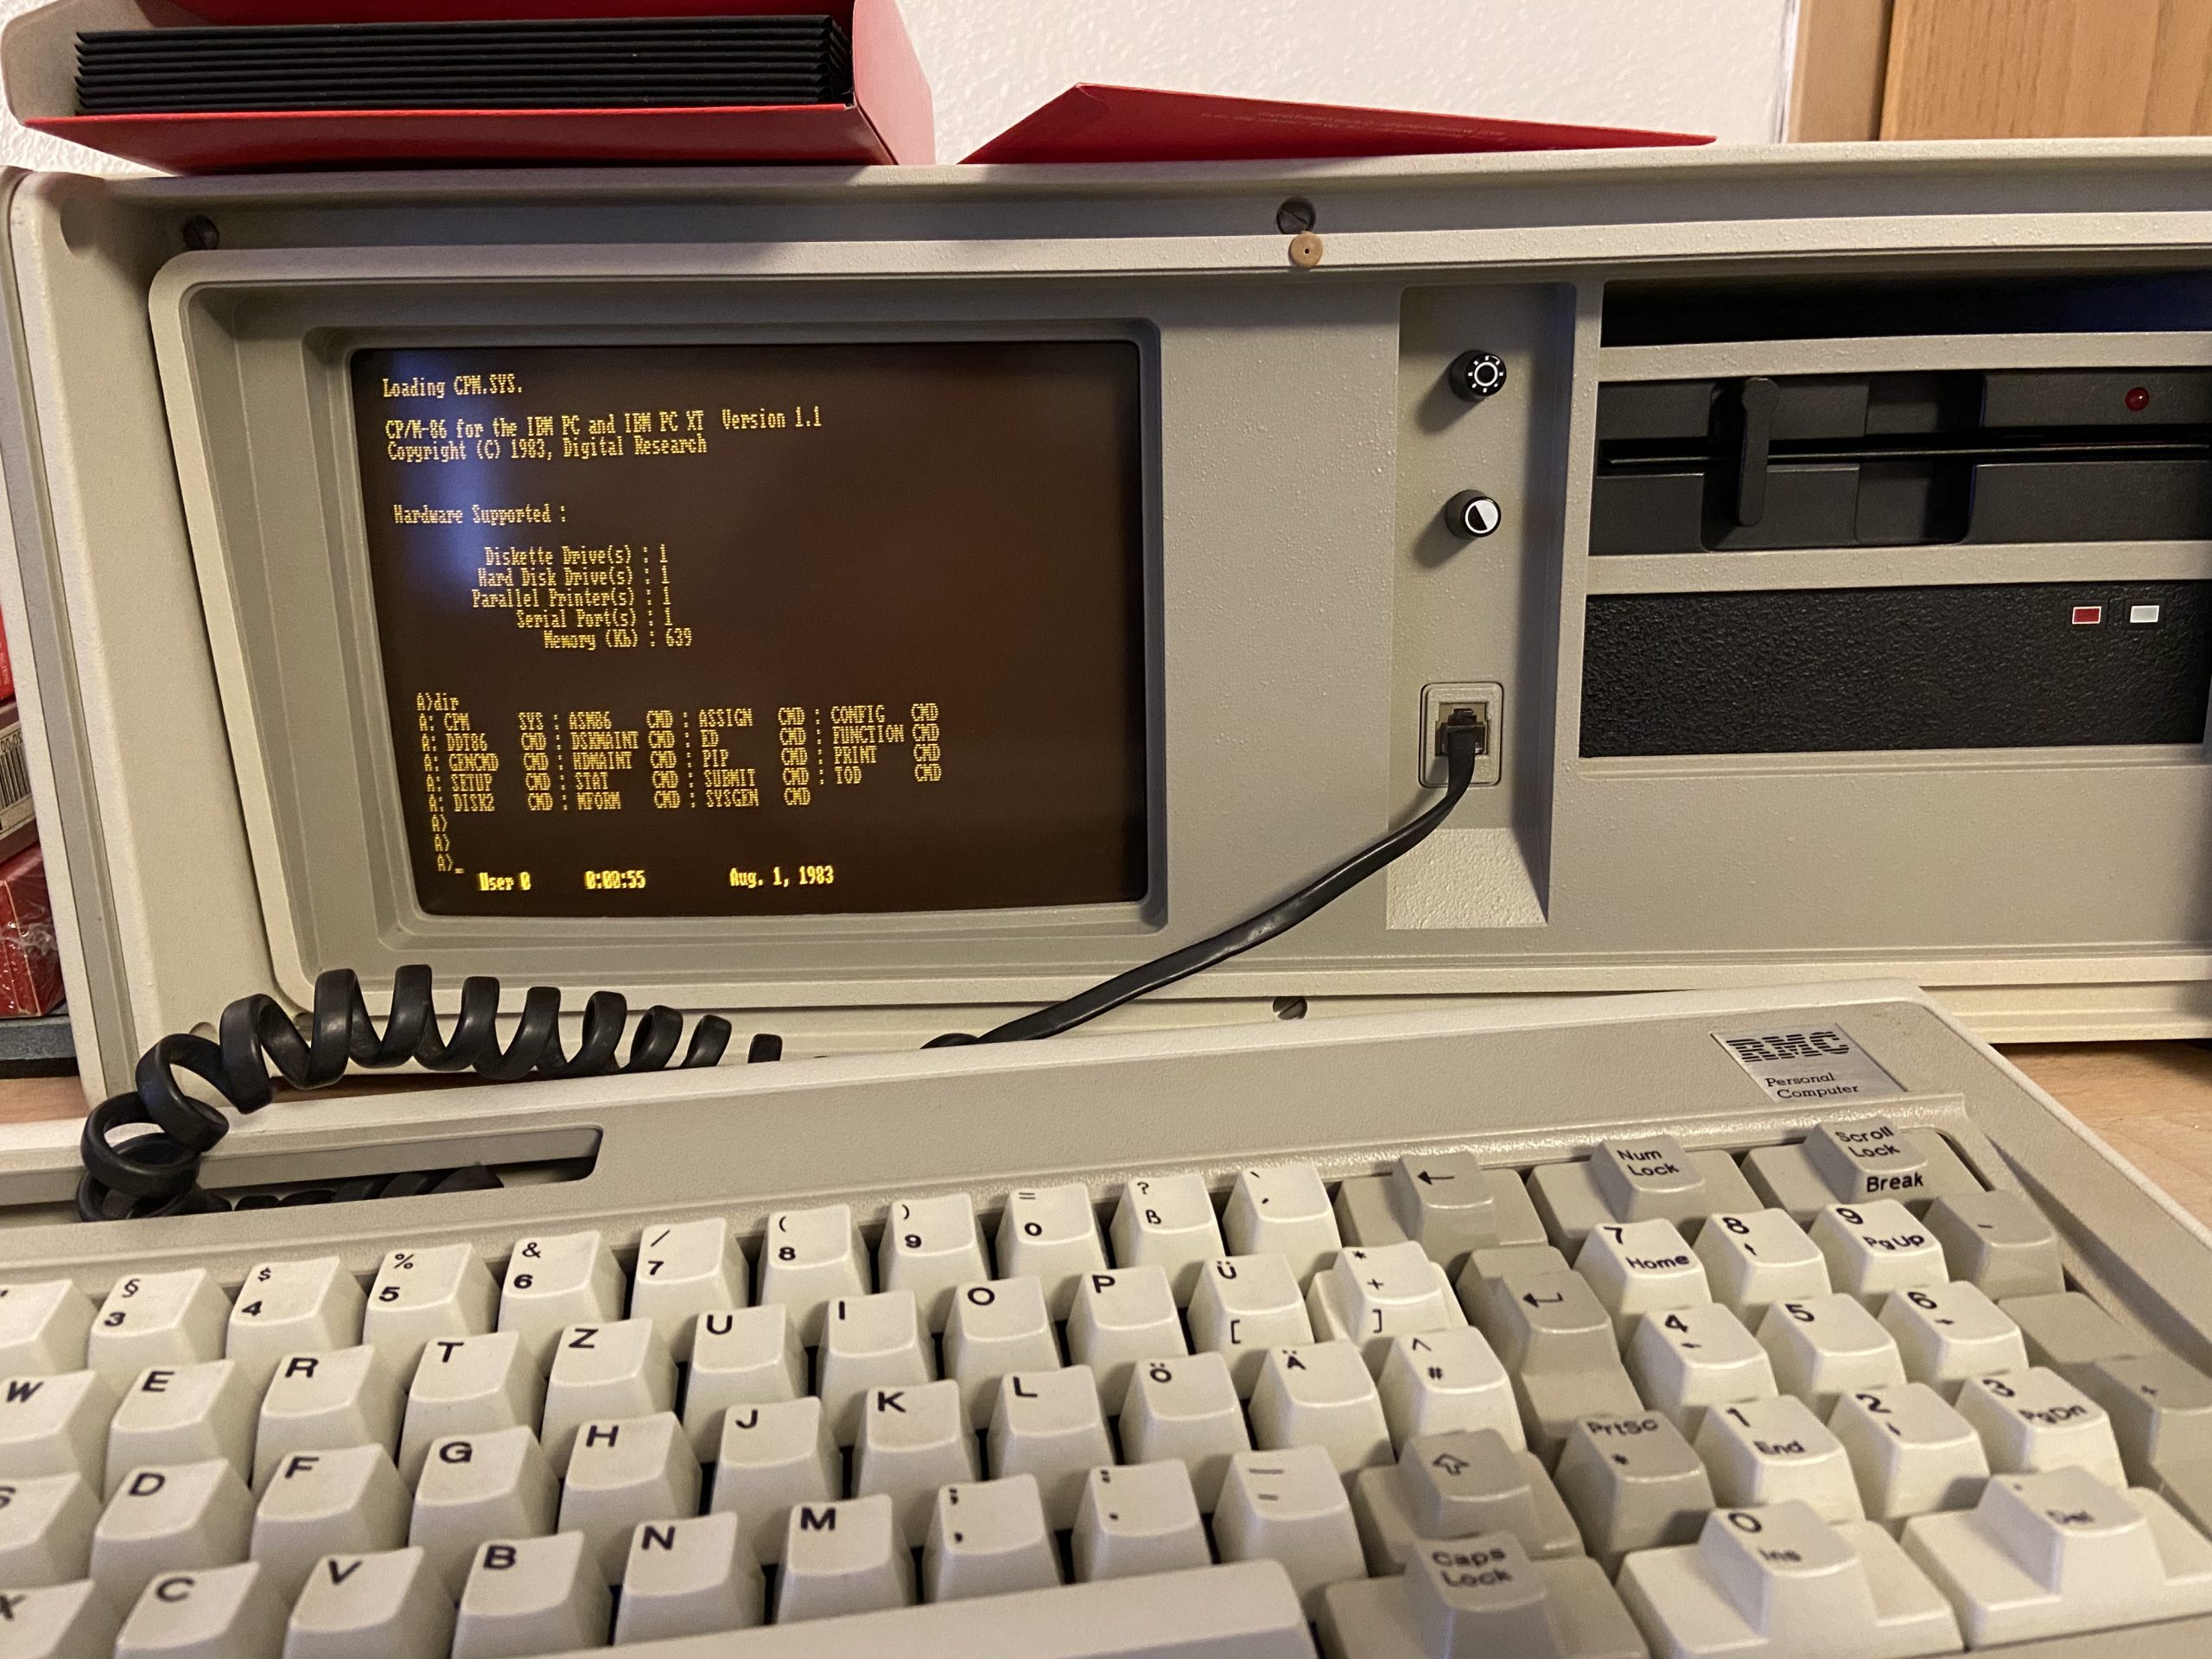
A CPM/86 disk image can be found online and written to a floppy disk. The 5155 will boot from it into the CPM OS which looks and feels very much like DOS.
Upgrades
- Replaced the PSU fan with a Noctua Redux 80mm 12v fan which is still somewhat audible but a huge improvement over the original fan
- Disconnected the hard-disk and replaced it with a XT-CF device, allowing to boot from CF card and to exchange data with other machines. Once running without the harddisk, the distortions from the screen went away, so I think the HDD would have to be serviced and recapped if I want to use it at some point in the future.
- Added a 8087 Math Coprocessor – not that it’s strictly needed but it was cheap and the empty socket wanted to be filled.
- Added a ESS-1868 soundcard, which works fine although having a 16bit ISA slot connector whereas the 5155 is an XT with 8bit ISA slots. Even the ESSCFG configuration program detects and configures the card without complaints.
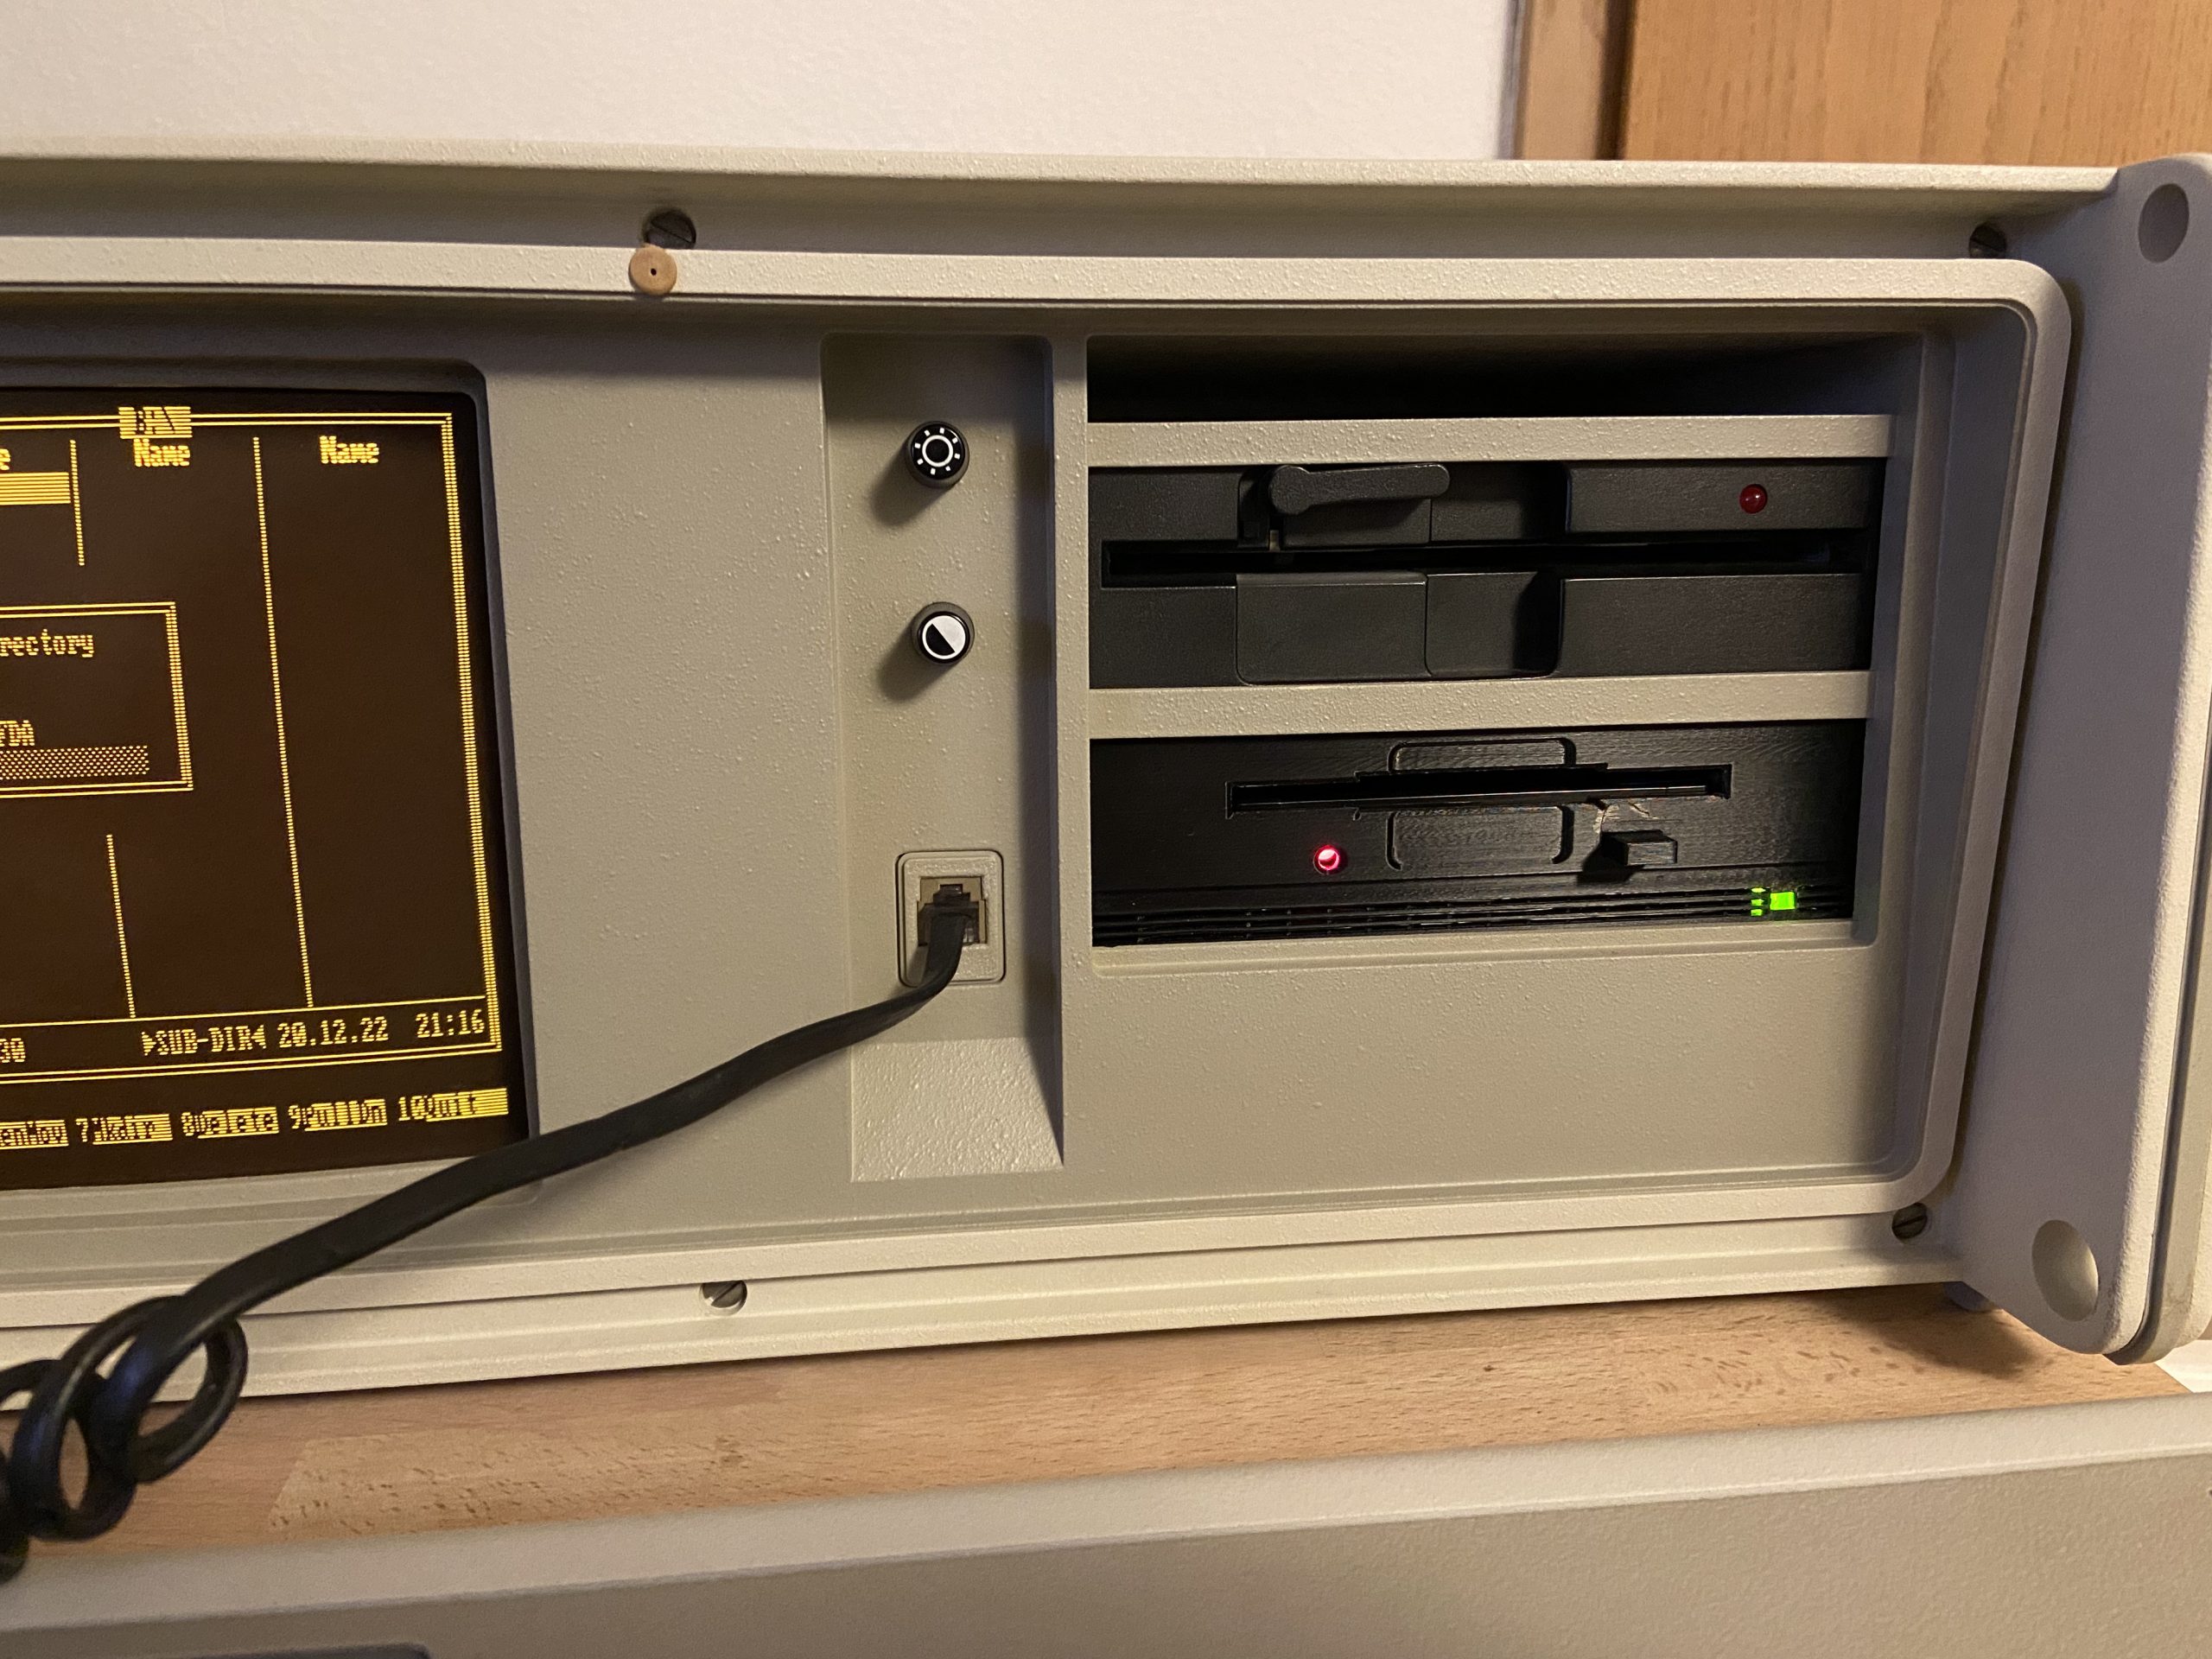
- Made a custom bezel for 3.5″ floppy drives with an added harddisk activity light indicator and the typical vents that Seagate drive bezels had. Works really nice, looks retro and does the job 🙂 Download from ThingiVerse if you like it.
Exchanging data
Getting applications / data on this box is not as straight forward as one would wish since it requires either an external 5.25″ drive on another computer or adding a 3.5″ drive to the portable which in turn involves crimping an IDC connector to the drive cable and finding a Molex to Berg style power plug and a mounting bracket for the smaller footprint floppy drive.
The story does not end here though – the PC XT BIOS does not support 3.5″ drives out of the box so it has no idea about the 720kB capacity and will format disks as 360kB unless adding a DRIVPARM line to CONFIG.SYS which is only available from MS-DOS 4 and up. It will boot and read 720kB floppies though, using 1.44M HD disks requires a different controller card that can handle the higher data rate.
Another challenge can be sourcing a 3.5″ drive and diskettes for „burning“ disk images to them. Adding a GoTek drive could be a good alternative – I did that on other machines – but that would somewhat ruin the retro look.
In the end, I decided to go with a Compact Flash Card hard-disk replacement, the XT-CF-Lite which plugs into a ISA slot and makes the CF card accessible from the back panel. This way, data exchange is painless and quick.
ISA based CF card solid state disk
I used the XT-CF-Lite kit from Sergey Malinov which is relatively easy to assemble with regular soldering equipment and some experience. However it can be a bit bitchy to get going initially and it’s quite selective re. the CF cards it agrees to work with. Out of four CF cards in the 512M – 32G range, it only accepted the 512MB SanDisk 5000 industrial grade one. That however worked straightaway, even the preformatted partition was detected and could have been used, but I opted to format it to 300 / 200 MB partitions with the 2nd one being intended for exchanging data with the desktop computer.
Next time, I will create an even smaller boot partition since it turns out that the DIR command in DOS goes over the entire disk allocation table to calculate available free space which takes several seconds.
Also, while testing out the CF-cards with the XT-CF, I managed to accidently erase the EEPROM by some quick reset / power off/on sequence. I think Sergeys homepage warns about this and getting the firmware back on the card involves a trick which is to read the EEPROM first, then flashing the new image with XTIDECFG. Otherwise the EEPROM would not accept the new burn and fail with a message saying that the returned byte was not identical as to what was written.
With this sorted out, adding new files is just a matter of powering down, moving the CF card over to another machine and copying to one of the FAT partitions on the CF card. I prefer to copy to the non-boot partition and move stuff from there to C:\ on the target machine, simply because MacOS creates a lot of junk files as part of the copy process.
I still had to find some spare 5.25 floppies in case I’m dealing with software that needs to be installed / configured from FDD (Simcity, GEM, …) – in that case I move the .IMG file to the CF card and write it to physical disk with either IMD or FIRM utilities on the vintage computer.
Interestingly, most even older Microsoft titles install just fine from a folder on the harddisk – just copy all the files from each floppy into one folder and run setup – Windows 3.0, Word for Windows 1.x and Excel 2.x work fine with that procedure which likely was meant for installing from network servers.
RMC / IBM 5155 Technical data
| This RMC Portable | Original IBM 5155 Spec | ||||
| CPU | NEC V20 (4,77 / 8 MHz), Intel 8087 Math CoPro | Intel 8088@4,77MHz | |||
| Mainboard | DTK Turbo XT | IBM 5160 XT | |||
| Memory | 640kB on Mainboard | 256kB | |||
| Harddisk | 512MB compact flash on XT-CF-Lite v4 | – | |||
| Floppy | 5,25″ Panasonic 360kB single density drive 3,5″ NEC 720kB (1.44M) single density drive | 2x 5,25 360kB QUME | |||
| Video | IBM CGA, built in 9″ CRT amber monitor | ||||
| Other | Real Time Clock, Gameport, 1 parallel, 1 serial on expansion card Custom BIOS from german c’t magazine „V20 Bios 3.72, Peter Köhlmann“ | 1 parallel, 1 serial ports on add-on cards | |||
| Manufactured | 1984 – 1986 | ||||
| Introduction Price | USD 4.225 (~USD 12.300 in Dec 2022) |
Links
A newer IBM Portable, the PS/2 P75 in my collection
Page Visits: 55660